


Tamiya Jagdpanther
 12-15-2020, 03:25 AM
#1
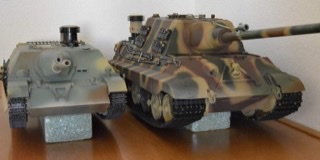
Going to restart the Jagdpanther build here . Built up the lower hull and raised the sprockets slightly, comparison of Trumpeter, Tamiya and Taigen after getting Taigen sprocket corrected. Now the Taigen road wheels should move forward to reduce the gap. Going to skip the fitting of the wheels and gears, etc part of the build. First up some of the rear hull plate mods
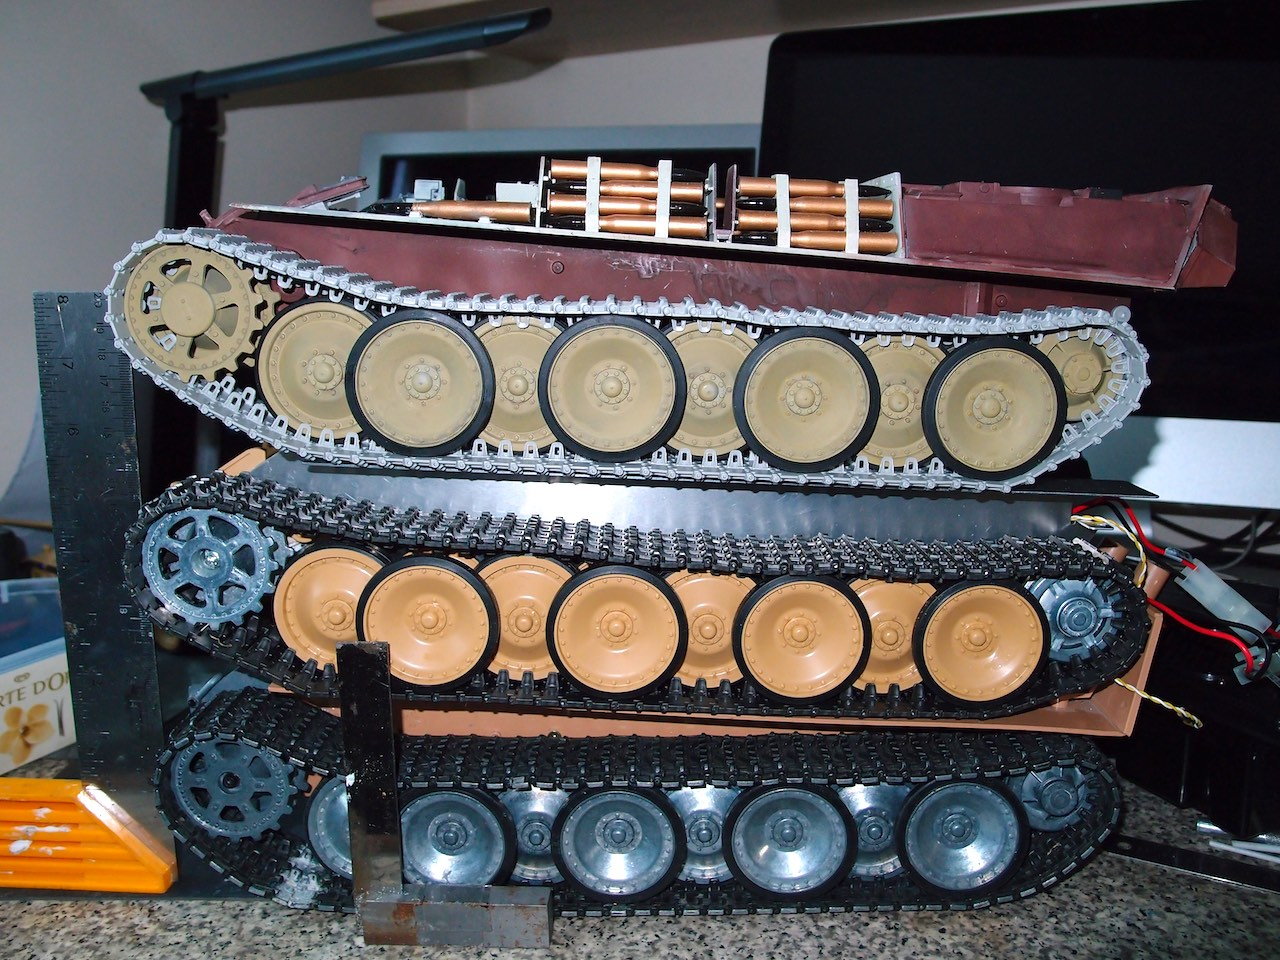
This is annoying large gap between sprocket and 1st road wheel on the Taigen. We all know the HL/Taigens are toys but we all want the toy to look correct and run with no problems.
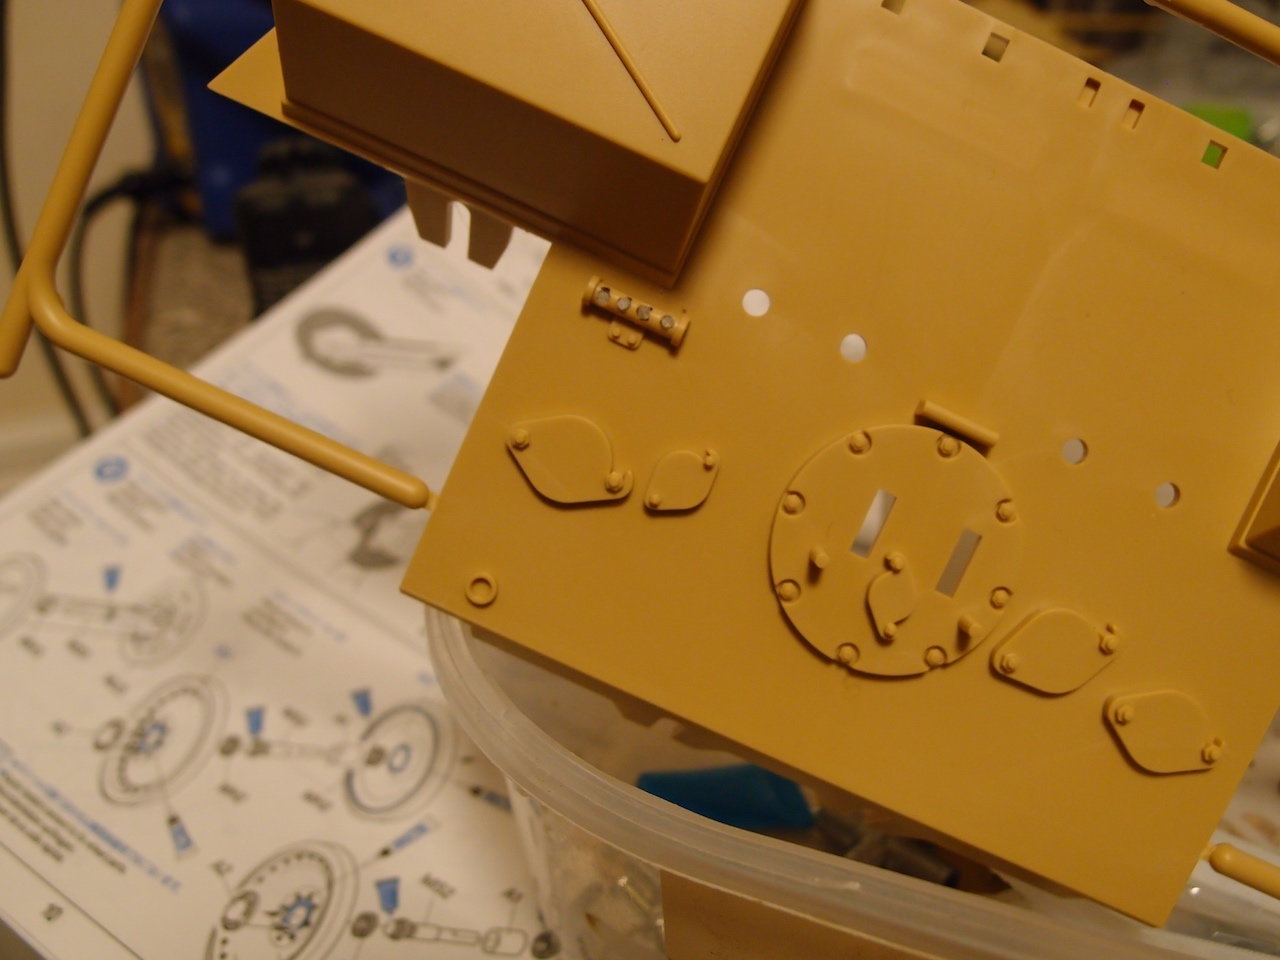
Rear plate , easy convoy light mod drill 4 holes
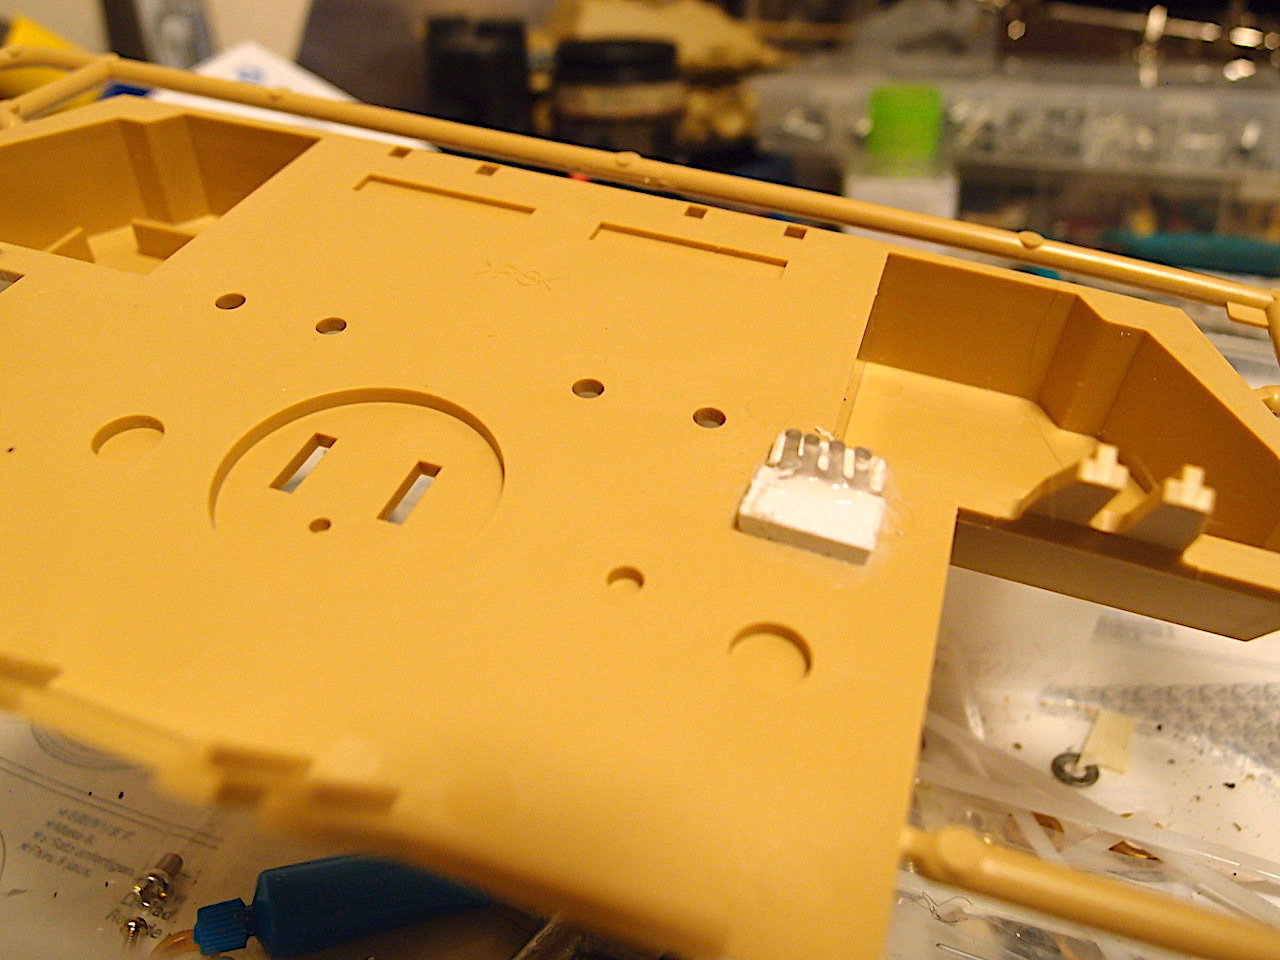
Fit 4 short pieces of fibre optic cable
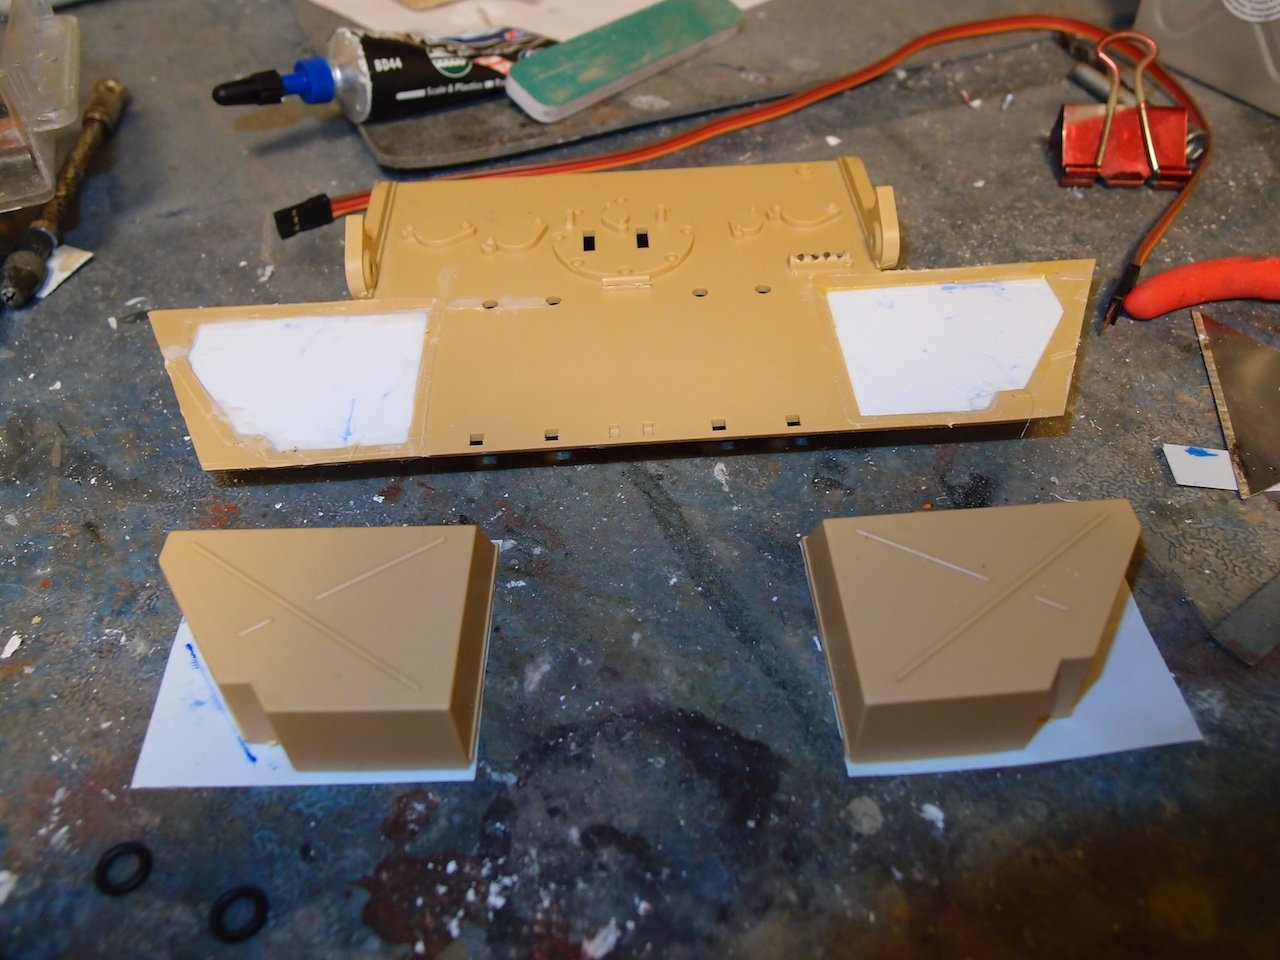
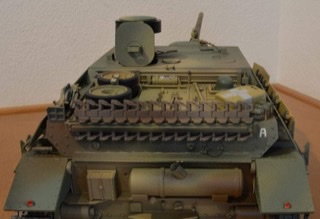
Removed the moulded on storage bins, the real ones were fitted onto brackets and sat out from the hull.
This is annoying large gap between sprocket and 1st road wheel on the Taigen. We all know the HL/Taigens are toys but we all want the toy to look correct and run with no problems.
Rear plate , easy convoy light mod drill 4 holes
Fit 4 short pieces of fibre optic cable
Removed the moulded on storage bins, the real ones were fitted onto brackets and sat out from the hull.

The following users liked this post:
Panther F (12-15-2020)
12-15-2020, 09:11 AM
#2
Looks great and I'll be watching!
I too must return to work on my Jagdpanther build... the Panther was such a breeze.
I too must return to work on my Jagdpanther build... the Panther was such a breeze.
12-19-2020, 03:36 AM
#4

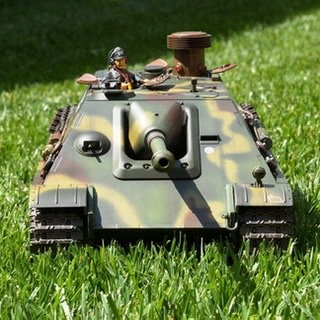
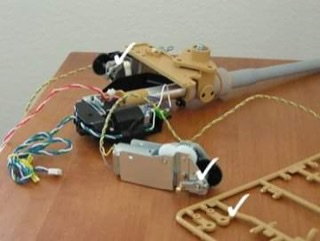
Looks good so far. The one thing about the tammy kit that makes me jealous is the functional traverse. I built a JP, starting with the $100 all plastic HL version, added the asiatam lower with all metal everything (this was before the Torro metal edition JP came out), threw in an IBU and many hours of modeling, and after about $700, this is what I got
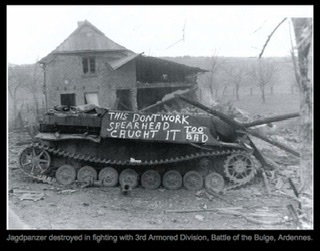
All that work and my barrel still doesn't traverse. That's as bad as when my boomerang won't come back!!
I'll be watching this one, I still have to add metal spare track links to mine so I always like to see how other guys handle that little chore.
All that work and my barrel still doesn't traverse. That's as bad as when my boomerang won't come back!!
I'll be watching this one, I still have to add metal spare track links to mine so I always like to see how other guys handle that little chore.
12-19-2020, 09:06 AM
#5

Hi,
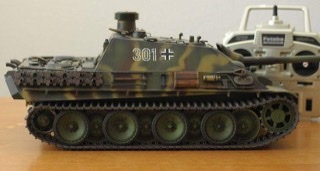
I like the Tamiya and Taigen WWII German tank destroyers; the Jagdpanther and the smaller Tamiya Jagdpanzer Lang, both are rewarding builds. The Taigen Jagdpanther and Jagdtiger are really neat RTRs and the lack of a main gun traverse is not an issue for me, seldom do I use that feature when running the TDs. Easier to just traverse the tank to aim!
TD show and tell: I built the Tamiya RC Jagdpanther during the late Summer � Fall of 2009. It is purposed as an Infrared Fighting Tank Destroyer. The modifications occurred over a year or two time frame and included road wheel bearings for the initial build; a metal gearbox mount brace to keep hull flex to a minimum; metal elevation arms and later 400 Motors. I sent the relevant assembled kit parts to Daryl Turner and he designed and fabricated an improved custom metal trunnion system; kit number one. Why? The kit plastic trunnion system failed after about 6 months of basically just sitting around. Later the model was fitted with Impact metal tracks and sprockets.
The Jagdpanzer and the Jagdtiger were assembled and or f/o converted within the last 3 or 4 years.
Merry Christmas. Be Well & Safe. John
The following users liked this post:
Pnzjgr (12-20-2020)
12-19-2020, 08:09 PM
#6
Hi,
I like the Tamiya and Taigen WWII German tank destroyers; the Jagdpanther and the smaller Tamiya Jagdpanzer Lang, both are rewarding builds. The Taigen Jagdpanther and Jagdtiger are really neat RTRs and the lack of a main gun traverse is not an issue for me, seldom do I use that feature when running the TDs. Easier to just traverse the tank to aim!
TD show and tell: I built the Tamiya RC Jagdpanther during the late Summer � Fall of 2009. It is purposed as an Infrared Fighting Tank Destroyer. The modifications occurred over a year or two time frame and included road wheel bearings for the initial build; a metal gearbox mount brace to keep hull flex to a minimum; metal elevation arms and later 400 Motors. I sent the relevant assembled kit parts to Daryl Turner and he designed and fabricated an improved custom metal trunnion system; kit number one. Why? The kit plastic trunnion system failed after about 6 months of basically just sitting around. Later the model was fitted with Impact metal tracks and sprockets.
The Jagdpanzer and the Jagdtiger were assembled and or f/o converted within the last 3 or 4 years.
Merry Christmas. Be Well & Safe. John
12-20-2020, 07:36 AM
#7
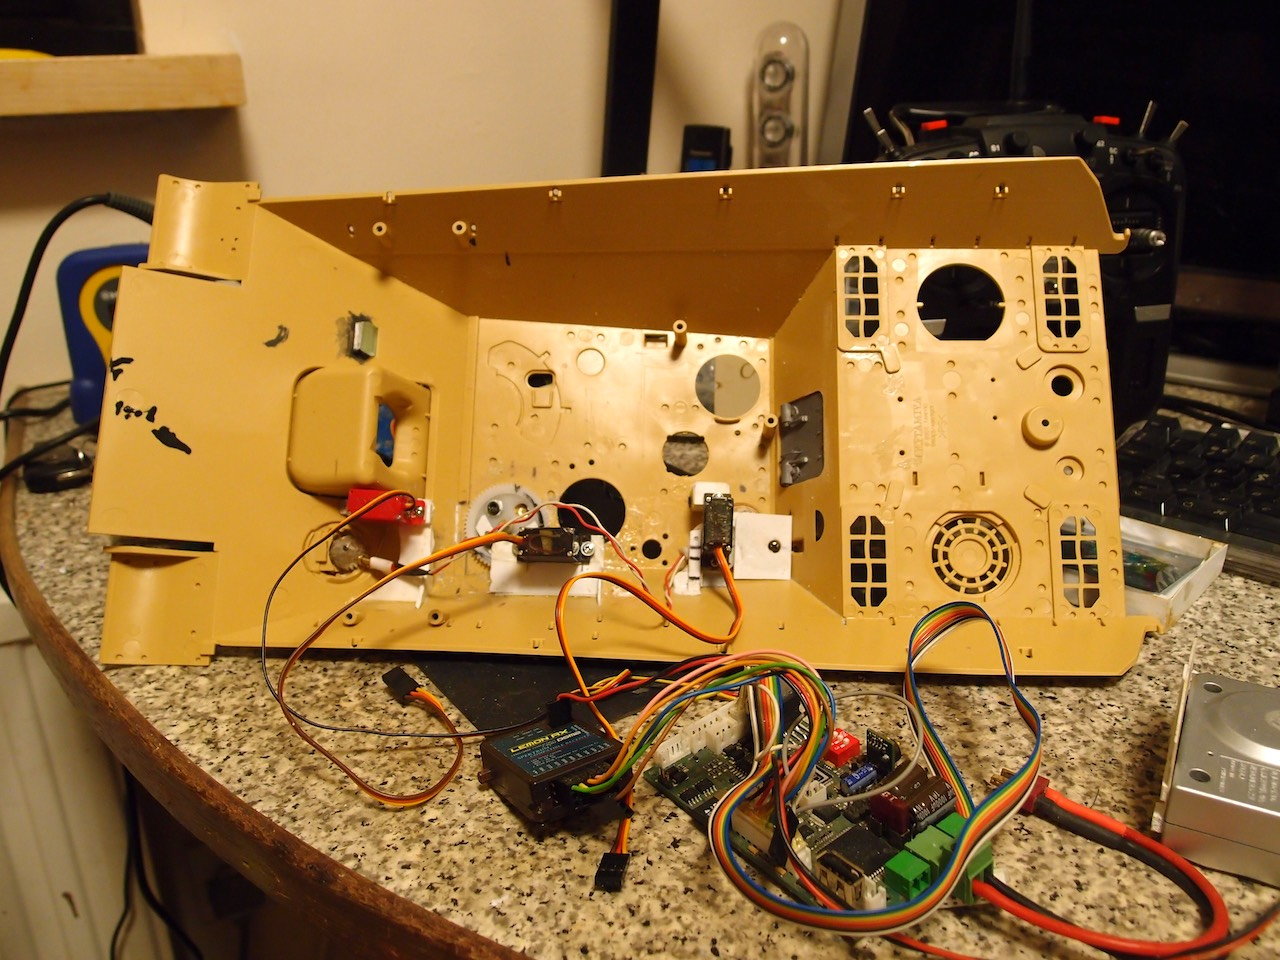
Should post the videos of the build now i am on this forum now. First one the servo setup , test run with a plastic KT barrel to check fit and servo action , made a metal cradle for the servos as the plastic parts are fragile.
12-20-2020, 07:55 AM
#8
Should post the videos of the short lived build on another forum. First one a mockup of the main gun using a KT barrel to check out if it fits and sorting out the servo position.
.
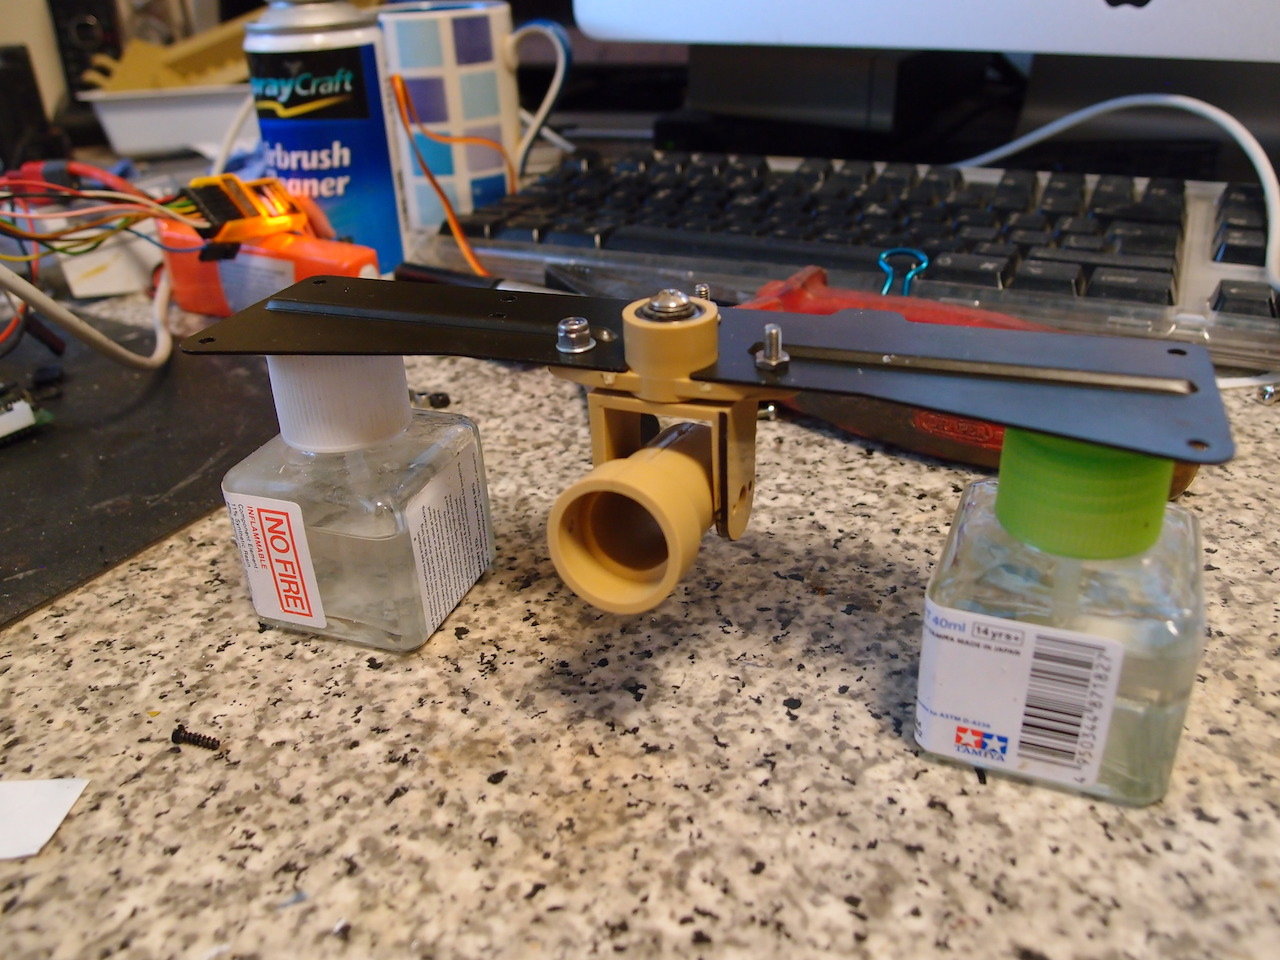
Tamiya plastic , will make a metal one for servo s
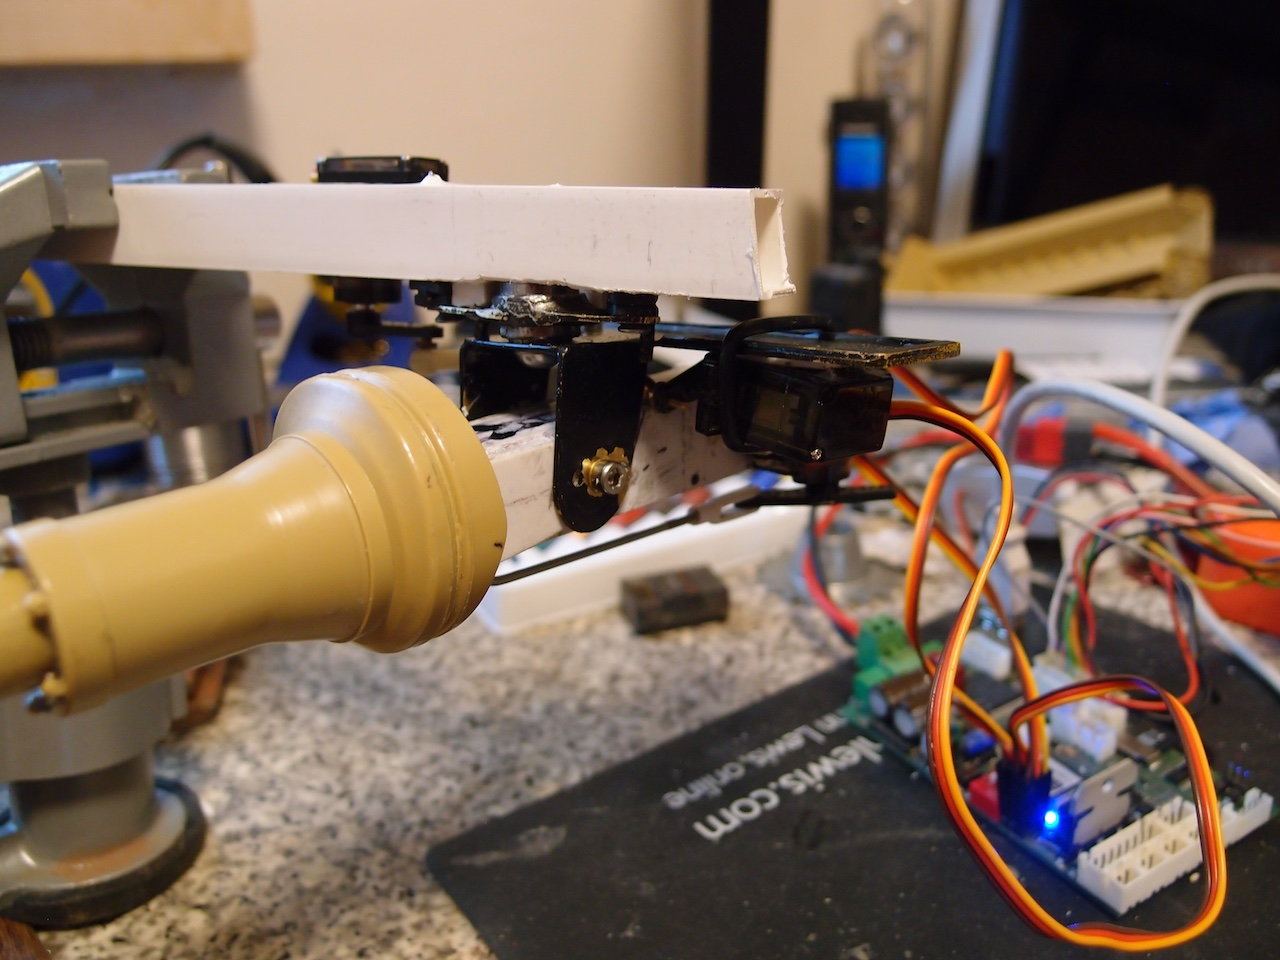
Brass sheet cut and soldered , made gun cradle in brass so its all metal
Tamiya plastic , will make a metal one for servo s
Brass sheet cut and soldered , made gun cradle in brass so its all metal
12-23-2020, 12:43 PM
#10
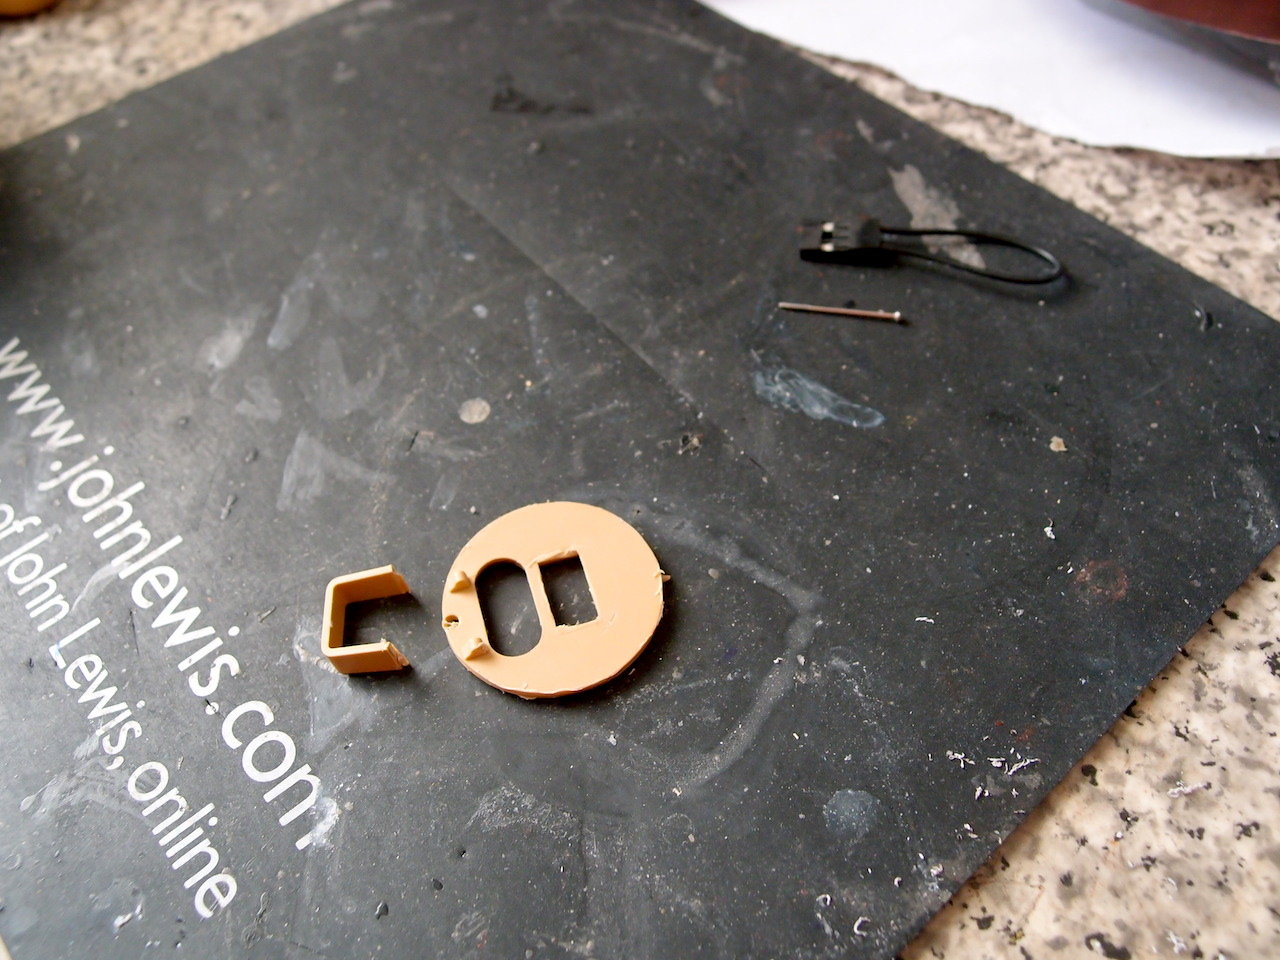
The Tamiya jagdpanther is a mix of the G1 and G2 its easier to remove the G1 parts as it has lots of G2 features. Started the little RC features ,first up the revolving periscope on the rear hull roof. Fixed the periscope onto a nylon gear then another gear onto a servo . Next up a little video of it working

Cut out the periscope circle
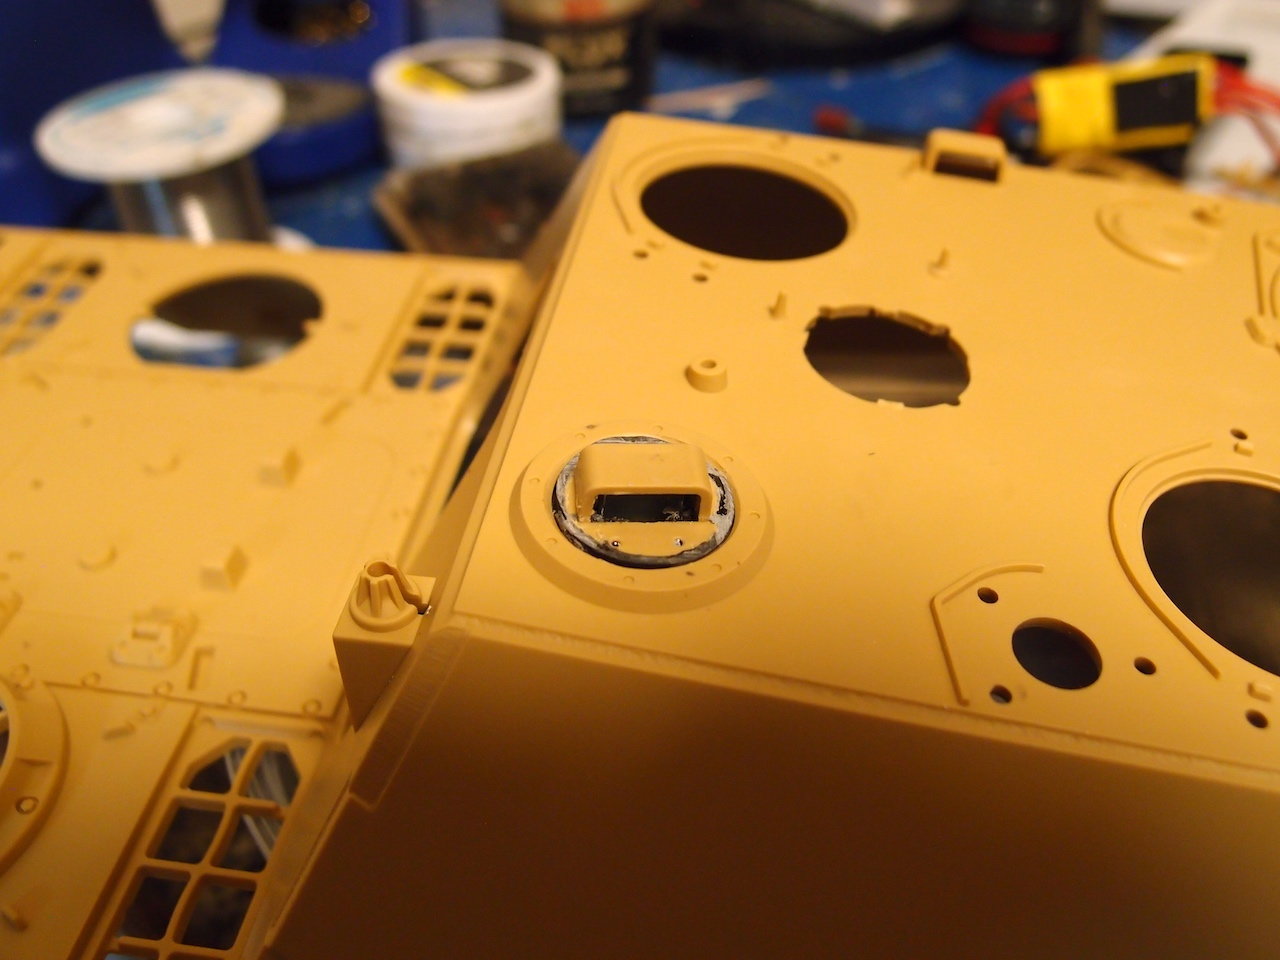
Had to fix the part i cut out with some epoxy to redo the revolving periscope.
Cut out the periscope circle
Had to fix the part i cut out with some epoxy to redo the revolving periscope.
12-23-2020, 01:06 PM
#12
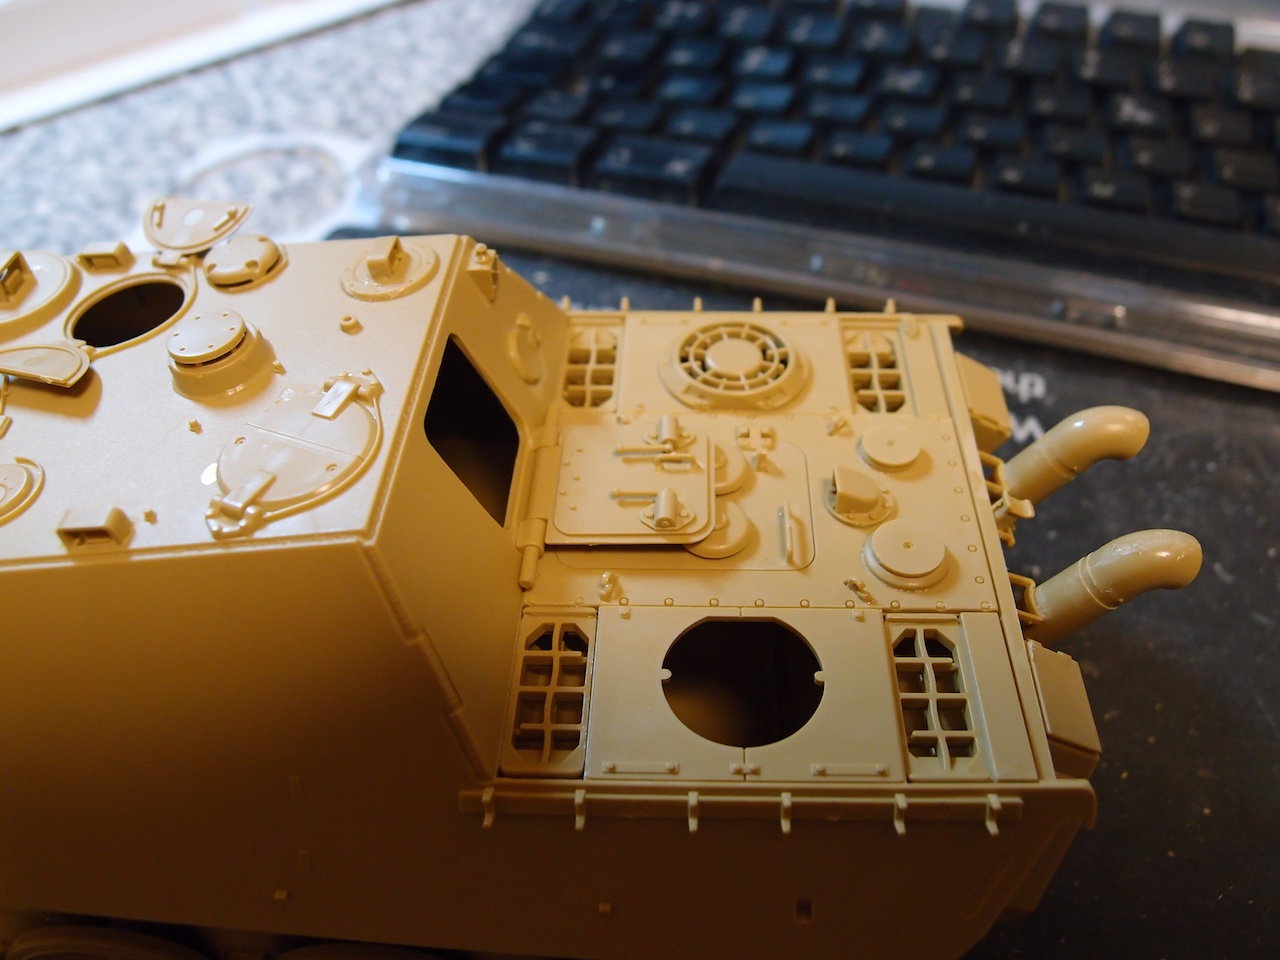
Tamiya want you to glue the rear armoured door closed. It will require some detailing as its rear hollowed out.
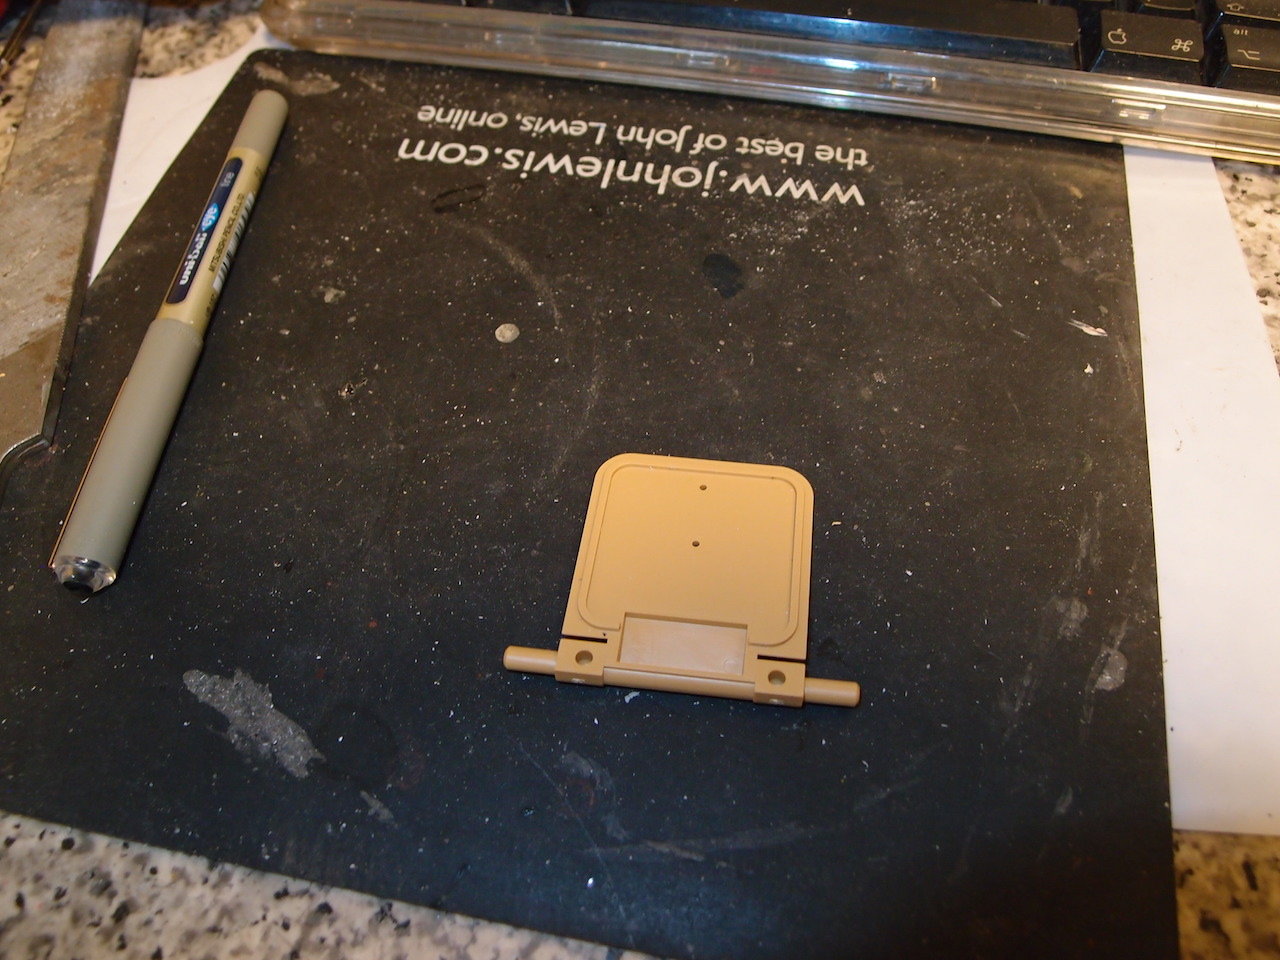
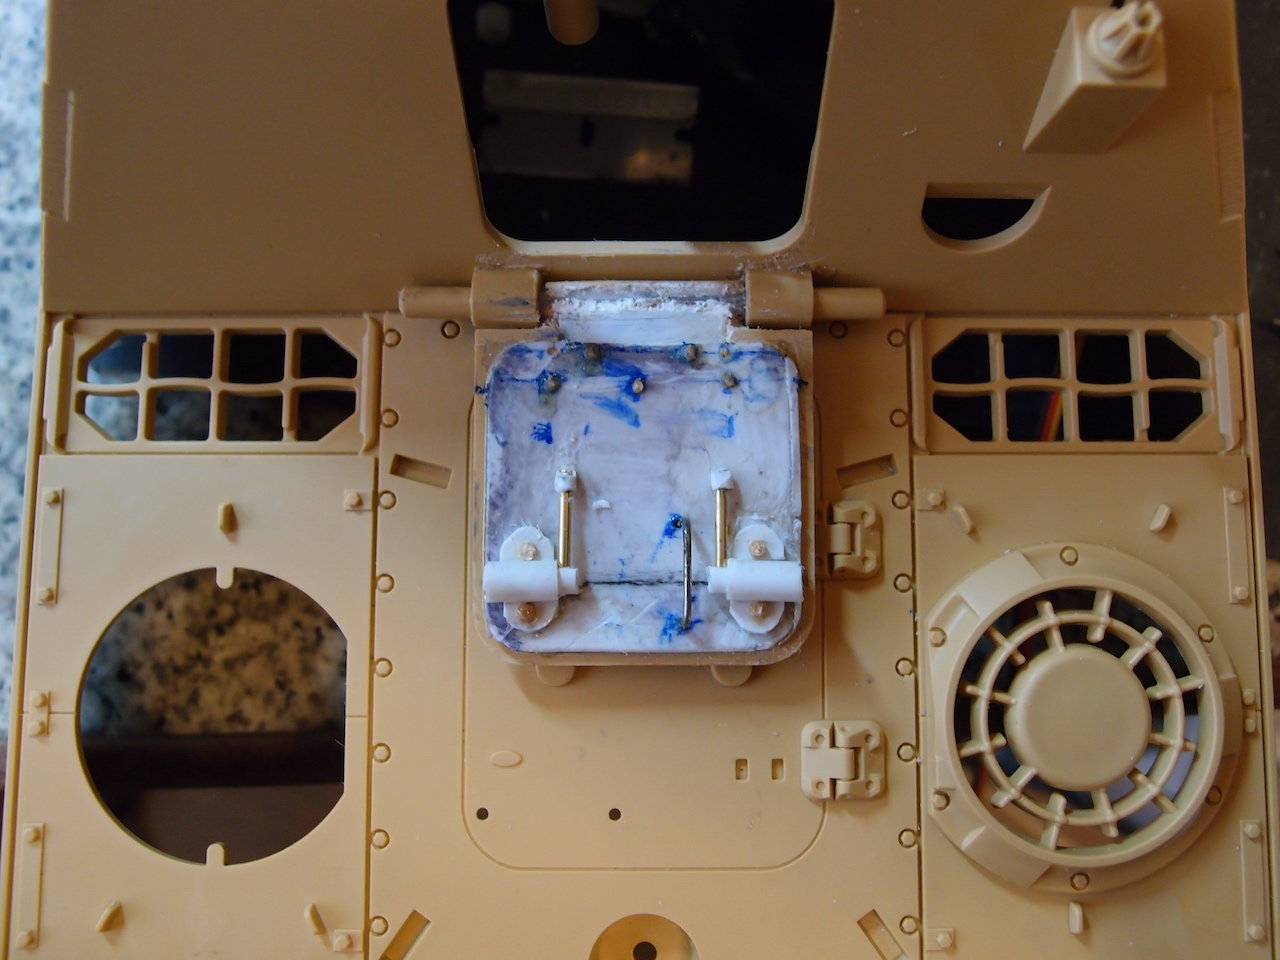
Cut at the hinges , drill thro the the bars and door then fit a brass tube.
This is the detail on the 1/35 Tamiya
Most of the detail added, a clean up then primer to check for problems
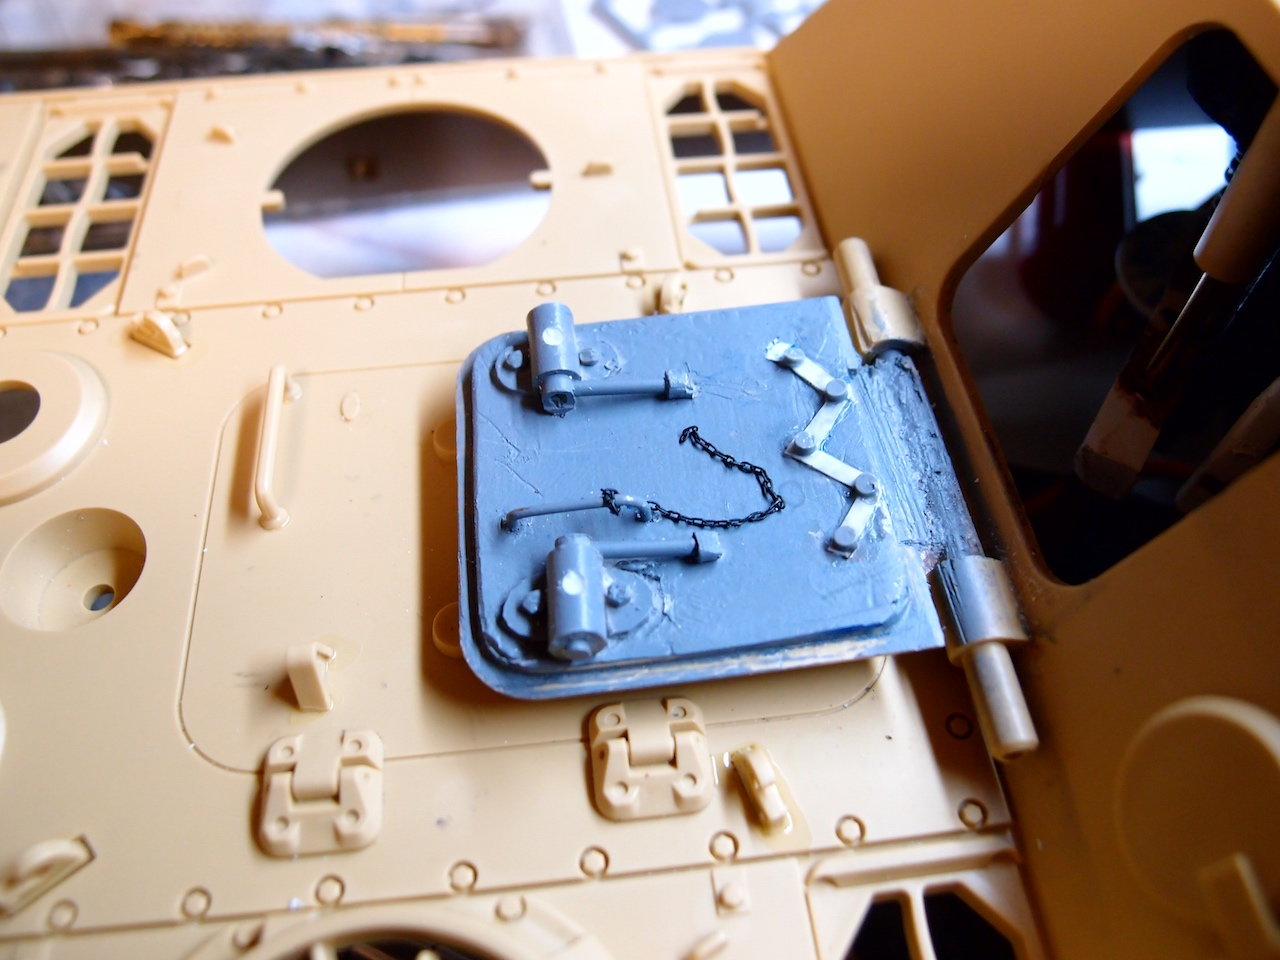
Almost done chain and the locking strips for the bolts added. Filler over the brass bar needs a sand down
Cut at the hinges , drill thro the the bars and door then fit a brass tube.
This is the detail on the 1/35 Tamiya
Most of the detail added, a clean up then primer to check for problems
Almost done chain and the locking strips for the bolts added. Filler over the brass bar needs a sand down
12-23-2020, 02:26 PM
#13
The front periscope , going to do this one too. Managed to cut out the circle without any damage, scored round the edge until thro the plastic . Fitted a nylon tube to the hull and another to the base of the periscope to support a gear. hardest part was fitting the gear , no centre point
This was better as i took my time cutting out, removed the shield to make it easier to work with
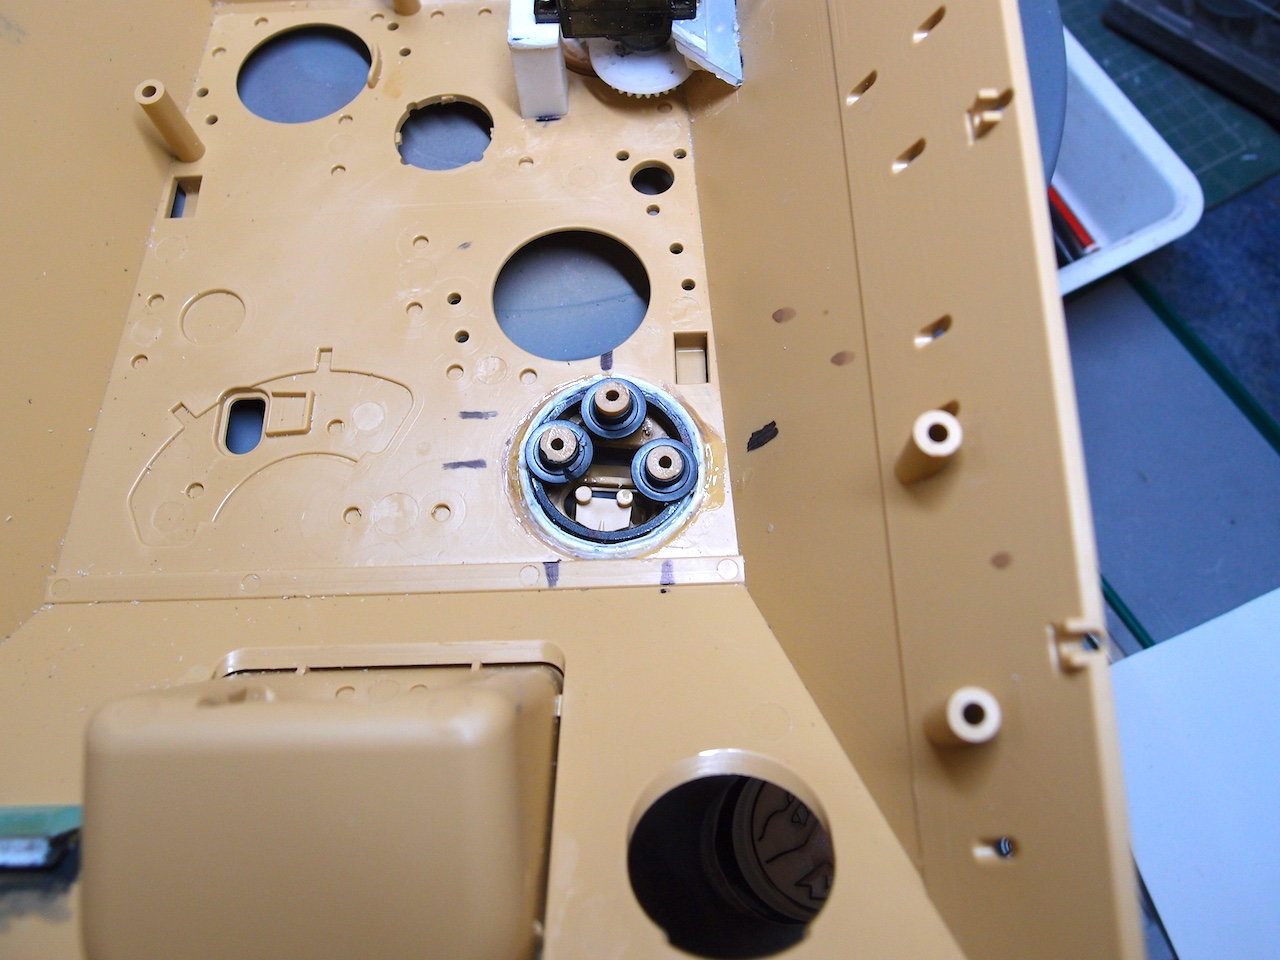
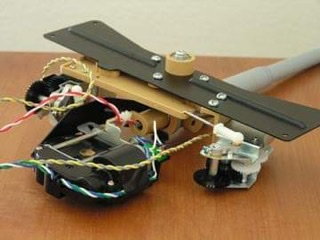
Nylon sleeve and tubes to centre , has a cutout for extension type binoculars that was a pain to work around . At the top of the image is the servo for the rear periscope.
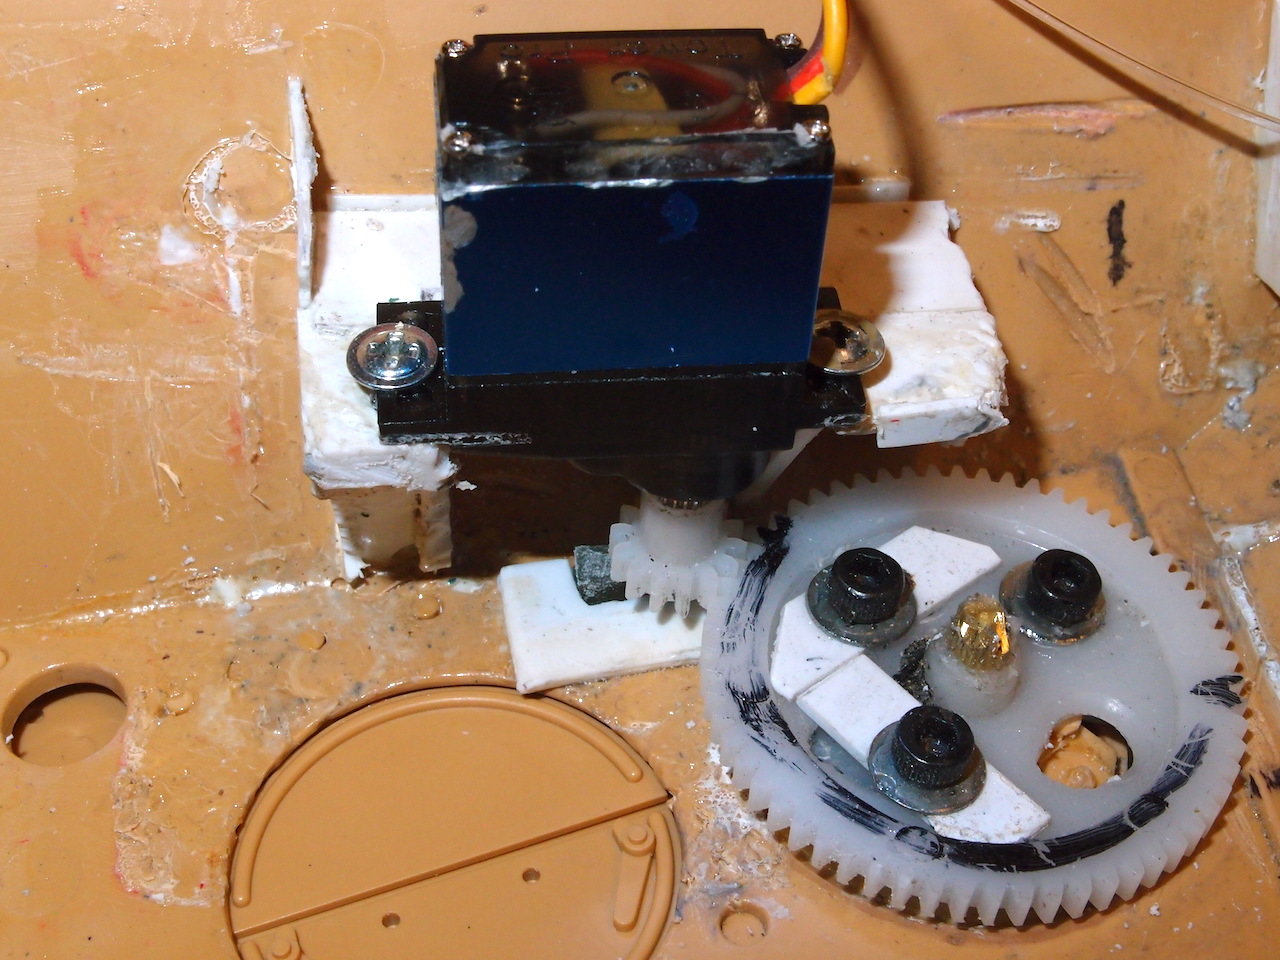
Fitted an acrylic periscope under the servo gear first. Trying to centre the large gear was a pain, also the servo has to be clear of the traverse arc. You can see the glue from the 1st attempt
This was better as i took my time cutting out, removed the shield to make it easier to work with
Nylon sleeve and tubes to centre , has a cutout for extension type binoculars that was a pain to work around . At the top of the image is the servo for the rear periscope.
Fitted an acrylic periscope under the servo gear first. Trying to centre the large gear was a pain, also the servo has to be clear of the traverse arc. You can see the glue from the 1st attempt
Last edited by ronnie42; 12-23-2020 at 02:36 PM.
The following users liked this post:
bowlman (12-23-2020)
12-24-2020, 03:21 AM
#15
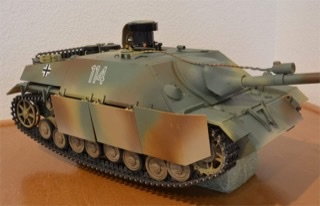
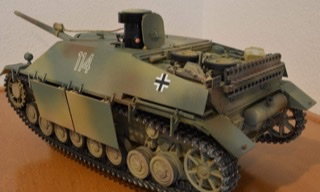
As the front of the Tamiya jagdpanther is a late G2 going for the easy option. Pigs snout has the raised detail for the lifting eye , will drill out for the hook and make a lifting eye
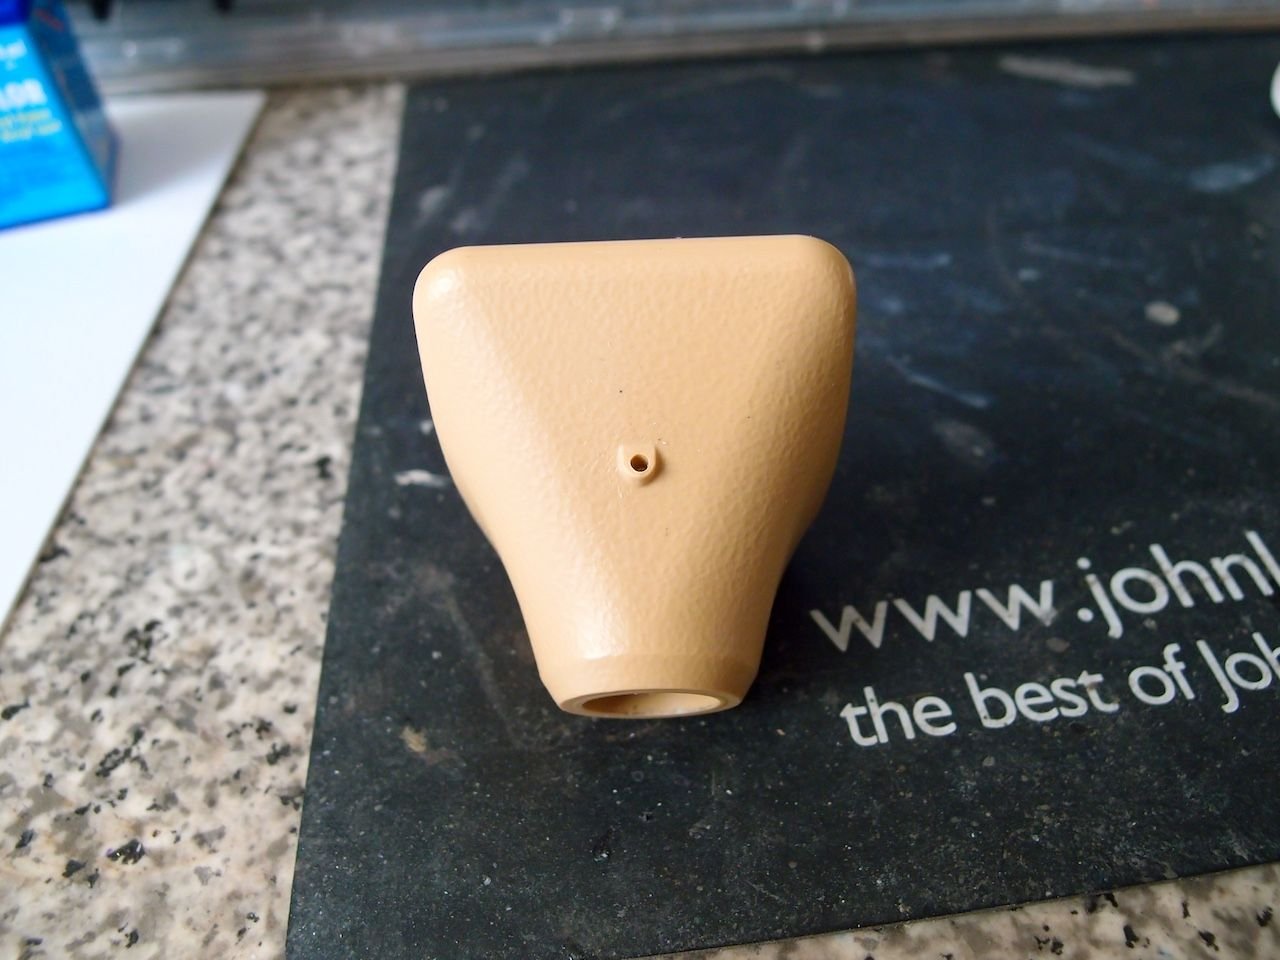

Eye fitted , thin wire with insulation off a thin copper cable
Eye fitted , thin wire with insulation off a thin copper cable
12-24-2020, 03:38 AM
#16
The mg mount lets make a moveable one. Reworked the inner part ,made a mg ball out of epoxy with a brass tube bonded in for the mg.
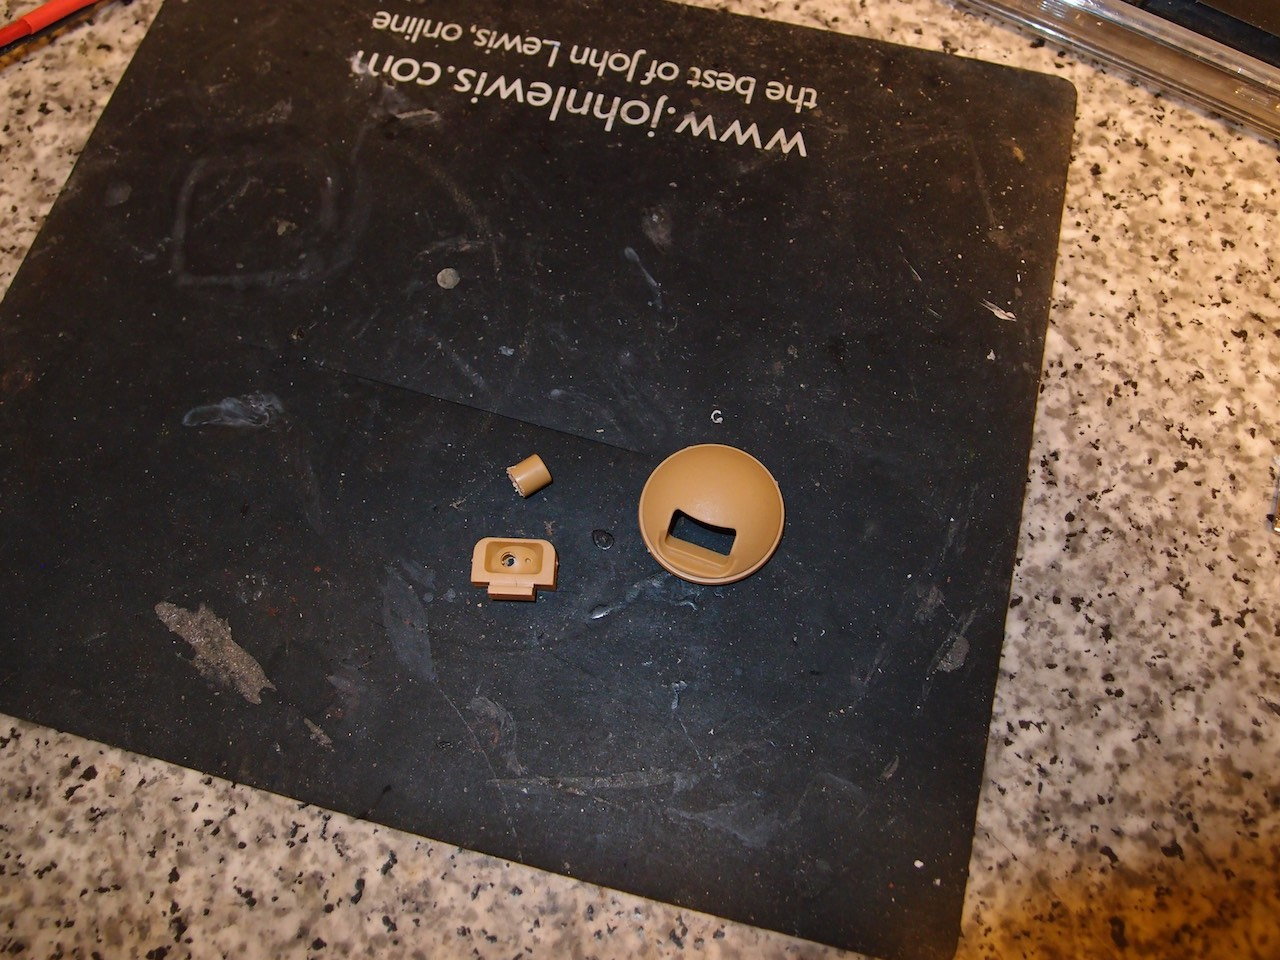
Cut the tube off and reshape the rear of the ball
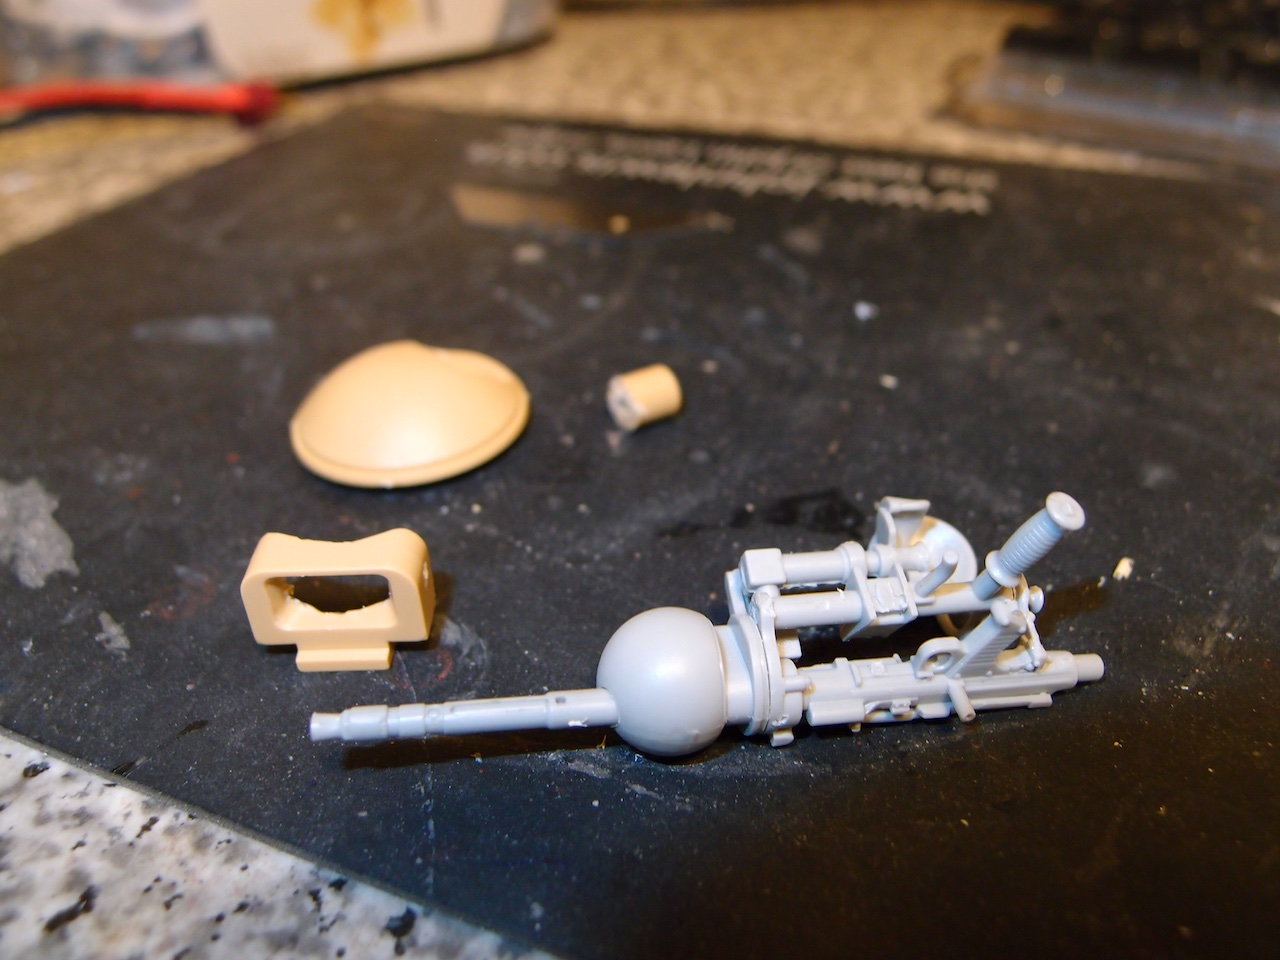
Have the 1/16 Trumpeter Panther ball and mg to guide me
it fits now
Small servo to move mg from side to side.
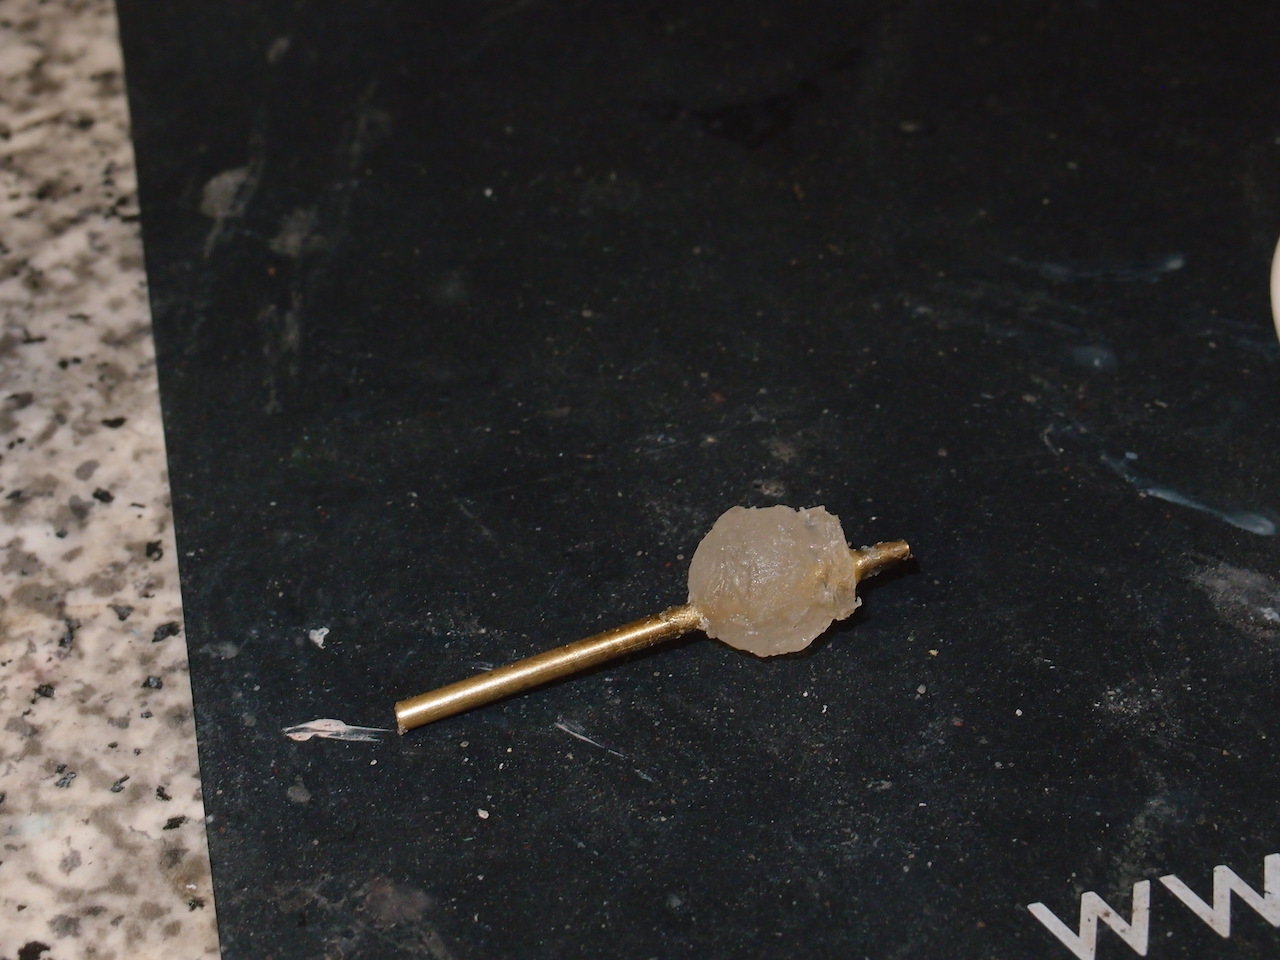
Cast an mg ball and fitted brass tube. So much for 5min epoxy setting time was still soft after 1/2 hour .
Cut the tube off and reshape the rear of the ball
Have the 1/16 Trumpeter Panther ball and mg to guide me
it fits now
Small servo to move mg from side to side.
Cast an mg ball and fitted brass tube. So much for 5min epoxy setting time was still soft after 1/2 hour .
12-24-2020, 03:44 AM
#17
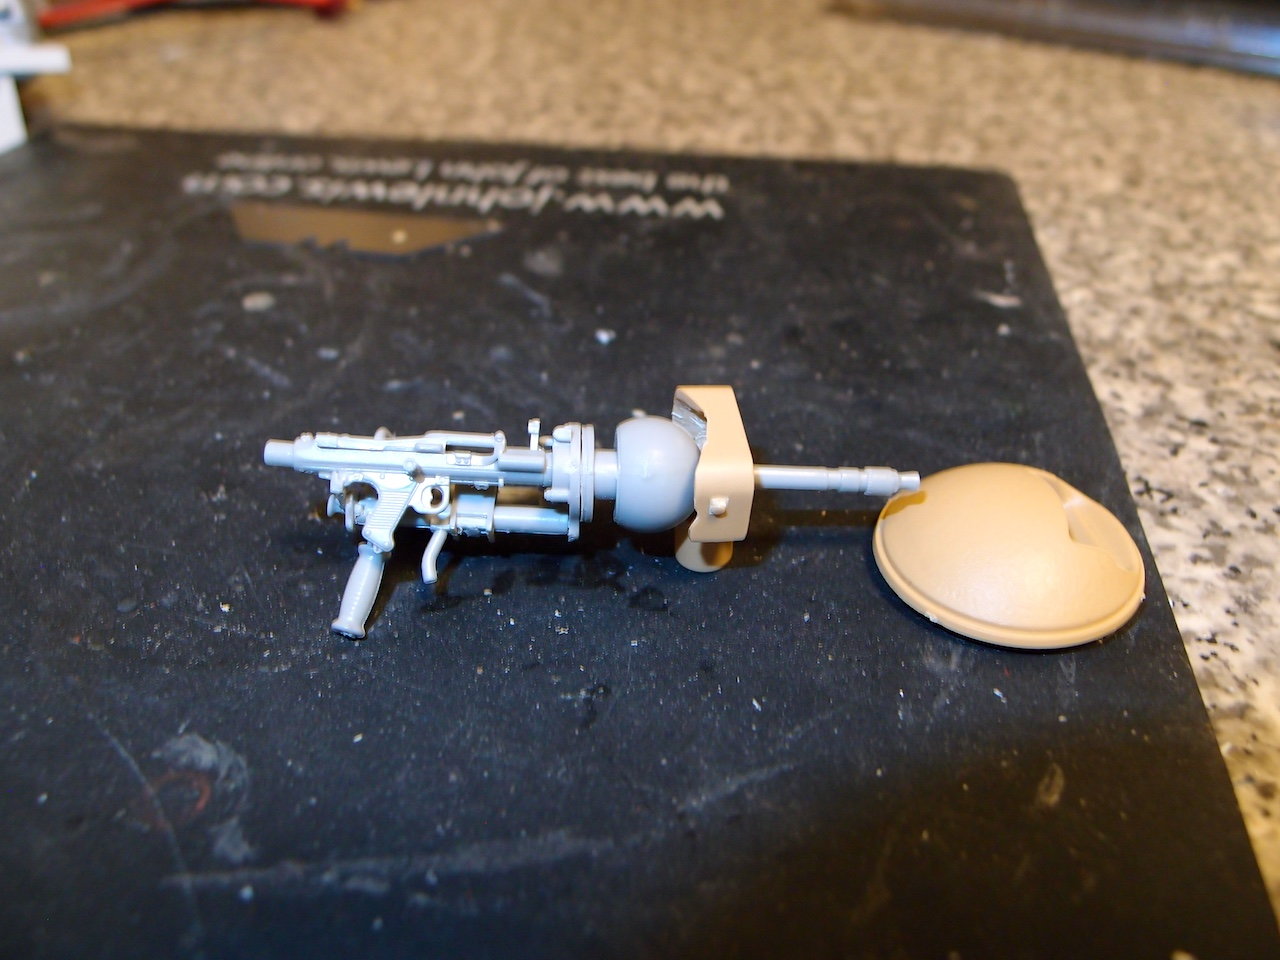
MG video pleased with this , made another ball with a thinner brass tube after ordering thin fibre optic wire. Mould of the Trumpeter mg barrel and cast it over the tube to give detail
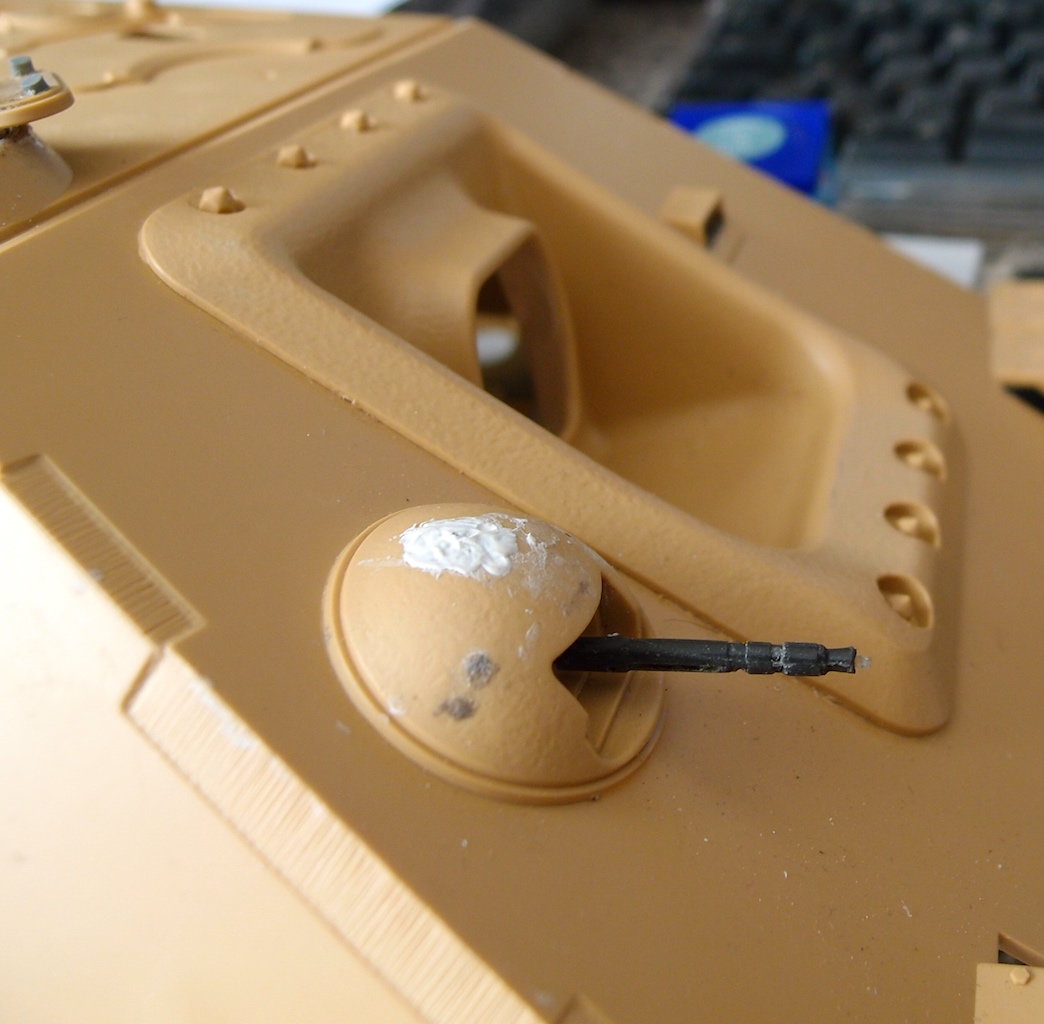
Much better than a plain tube
Much better than a plain tube
Last edited by ronnie42; 12-24-2020 at 03:55 AM.
 12-25-2020, 06:40 PM
#19
 12-28-2020, 03:12 AM
#20
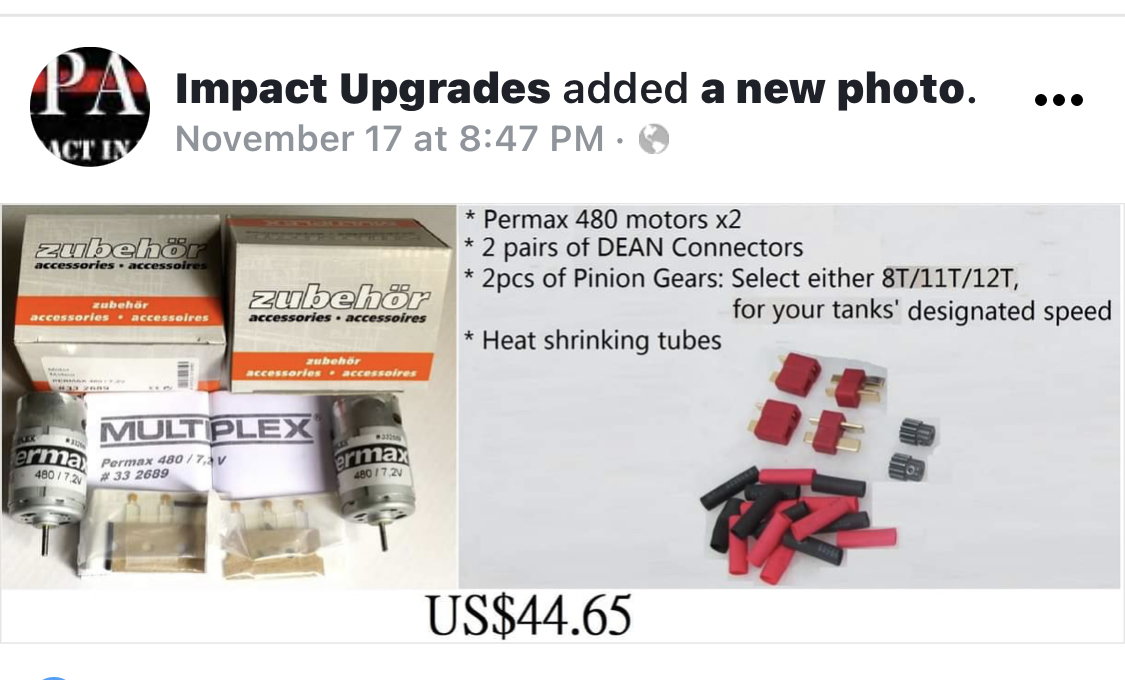
Pcomm thanks for the info on the pinion gears. Sorting out the lights, smd for the front light as they have fine wire leads and 2 green leds for the convoy light. Some do them blue and others green , have blue on some other tanks . If i use the Tamiya MFU the lights will be powered off an old servo to switch on and off .
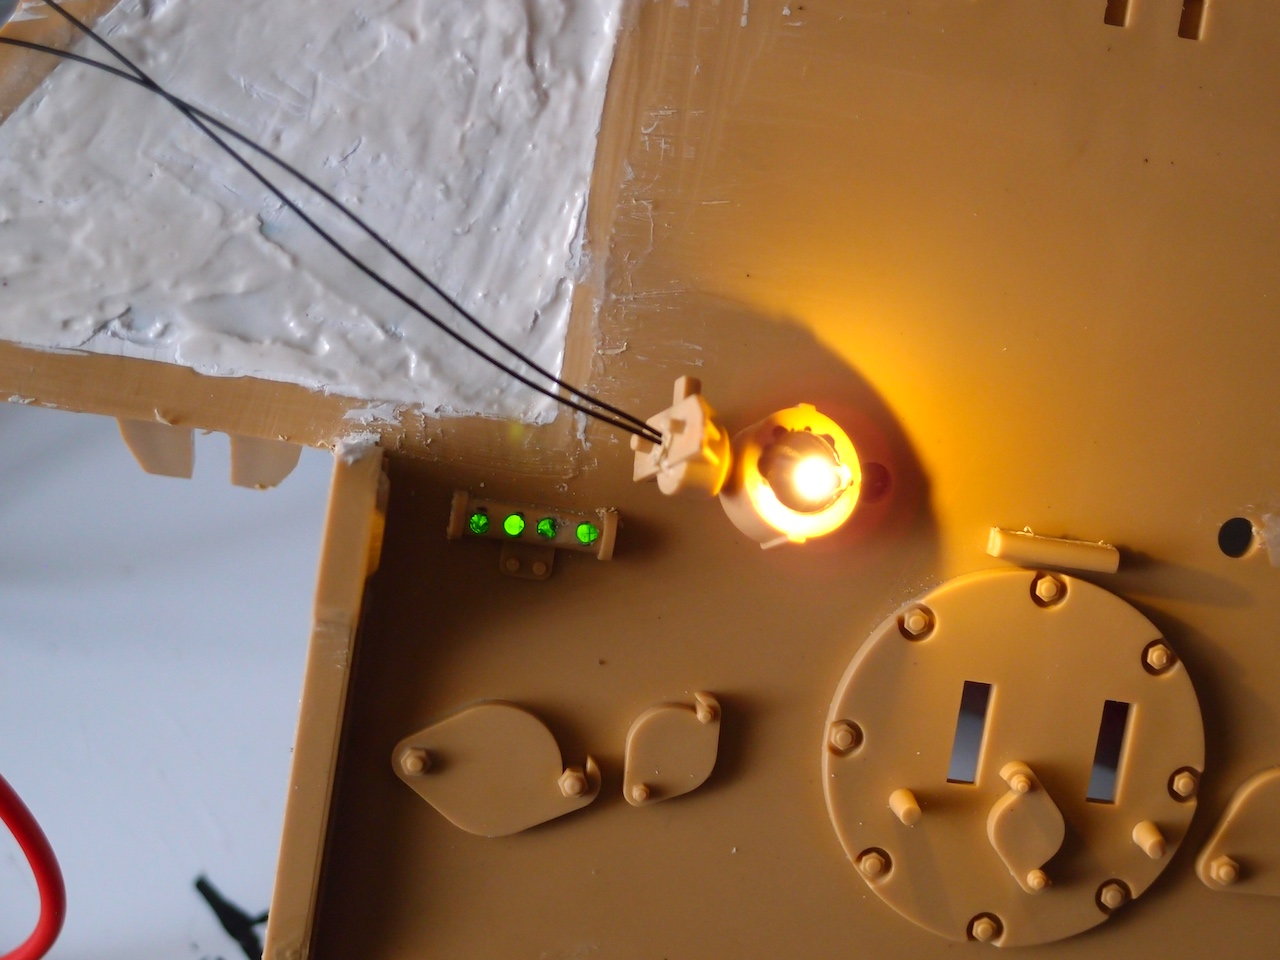
Less hassle using moulded convoy light, the Aber one is a pain to make up. Painted the inside of headlight black .
Less hassle using moulded convoy light, the Aber one is a pain to make up. Painted the inside of headlight black .
 12-29-2020, 08:47 AM
#22
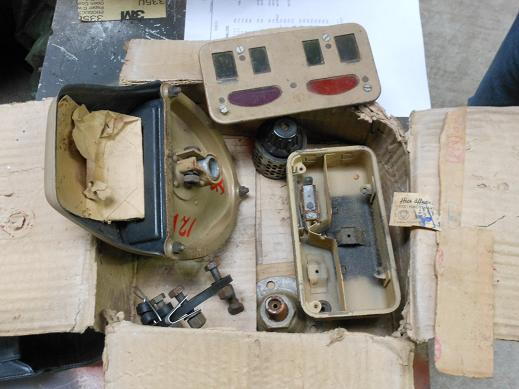
Very nice, it would be amazing if you could find all the parts that are in-between The convoy light is interesting any idea what the purple? and red lights are for. When did they change to the later cylinder type version?
The convoy light is interesting any idea what the purple? and red lights are for. When did they change to the later cylinder type version?
12-29-2020, 09:19 AM
#23
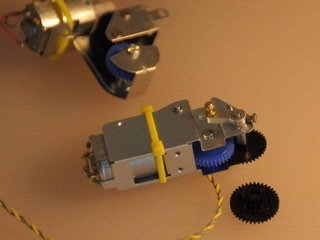
Fitted one of the storage bins , added standoff bracket and some wire to detail the lid clamps. Redone the convoy light as the leds were taking up too much space stopping the speaker lining up with the fixing holes. Fibre optic cables run behind the speaker, if an led blows i don't need to remove speaker to fix.
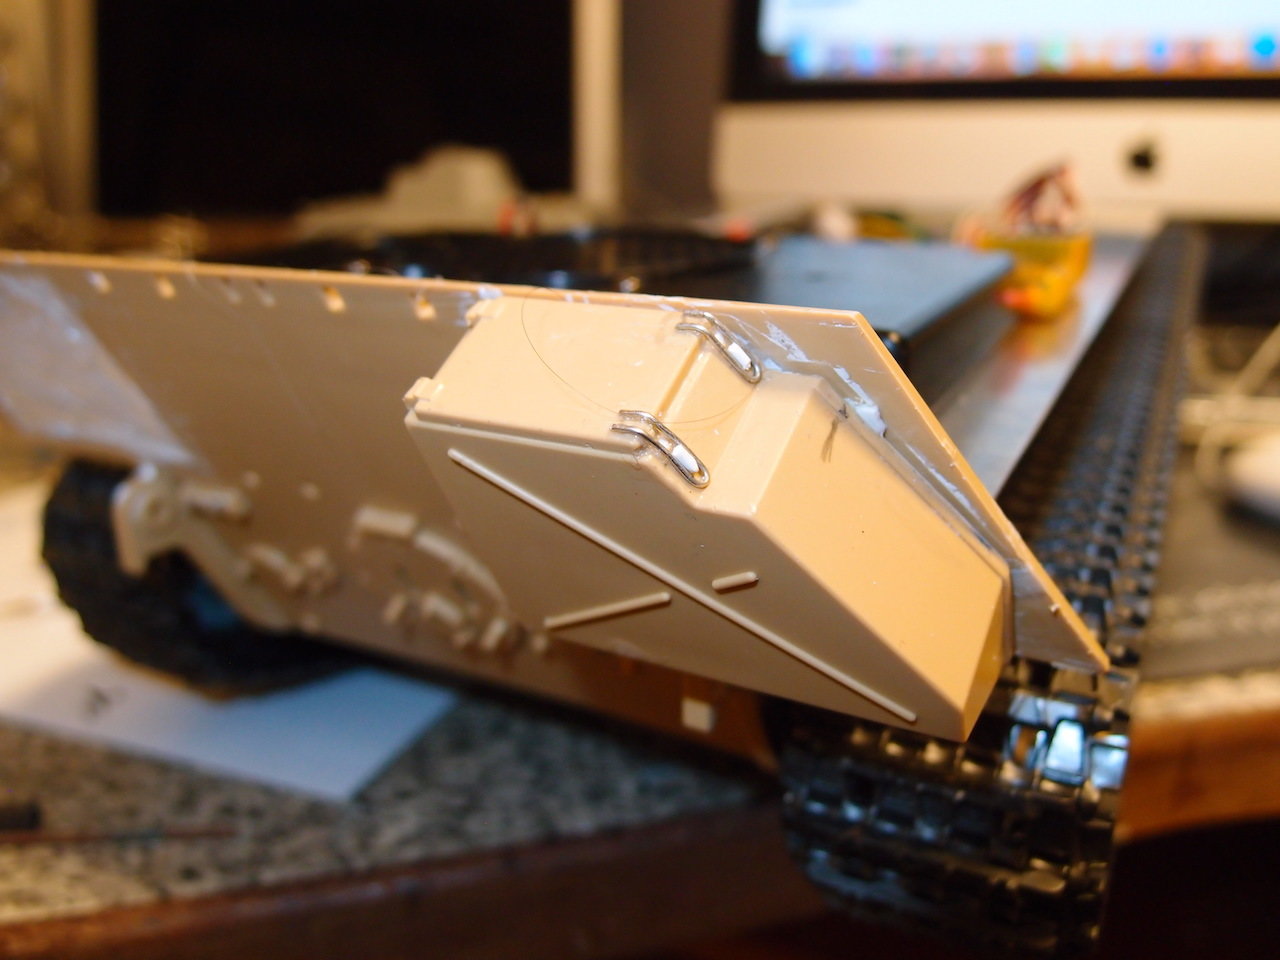
Latch for the lids added and bin sits on bracket.
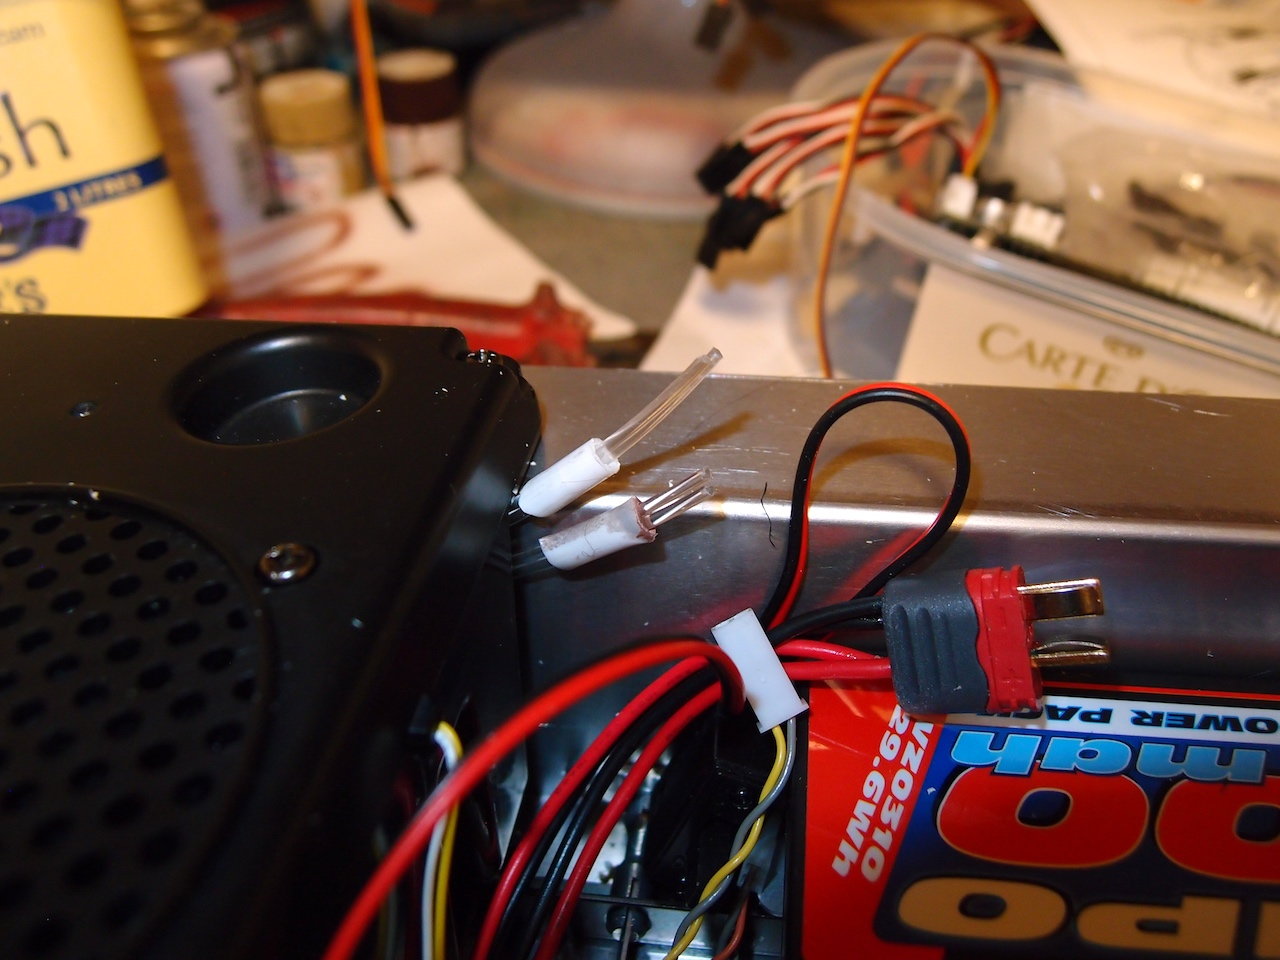
The 4 fibre optic cables ,when cut an leds will fit in the tubes.
Latch for the lids added and bin sits on bracket.
The 4 fibre optic cables ,when cut an leds will fit in the tubes.
01-02-2021, 04:46 AM
#24
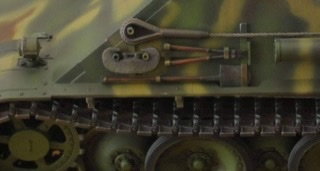
Back onto the rear hull, some chain , the support for the starter handle , C hook holders and the wire cutters moved to the late G2 position. Some more tools to fit , will look to find where they are fitted as tool racks were deleted and the tools were moved .
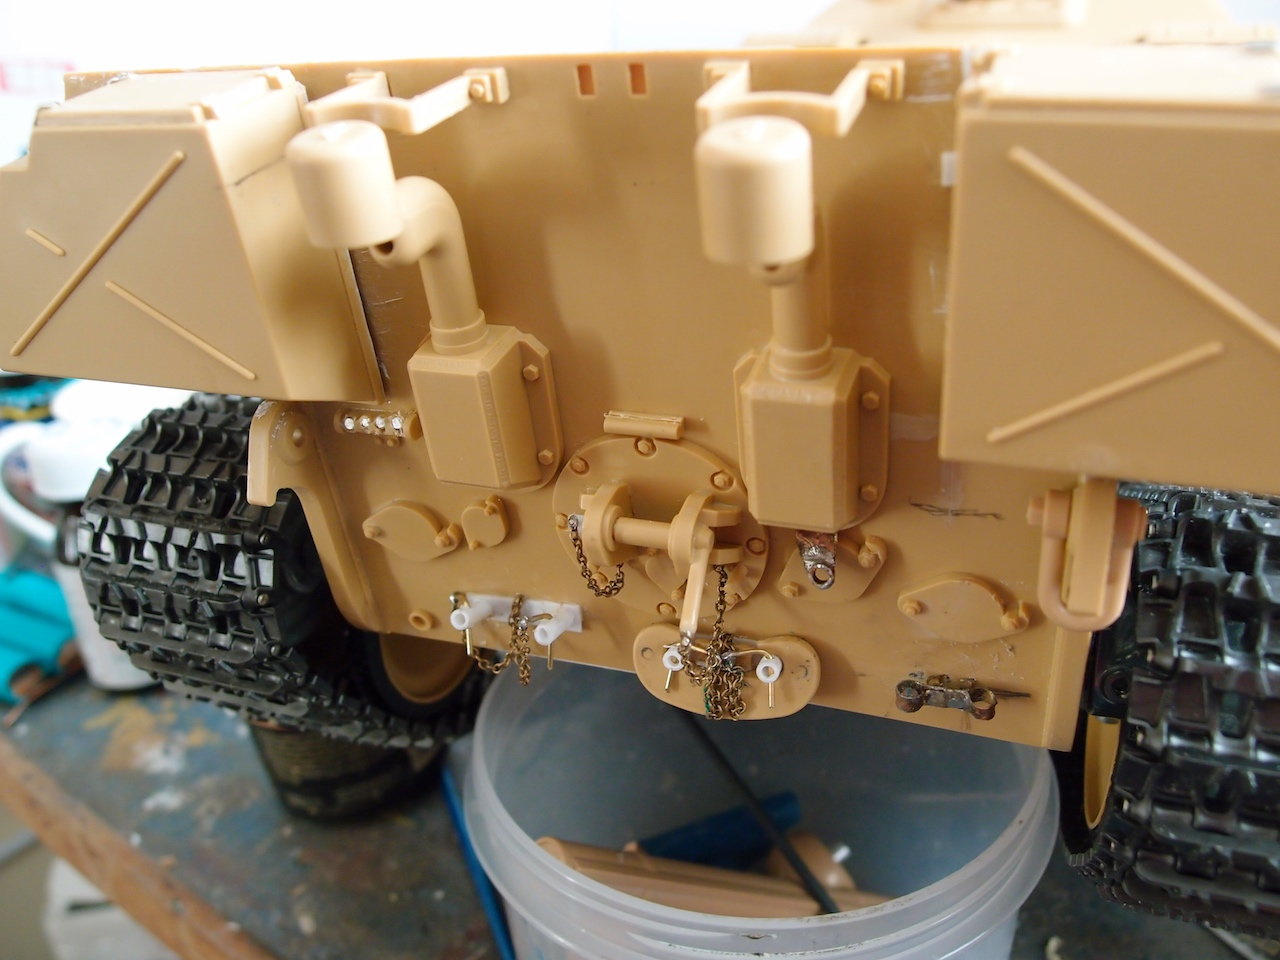
Soldered fine chain onto the pins , the tow pin looks better with the retaining chain
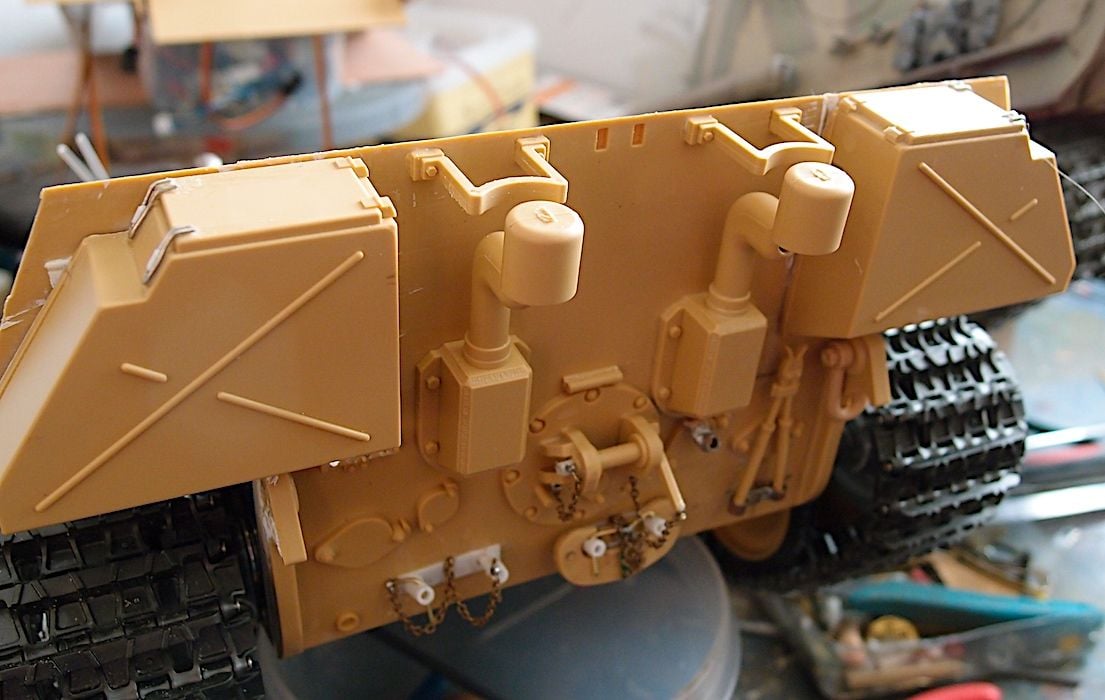
Just need to work out to fix the upper clip for the cutters , don't want to glue as i only want the clamps without the tool.
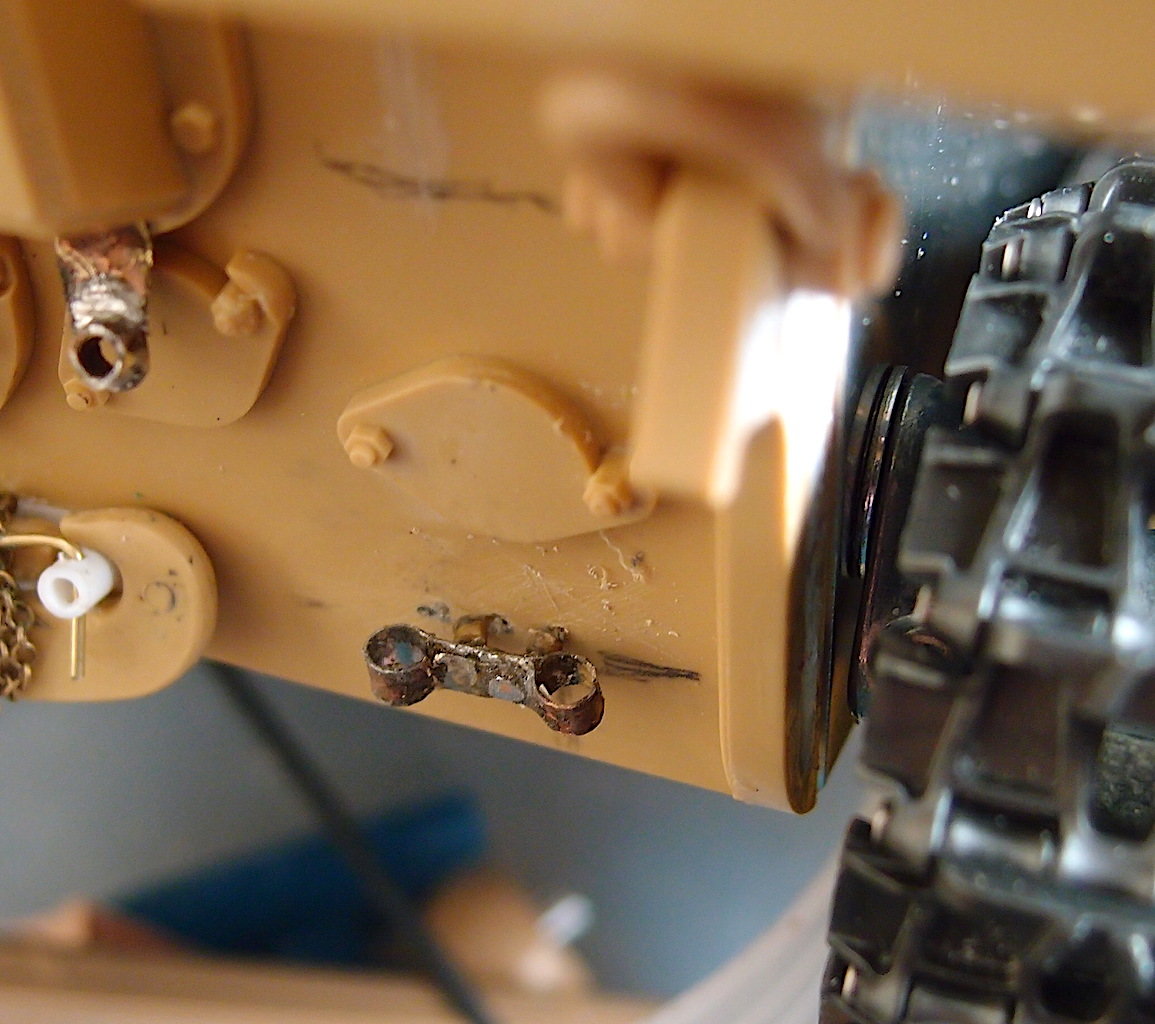
Starter bracket and lower wire cutter holder, filled the holes and long thin slot below the shackle . Will have a look for the real wire cutter holder to see it had a backing plate like the C hook holders.
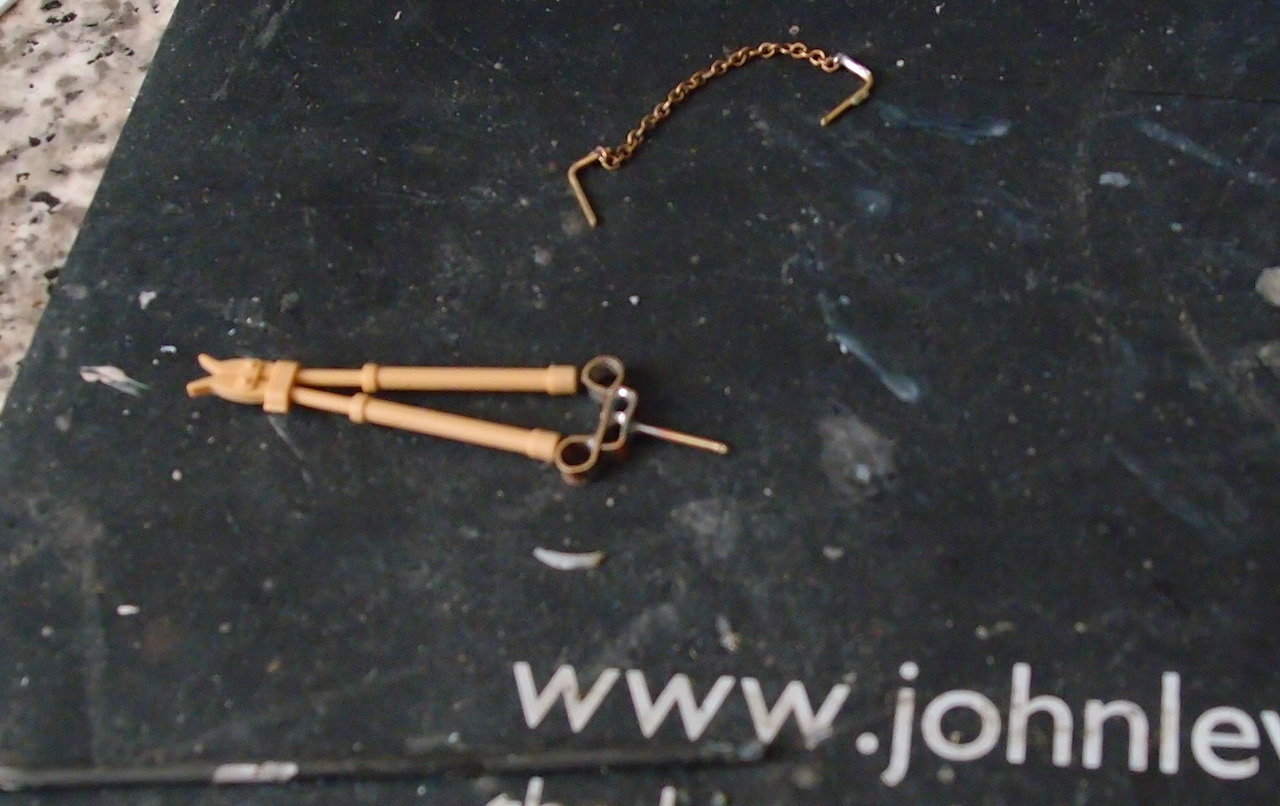
1st attempt never worked out with the chain for the C hooks was too short and the holder looked out of scale . Made another one out of thinner brass strip.
Soldered fine chain onto the pins , the tow pin looks better with the retaining chain
Just need to work out to fix the upper clip for the cutters , don't want to glue as i only want the clamps without the tool.
Starter bracket and lower wire cutter holder, filled the holes and long thin slot below the shackle . Will have a look for the real wire cutter holder to see it had a backing plate like the C hook holders.
1st attempt never worked out with the chain for the C hooks was too short and the holder looked out of scale . Made another one out of thinner brass strip.
01-02-2021, 02:33 PM
#25
CRAZY good!
Remember, all that detail right there makes it so fragile when picking it up.
Remember, all that detail right there makes it so fragile when picking it up.