


CARF Mephisto Build thread
 04-02-2020, 03:14 AM
#551

Dave
This one is 22.1Kg dry weight. It’s balanced right at the factory recommended spot so most likely smaller packs can be used once it’s flown. This is the first Mephisto I’ve built and I now know where weight can be taken out. <20Kg with a 300 is going to take careful attention to everything so yes....get rid of that glue ooze All kidding aside, your approach to model building is to be commended. Light and simple is the way to go.
K320
CM Jets 6L Kevlar tank w/custom mounts
MKS 599 (air/elv/rud)
MKS 3850 (vector)
MKS 9930 (flp/steering)
Cortex Pro
Jeti CB210
Jeti REX 12
Jeti R900
Jeti R3RSW (used as rc switch)
Jeti 6200 rx packs (x2)
Kingtech 3800 3s LiFe
Digitech 250ml UAT
Digitech CTU
Innoflyer Light Driver 5.0
Innoflyer LED lights (x10)
This one is 22.1Kg dry weight. It’s balanced right at the factory recommended spot so most likely smaller packs can be used once it’s flown. This is the first Mephisto I’ve built and I now know where weight can be taken out. <20Kg with a 300 is going to take careful attention to everything so yes....get rid of that glue ooze
All kidding aside, your approach to model building is to be commended. Light and simple is the way to go.K320
CM Jets 6L Kevlar tank w/custom mounts
MKS 599 (air/elv/rud)
MKS 3850 (vector)
MKS 9930 (flp/steering)
Cortex Pro
Jeti CB210
Jeti REX 12
Jeti R900
Jeti R3RSW (used as rc switch)
Jeti 6200 rx packs (x2)
Kingtech 3800 3s LiFe
Digitech 250ml UAT
Digitech CTU
Innoflyer Light Driver 5.0
Innoflyer LED lights (x10)
Last edited by F1 Rocket; 04-02-2020 at 03:27 AM.
 04-02-2020, 03:25 AM
#552
Thread Starter
Danny
20kg with a P-300Pro is impossible, we did the minimum of everything and small batteries and we were 20.4kg
it makes a difference even on big aeroplanes!
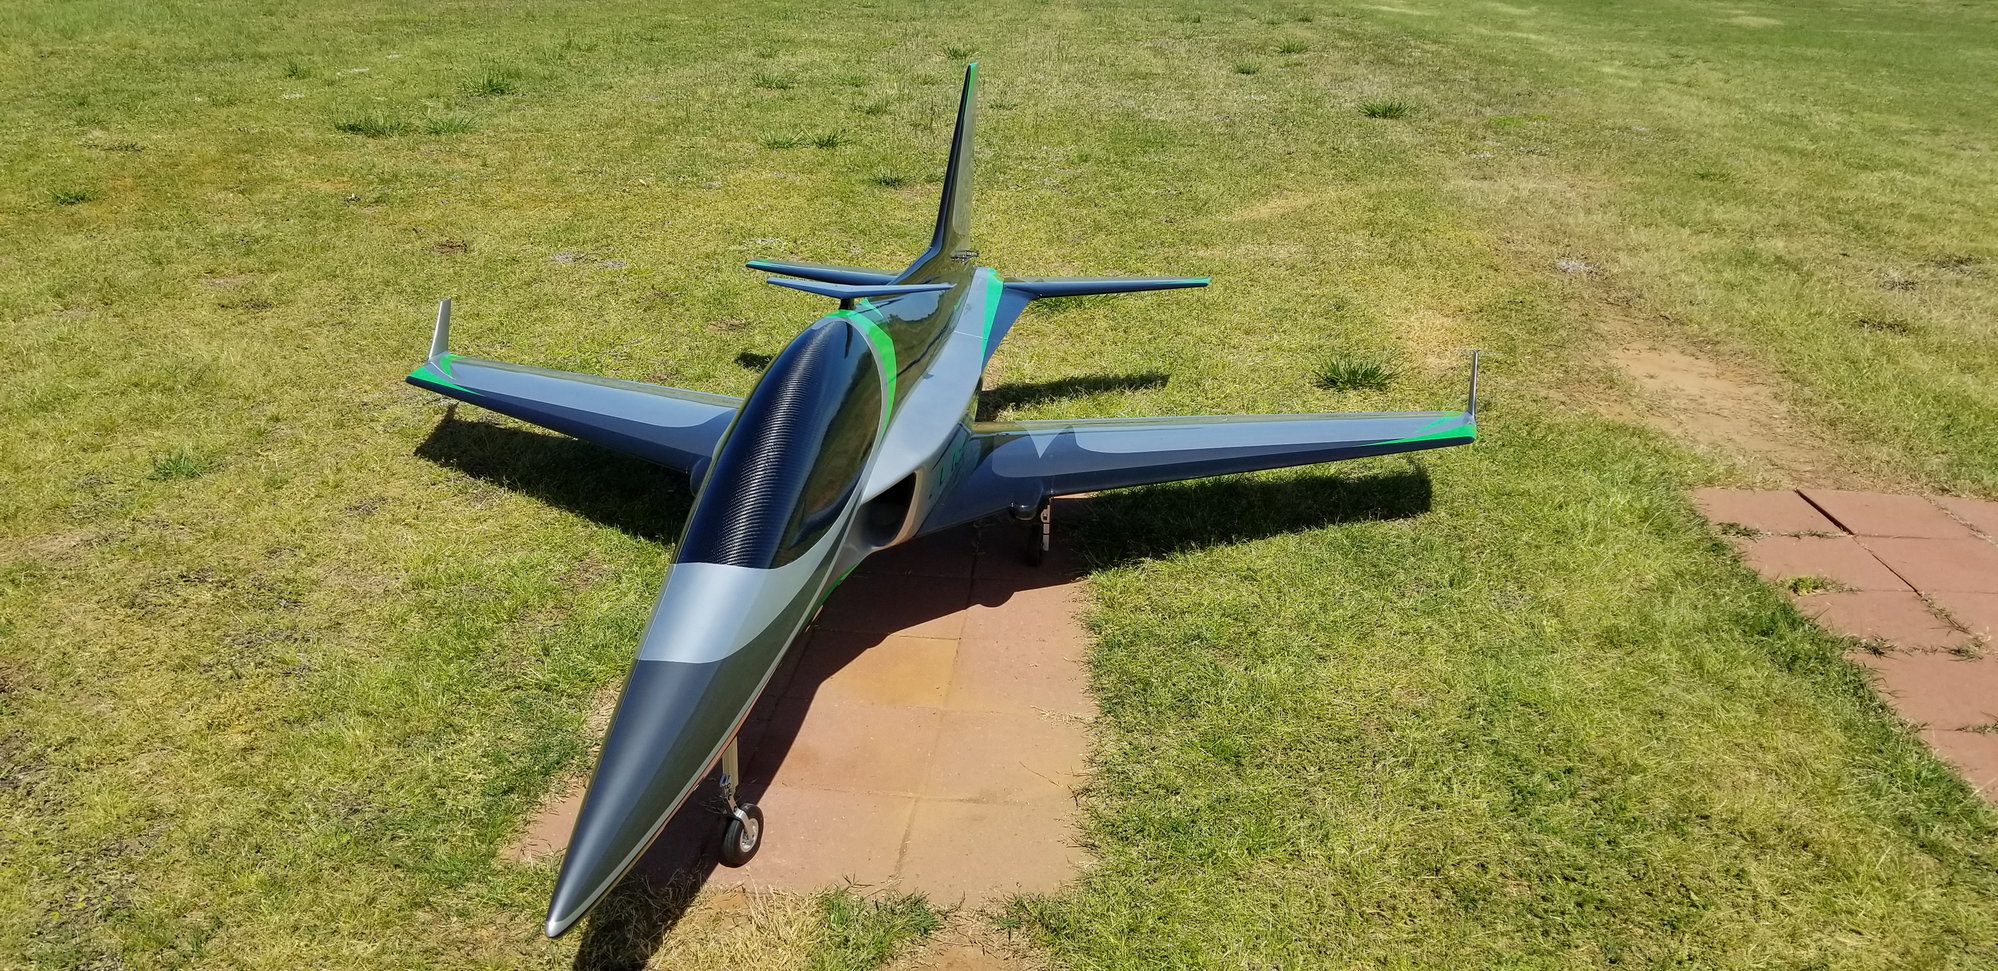
Here is my friend Andy’s stripped out version.
stay safe
Dave

20kg with a P-300Pro is impossible, we did the minimum of everything and small batteries and we were 20.4kg
it makes a difference even on big aeroplanes!
Here is my friend Andy’s stripped out version.
stay safe
Dave
04-02-2020, 04:34 AM
#553

My Feedback: (53)

Dave
This one is 22.1Kg dry weight. It’s balanced right at the factory recommended spot so most likely smaller packs can be used once it’s flown. This is the first Mephisto I’ve built and I now know where weight can be taken out. <20Kg with a 300 is going to take careful attention to everything so yes....get rid of that glue ooze All kidding aside, your approach to model building is to be commended. Light and simple is the way to go.
K320
CM Jets 6L Kevlar tank w/custom mounts
MKS 599 (air/elv/rud)
MKS 3850 (vector)
MKS 9930 (flp/steering)
Cortex Pro
Jeti CB210
Jeti REX 12
Jeti R900
Jeti R3RSW (used as rc switch)
Jeti 6200 rx packs (x2)
Kingtech 3800 3s LiFe
Digitech 250ml UAT
Digitech CTU
Innoflyer Light Driver 5.0
Innoflyer LED lights (x10)
This one is 22.1Kg dry weight. It’s balanced right at the factory recommended spot so most likely smaller packs can be used once it’s flown. This is the first Mephisto I’ve built and I now know where weight can be taken out. <20Kg with a 300 is going to take careful attention to everything so yes....get rid of that glue ooze
All kidding aside, your approach to model building is to be commended. Light and simple is the way to go.K320
CM Jets 6L Kevlar tank w/custom mounts
MKS 599 (air/elv/rud)
MKS 3850 (vector)
MKS 9930 (flp/steering)
Cortex Pro
Jeti CB210
Jeti REX 12
Jeti R900
Jeti R3RSW (used as rc switch)
Jeti 6200 rx packs (x2)
Kingtech 3800 3s LiFe
Digitech 250ml UAT
Digitech CTU
Innoflyer Light Driver 5.0
Innoflyer LED lights (x10)
04-02-2020, 09:49 AM
#559
Dave
This one is 22.1Kg dry weight. It’s balanced right at the factory recommended spot so most likely smaller packs can be used once it’s flown. This is the first Mephisto I’ve built and I now know where weight can be taken out. <20Kg with a 300 is going to take careful attention to everything so yes....get rid of that glue ooze All kidding aside, your approach to model building is to be commended. Light and simple is the way to go.
K320
CM Jets 6L Kevlar tank w/custom mounts
MKS 599 (air/elv/rud)
MKS 3850 (vector)
MKS 9930 (flp/steering)
Cortex Pro
Jeti CB210
Jeti REX 12
Jeti R900
Jeti R3RSW (used as rc switch)
Jeti 6200 rx packs (x2)
Kingtech 3800 3s LiFe
Digitech 250ml UAT
Digitech CTU
Innoflyer Light Driver 5.0
Innoflyer LED lights (x10)
This one is 22.1Kg dry weight. It’s balanced right at the factory recommended spot so most likely smaller packs can be used once it’s flown. This is the first Mephisto I’ve built and I now know where weight can be taken out. <20Kg with a 300 is going to take careful attention to everything so yes....get rid of that glue ooze
All kidding aside, your approach to model building is to be commended. Light and simple is the way to go.K320
CM Jets 6L Kevlar tank w/custom mounts
MKS 599 (air/elv/rud)
MKS 3850 (vector)
MKS 9930 (flp/steering)
Cortex Pro
Jeti CB210
Jeti REX 12
Jeti R900
Jeti R3RSW (used as rc switch)
Jeti 6200 rx packs (x2)
Kingtech 3800 3s LiFe
Digitech 250ml UAT
Digitech CTU
Innoflyer Light Driver 5.0
Innoflyer LED lights (x10)
My V1 is about the same as yours, also with CMJ but side keblar tanks and smoke, Same Jeti but 200, Savox 1270 and 2290 on flaps, Intiarco UAT and pulse 3600 batts, and its only 20.3 Dry..
Last edited by skymaster68; 04-02-2020 at 01:54 PM.
04-02-2020, 02:22 PM
#562
Thread Starter
Yep! OK...I’m sure on a proper set of scales and not those chocolate tea pot ones it would be different 😉
If you have gear doors and servos, plus the Intairco trap etc I don’t see anyway to get it there. Airframes do vary a bit, but our V2 has nothing in it at 20.4kg. Which pipe do you have? The original one was a lot lighter and that can make a bit of difference.
Dave
If you have gear doors and servos, plus the Intairco trap etc I don’t see anyway to get it there. Airframes do vary a bit, but our V2 has nothing in it at 20.4kg. Which pipe do you have? The original one was a lot lighter and that can make a bit of difference.
Dave
04-02-2020, 02:35 PM
#563
Yep! OK...I’m sure on a proper set of scales and not those chocolate tea pot ones it would be different 😉
If you have gear doors and servos, plus the Intairco trap etc I don’t see anyway to get it there. Airframes do vary a bit, but our V2 has nothing in it at 20.4kg. Which pipe do you have? The original one was a lot lighter and that can make a bit of difference.
Dave
If you have gear doors and servos, plus the Intairco trap etc I don’t see anyway to get it there. Airframes do vary a bit, but our V2 has nothing in it at 20.4kg. Which pipe do you have? The original one was a lot lighter and that can make a bit of difference.
Dave
what’s no good about “tea pods”
04-02-2020, 02:47 PM
#564
I’m ok with the weight on the one I built. It was weighed with the Digitech CG Wizard. I have a set of calibration weights and check it with those before putting an airplane on it. Never off by more than a couple grams.
04-03-2020, 01:40 AM
#565
Thread Starter
Chocolate tea pots are useless as they would melt. Most of the people I know that bought the Xicoy balancer have skipped them as the readings are too inconsistent. One guy weighed his model every day over a week and it was different each day!
04-03-2020, 01:58 AM
#566
Agreed, now consigned to a shelf at back of the workshop.
04-03-2020, 08:00 AM
#567

Thanks again DW. I contacted MAP Products in Canada directly as I could not find those dual tank high flow MAP bubble traps on their website or in their US distribution network. That was yesterday. Apparently they were a special product release. So I told John I would like one and this morning I woke to emails saying I had a package coming and an invoice (after the fact!) to settle. That is nothing short of amazing service. We all know the MAP traps are reasonably priced and shipping to the US from Canada was also low. If anyone needs a bubble trap you can't do better than that!
04-03-2020, 08:09 AM
#568
Thread Starter
John is a top bloke and makes IMO the best bubble trap. If you look at the album picture thread running, a large number of those models have MAP traps fitted and are super reliable. It’s all I have used for the last 10 years and the latest version have a pick up 3x bigger than before.
04-04-2020, 05:39 PM
#569
Gads, I have looked at all these pictures a dozen times! Questions for tomorrows day in the shop are:
1. There is a picture of flap install showing a bolt through the brass tube that secures the flap crank in position, but the manual just says use a drop of epoxy or silicone, so is the bolt not necessary?
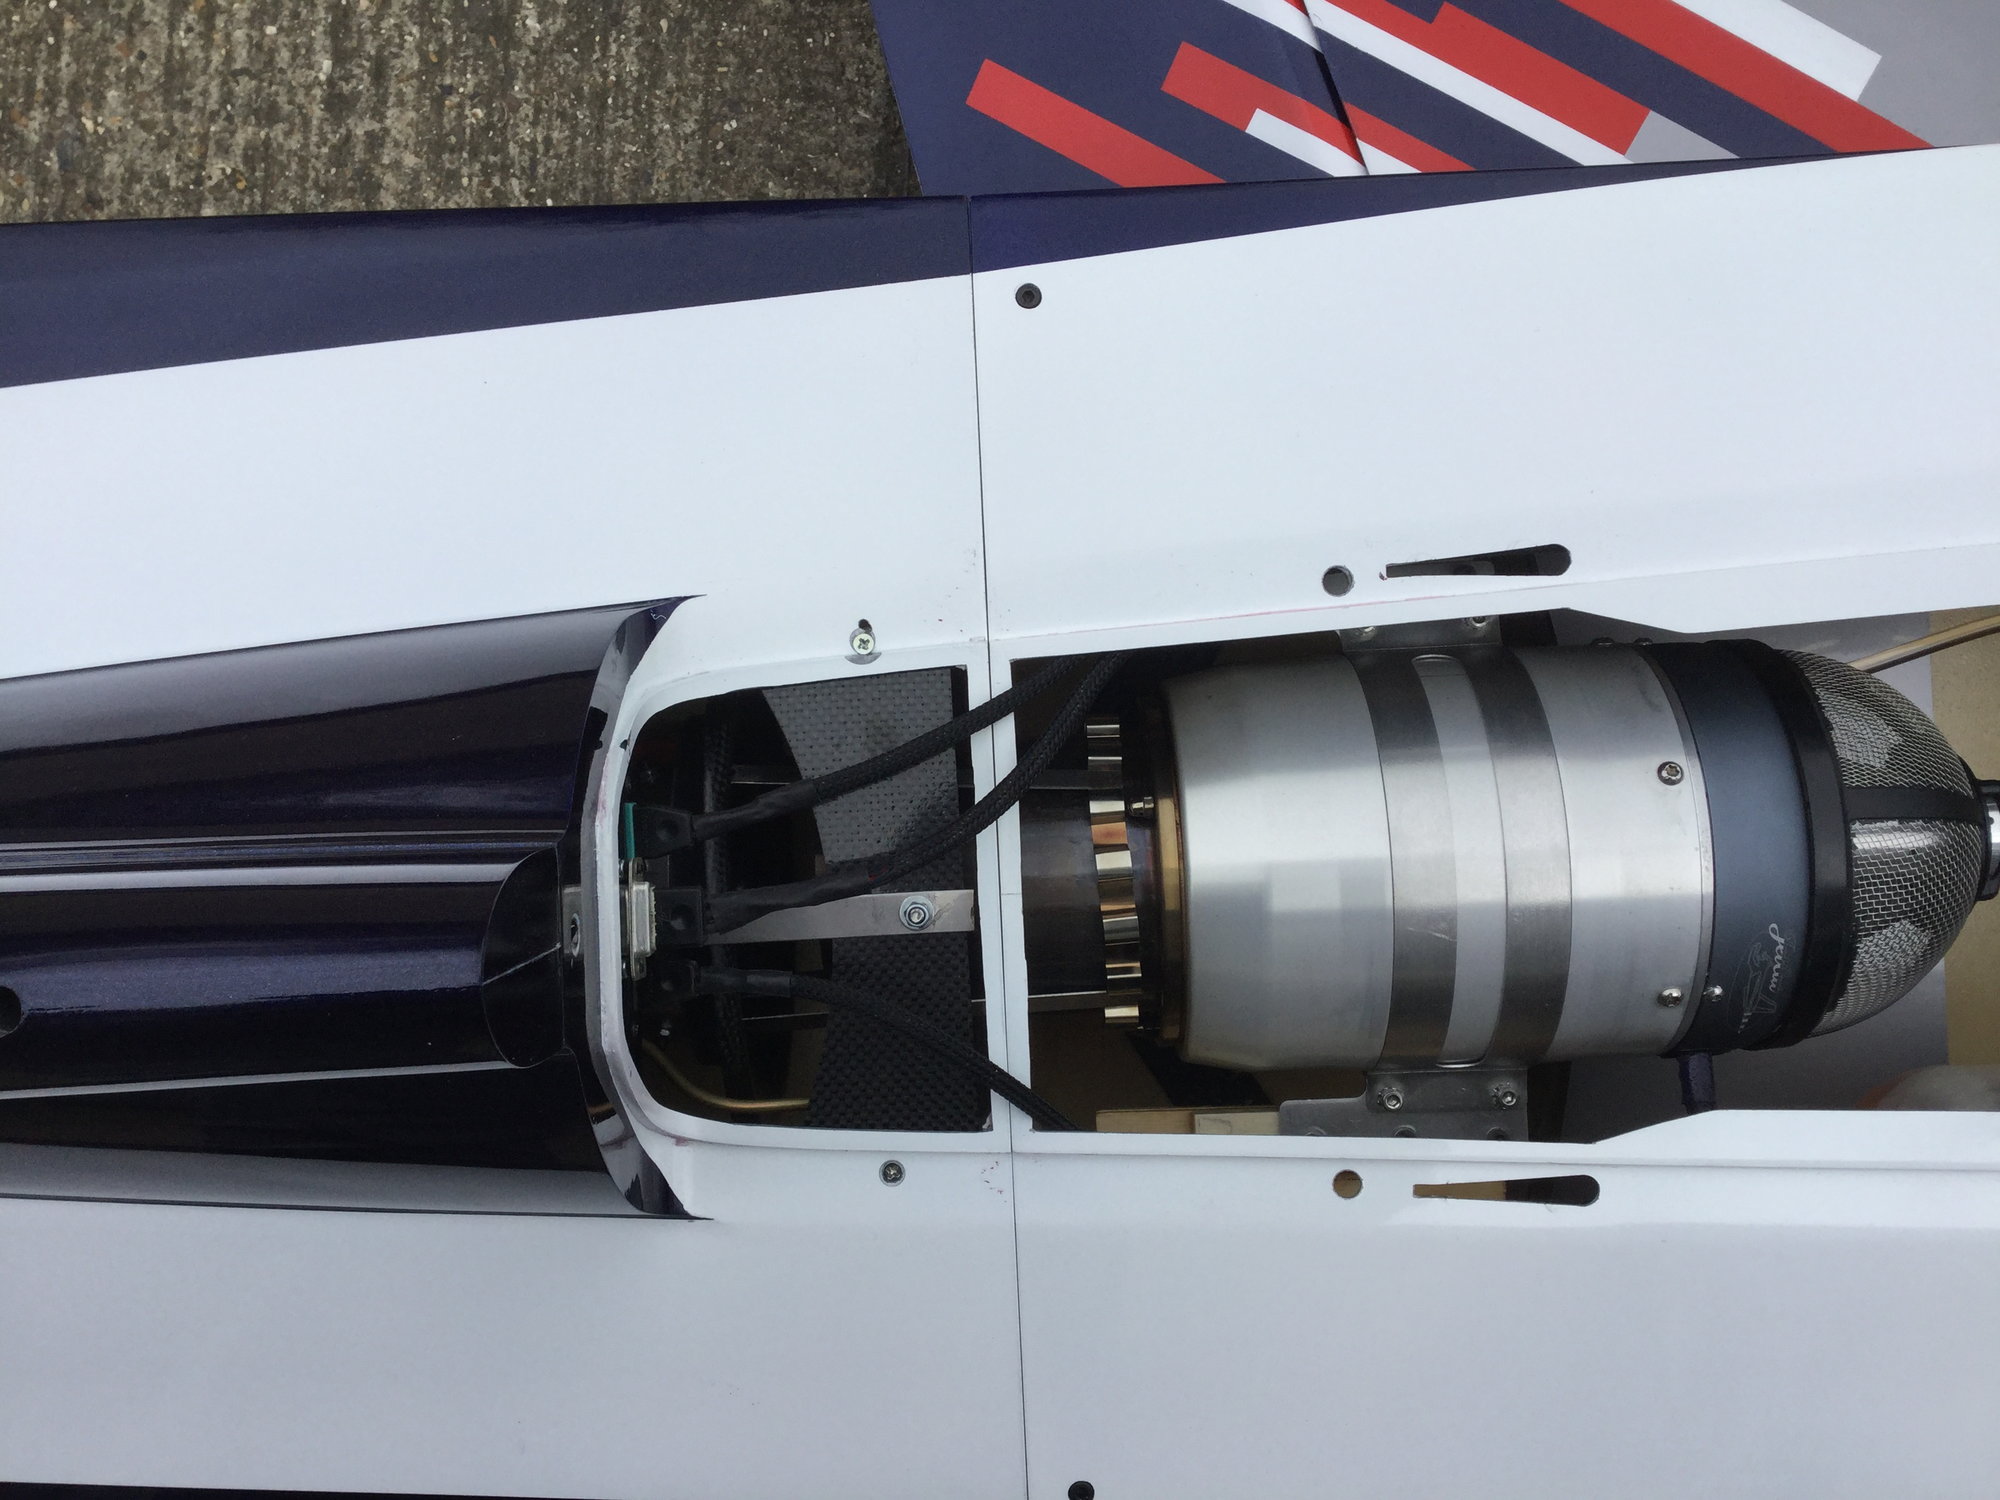
2. the Ziv Bit mod will be necessary as I have a Kingtech 320. I see some pics of vents in the aft wing center section opening which would place them beneath/behind the turbine inlet, I think others have put the vents in the forward wing center section opening, which would put them aft of the inlet ducts, between the two fuel tanks, well ahead of the turbine inlet on my V2 jet. I imagine that would be preferable, comments?
3. What is the best way to position the turbine (KT320) and thrust tube (V2)? I think it would be best for CG to place the Kingtech as far forward on the rails as it can go, then locate the thrust tube 25mm back from the exhaust, then glue in the rear formers. So the turbine determines the placement of everything else. Does that sound about right? Or is there a better way?
4. It sounds to me like drilling out the two CARF supplied fiber clunks will supply enough fuel to my 320 in a dual tank setup. There is a lot of discussion about this but kind of inconclusive... I have used BVM clunks in the past but every time I build a CARF jet I grapple with those funky clunks again! I'd kind of like to use them this time.
1. There is a picture of flap install showing a bolt through the brass tube that secures the flap crank in position, but the manual just says use a drop of epoxy or silicone, so is the bolt not necessary?
2. the Ziv Bit mod will be necessary as I have a Kingtech 320. I see some pics of vents in the aft wing center section opening which would place them beneath/behind the turbine inlet, I think others have put the vents in the forward wing center section opening, which would put them aft of the inlet ducts, between the two fuel tanks, well ahead of the turbine inlet on my V2 jet. I imagine that would be preferable, comments?
3. What is the best way to position the turbine (KT320) and thrust tube (V2)? I think it would be best for CG to place the Kingtech as far forward on the rails as it can go, then locate the thrust tube 25mm back from the exhaust, then glue in the rear formers. So the turbine determines the placement of everything else. Does that sound about right? Or is there a better way?
4. It sounds to me like drilling out the two CARF supplied fiber clunks will supply enough fuel to my 320 in a dual tank setup. There is a lot of discussion about this but kind of inconclusive... I have used BVM clunks in the past but every time I build a CARF jet I grapple with those funky clunks again! I'd kind of like to use them this time.
04-05-2020, 02:04 AM
#570
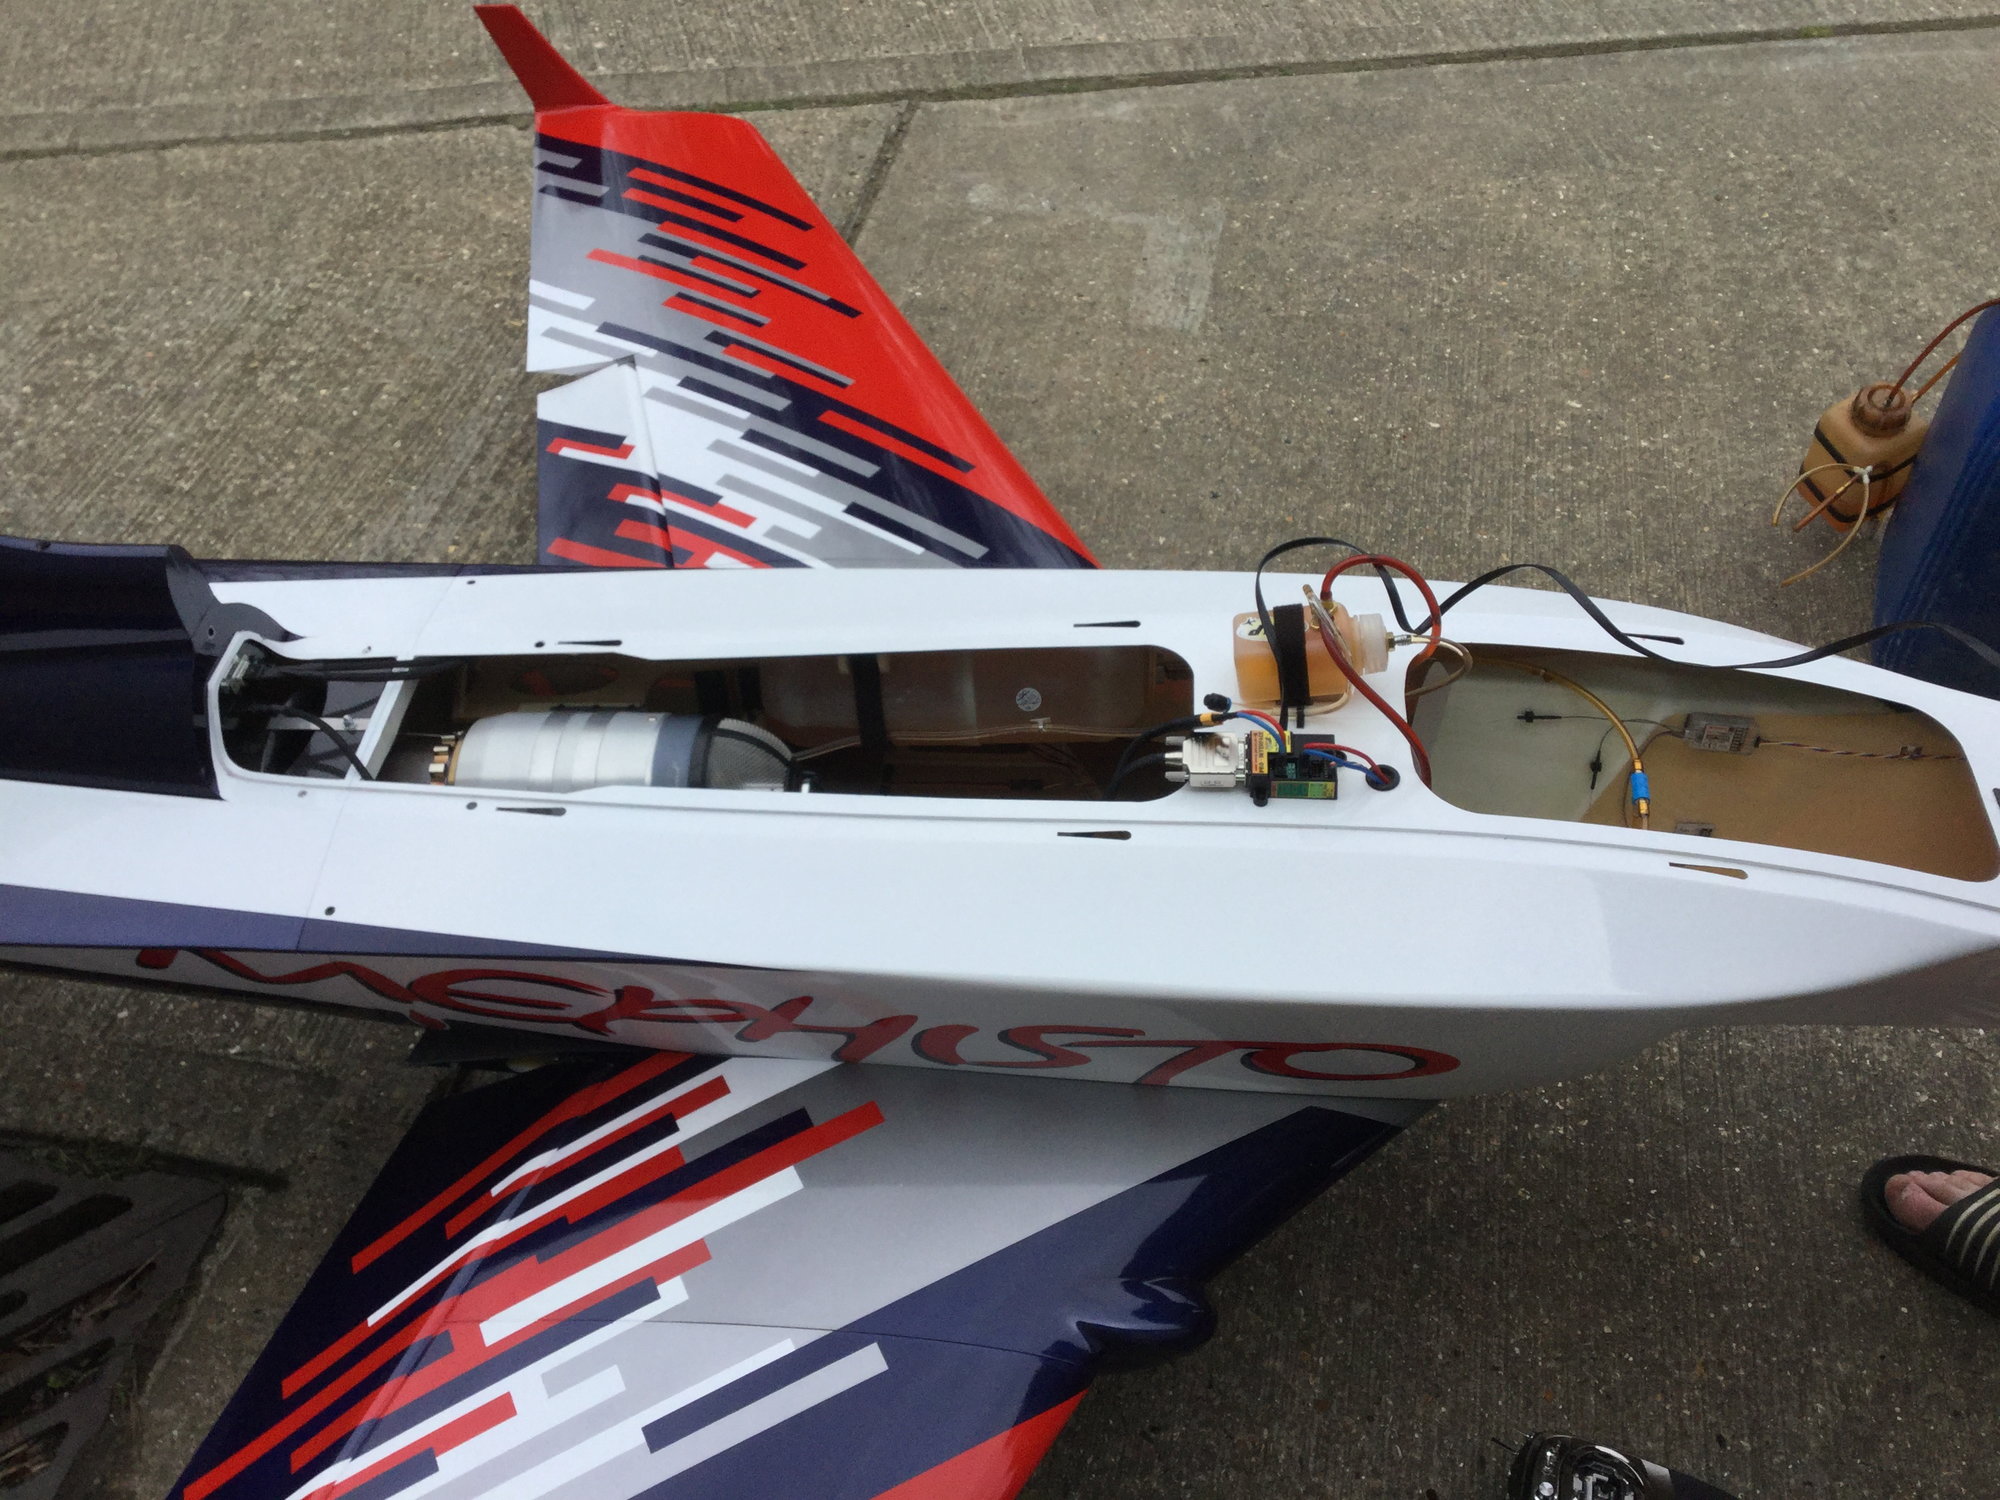
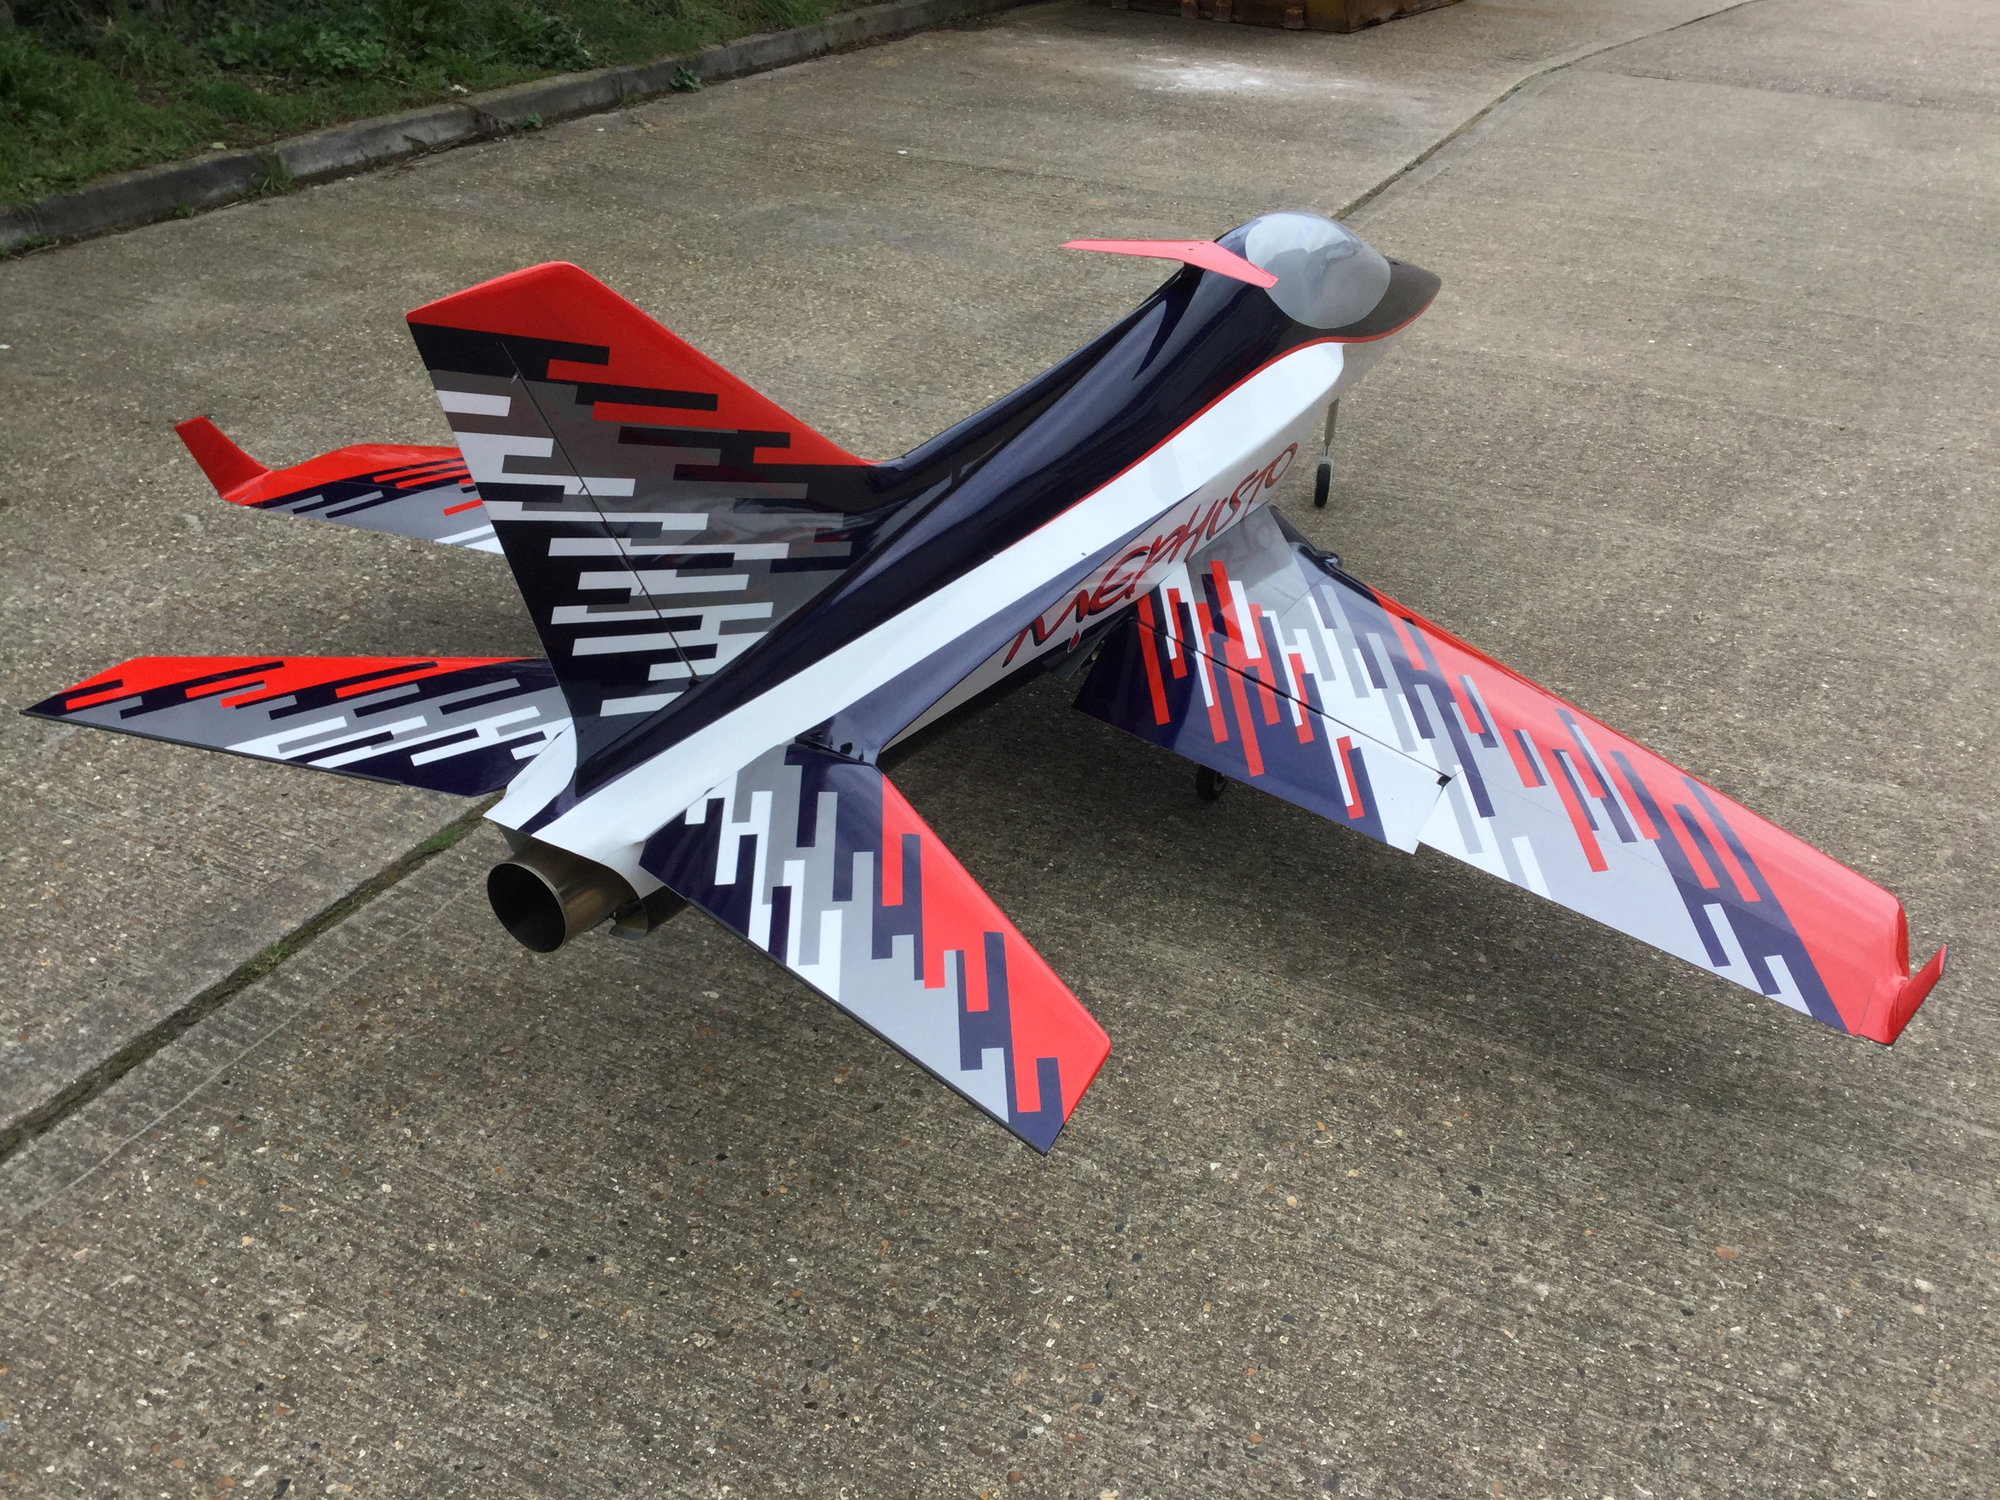
My Mephisto took to the skies yesterday - Green Sports Scheme. What a beautiful day!
Setup:
K320 on pump Diesel ON 5% KT Oil
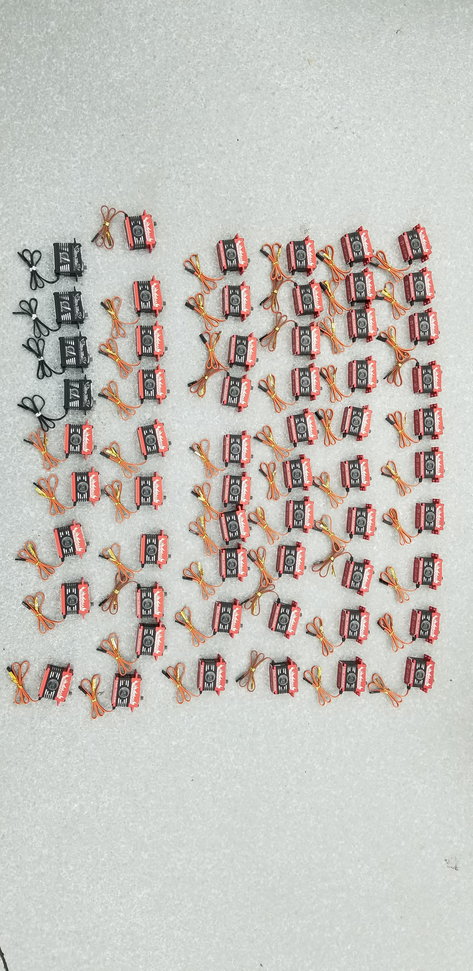
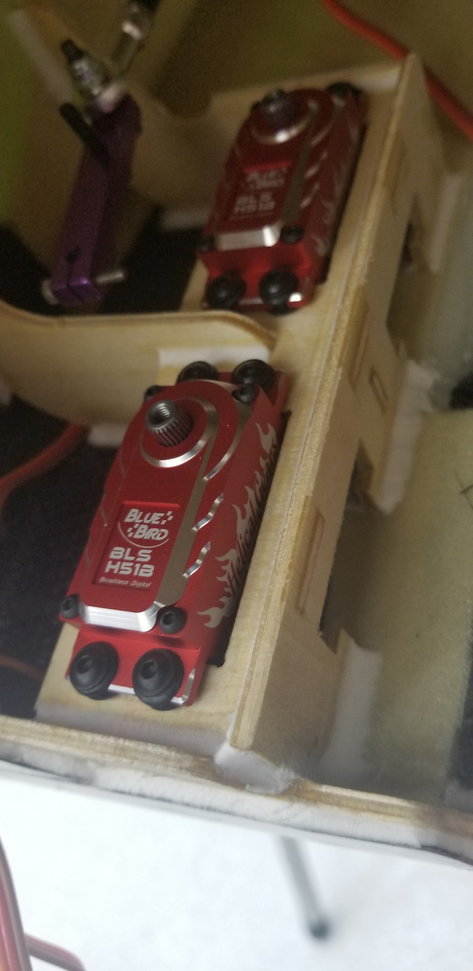
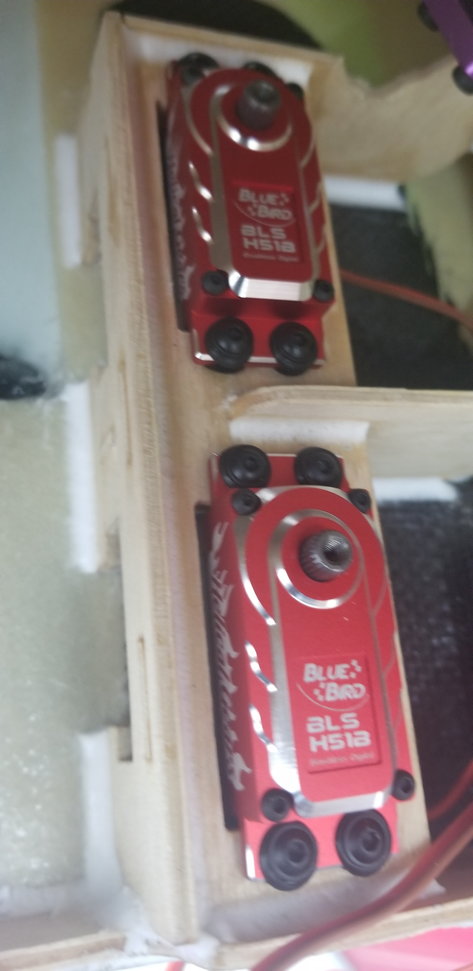
Bluebird H51B Helical Gear Servos X 12 (55KG each !)
Single Futaba 6014HS
2X 2S 2550mah (down to 65% after 4 X 8min flights) for RX/Servos/Gear
1X 3s life Zippy 2100mah
Stock dual 3.5L tanks
Weight:
Dry 44.27lbs (20.08KG)
Wet: 54.35 lbs (24.65KGS)
Vid's to come soon. Building another one as backup as I know I will need it...


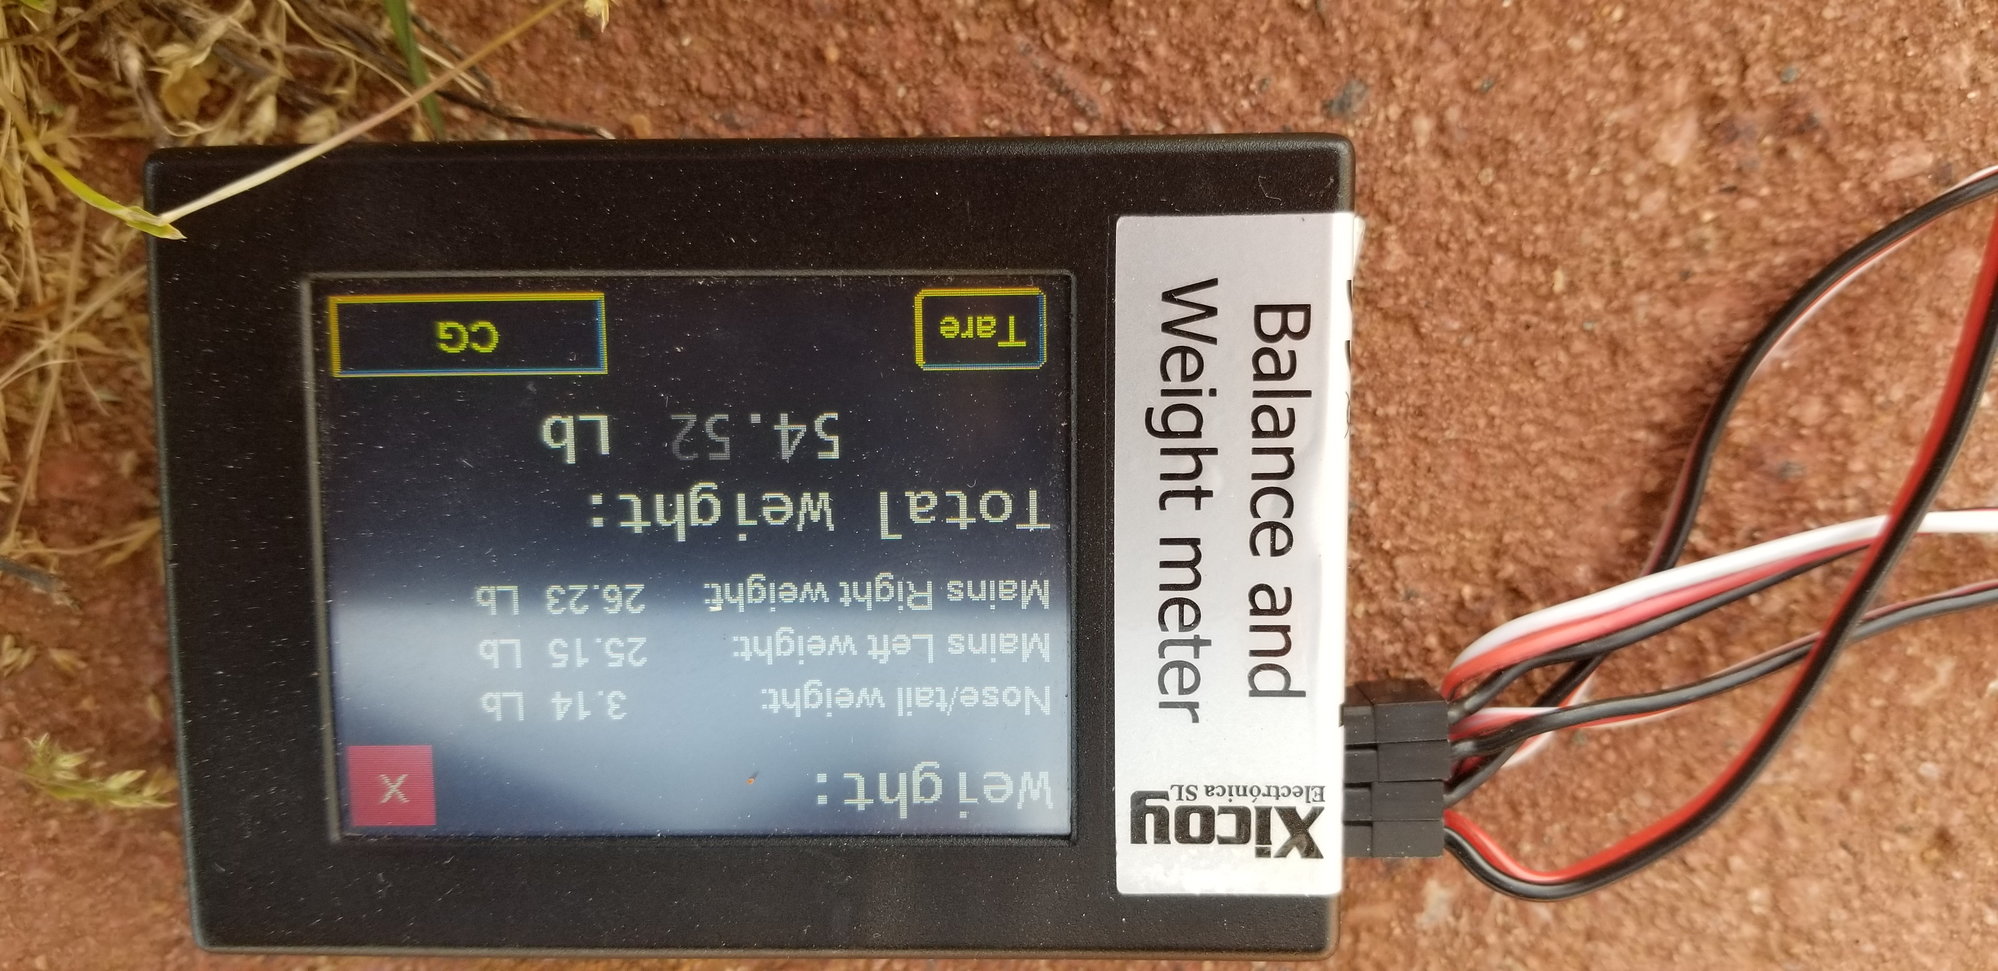
WET WEIGHT
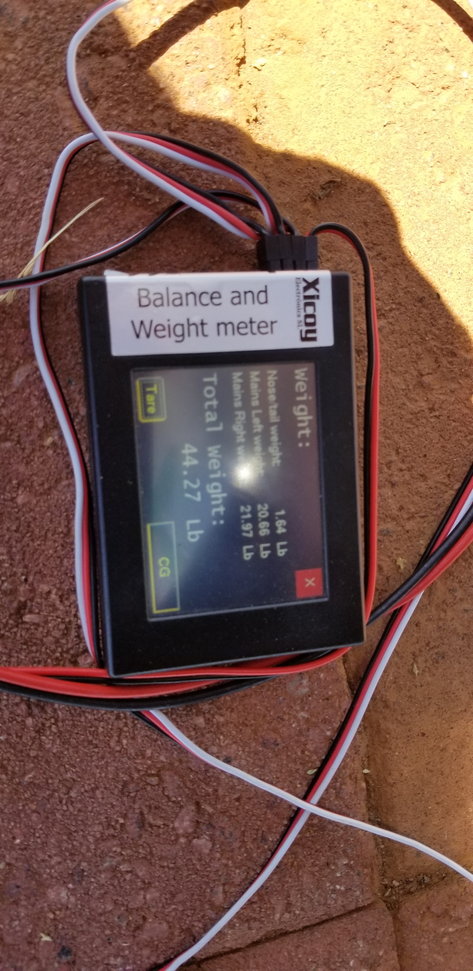
DRY WEIGHT
Setup:
K320 on pump Diesel ON 5% KT Oil
Bluebird H51B Helical Gear Servos X 12 (55KG each !)
Single Futaba 6014HS
2X 2S 2550mah (down to 65% after 4 X 8min flights) for RX/Servos/Gear
1X 3s life Zippy 2100mah
Stock dual 3.5L tanks
Weight:
Dry 44.27lbs (20.08KG)
Wet: 54.35 lbs (24.65KGS)
Vid's to come soon. Building another one as backup as I know I will need it...
WET WEIGHT
DRY WEIGHT
Last edited by GULDUKAT; 04-05-2020 at 02:07 AM.
04-05-2020, 02:51 AM
#571
Thread Starter
Gads, I have looked at all these pictures a dozen times! Questions for tomorrows day in the shop are:
1. There is a picture of flap install showing a bolt through the brass tube that secures the flap crank in position, but the manual just says use a drop of epoxy or silicone, so is the bolt not necessary?
2. the Ziv Bit mod will be necessary as I have a Kingtech 320. I see some pics of vents in the aft wing center section opening which would place them beneath/behind the turbine inlet, I think others have put the vents in the forward wing center section opening, which would put them aft of the inlet ducts, between the two fuel tanks, well ahead of the turbine inlet on my V2 jet. I imagine that would be preferable, comments?
3. What is the best way to position the turbine (KT320) and thrust tube (V2)? I think it would be best for CG to place the Kingtech as far forward on the rails as it can go, then locate the thrust tube 25mm back from the exhaust, then glue in the rear formers. So the turbine determines the placement of everything else. Does that sound about right? Or is there a better way?
4. It sounds to me like drilling out the two CARF supplied fiber clunks will supply enough fuel to my 320 in a dual tank setup. There is a lot of discussion about this but kind of inconclusive... I have used BVM clunks in the past but every time I build a CARF jet I grapple with those funky clunks again! I'd kind of like to use them this time.
None of my guys with 300’s have additional inlets, but we are cool here, so so grills in the forward opening area would be best if you want to add them.
You can get a rough position from all the photos on here, but your way of doing it would be ok as long as you check the rear former will fit behind the pivot tube. I would dry assemble everything first.
If you open the Tilotson centre as much as possible they will work fine, we all use my Hi-Flow felt clunk, but I have not found a way of selling them into the US.
04-05-2020, 07:38 AM
#572
Thanks! Bolt not necessary if glued as it won't move inflight. Additional air helps with cooling, so on 100 degree CA days it is a good idea and FWD placement. Rear former behind pivot tube may dictate turbine placement. Drill out Tilotson. Are you manufacturing your Hi-Flow felt clunks? Surprising that we don't have an equivalent here in the states. I do like the idea of felt clunks. I'll do more research. Drilling out the clunk makes me nervous it could break off from stress then...
Last edited by husafreak; 04-05-2020 at 08:28 AM.
04-05-2020, 03:25 PM
#574
Having a look at the CARF website just now, noticed their picture shows the KT320 well back on the rails. But anyway, it has missing instructions pertaining to the V2 pipe installation in the Mephisto manuals section, seems odd? There is enough info here on the forum to do the job but it looks like something got lost there.
04-05-2020, 09:09 PM
#575
Thread Starter
I have them made in the U.K. but I used to drill out the lead ones before as I always thought the originals were too small. They drill easily in steps of size and won’t break off.
CARF pictures are often prototypes and things do change. Really the pictures should be updated, but it does not always happen.
CARF pictures are often prototypes and things do change. Really the pictures should be updated, but it does not always happen.
The following users liked this post:
husafreak (04-06-2020)