


CARF Ultra Flash Evo build thread +
 06-02-2022, 01:01 AM
#326

I glued an exacto blade onto a servo arm.. same same I guess
 06-19-2022, 05:37 PM
#327
My Feedback: (1)
HI,
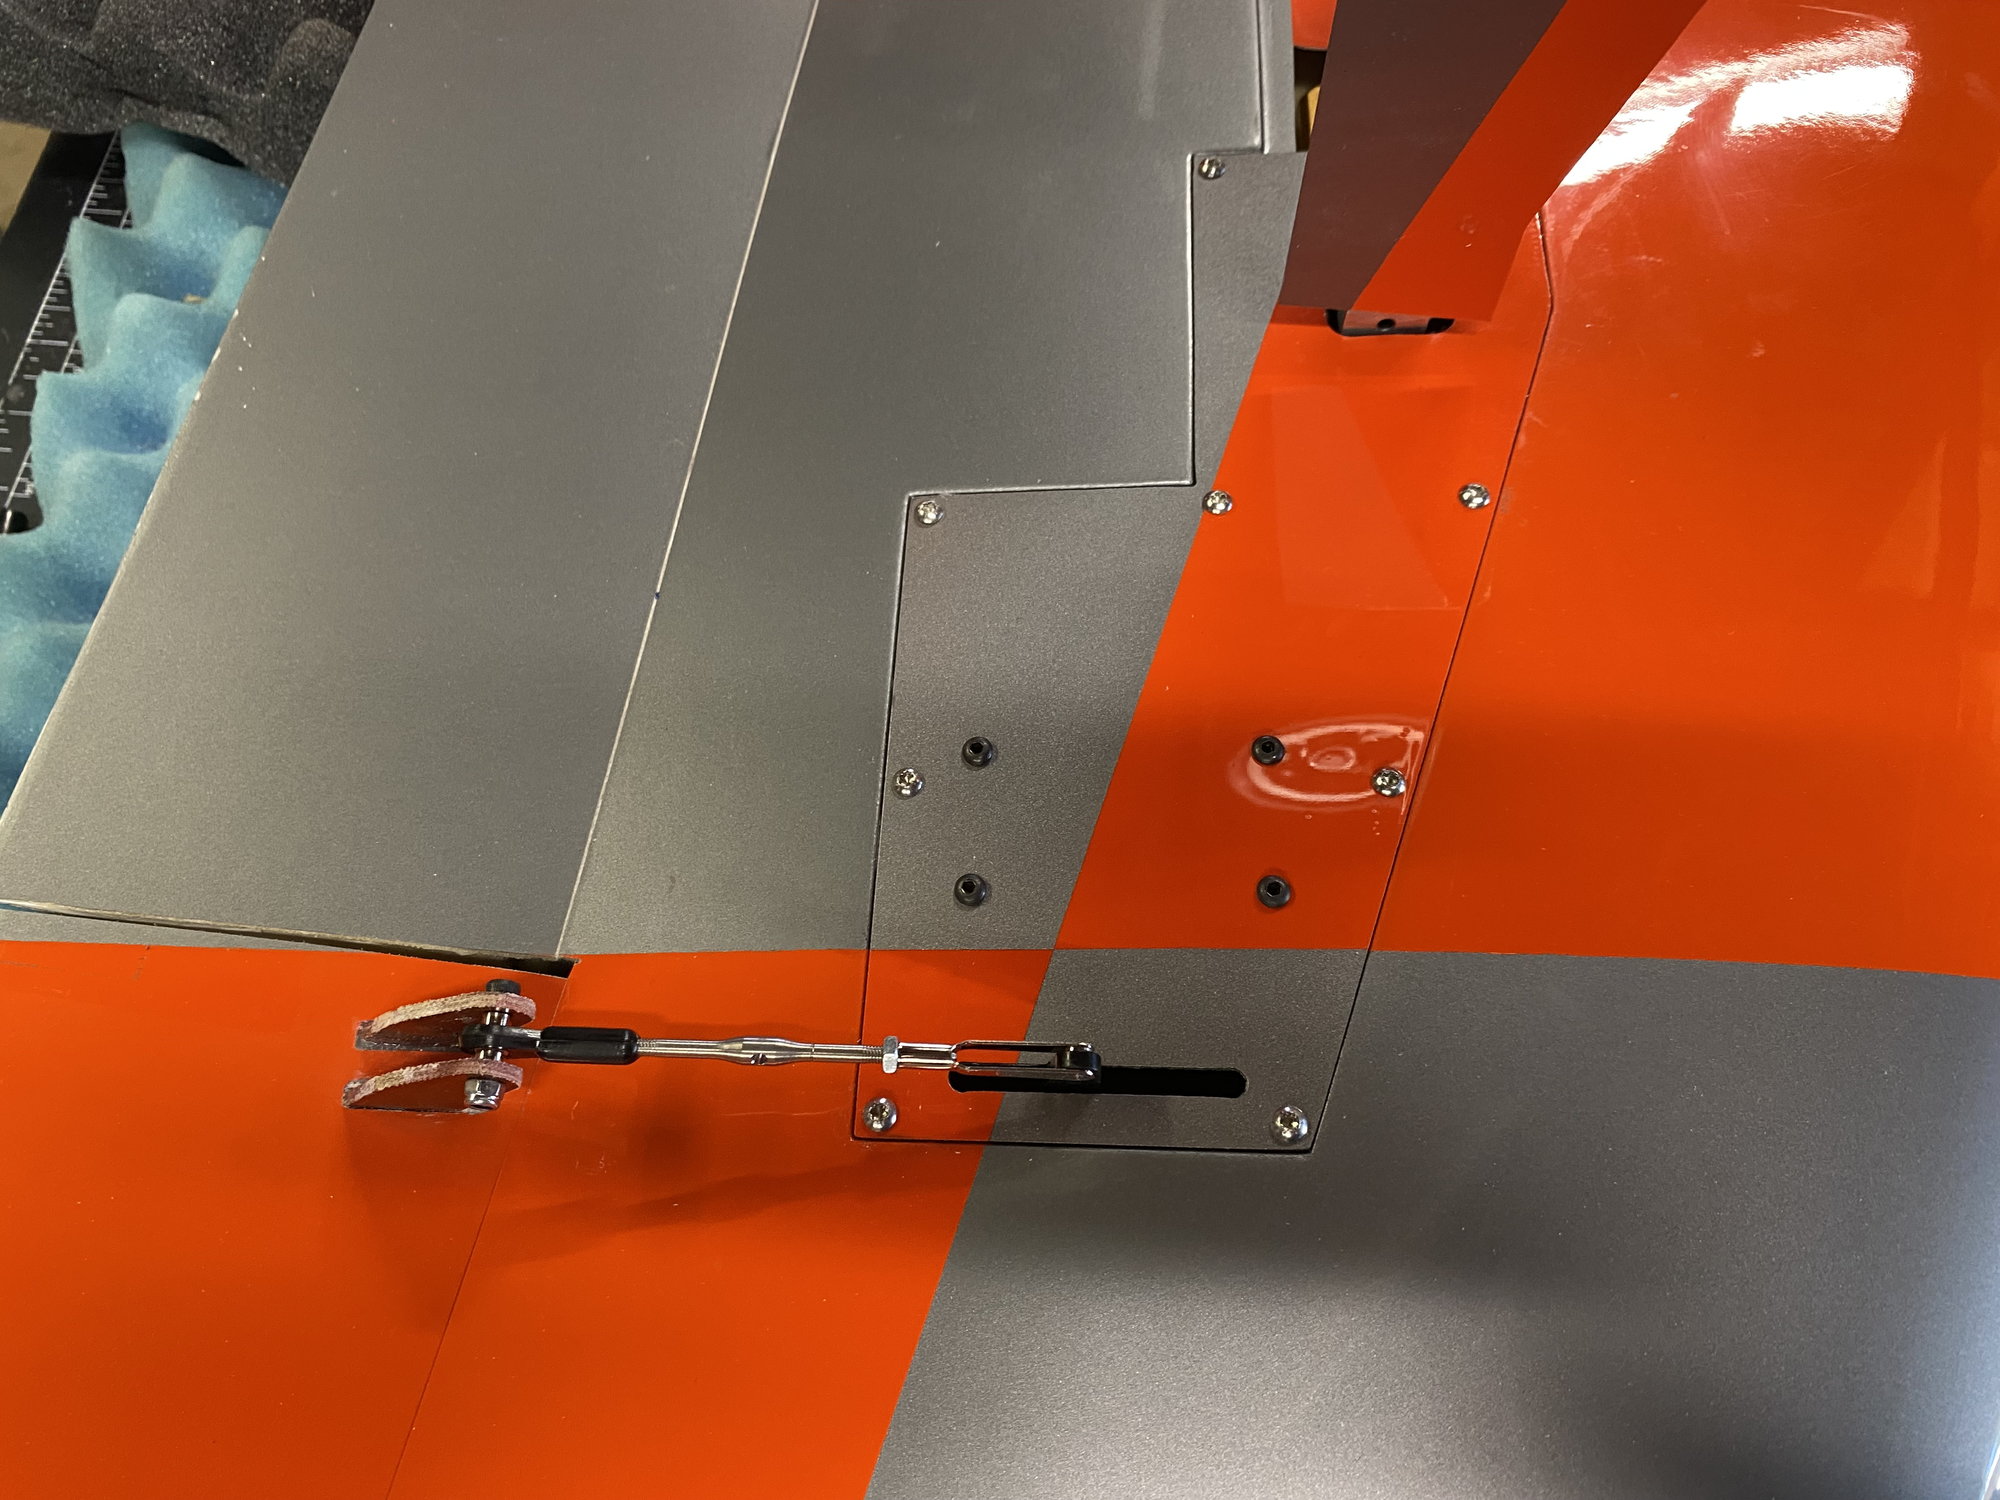
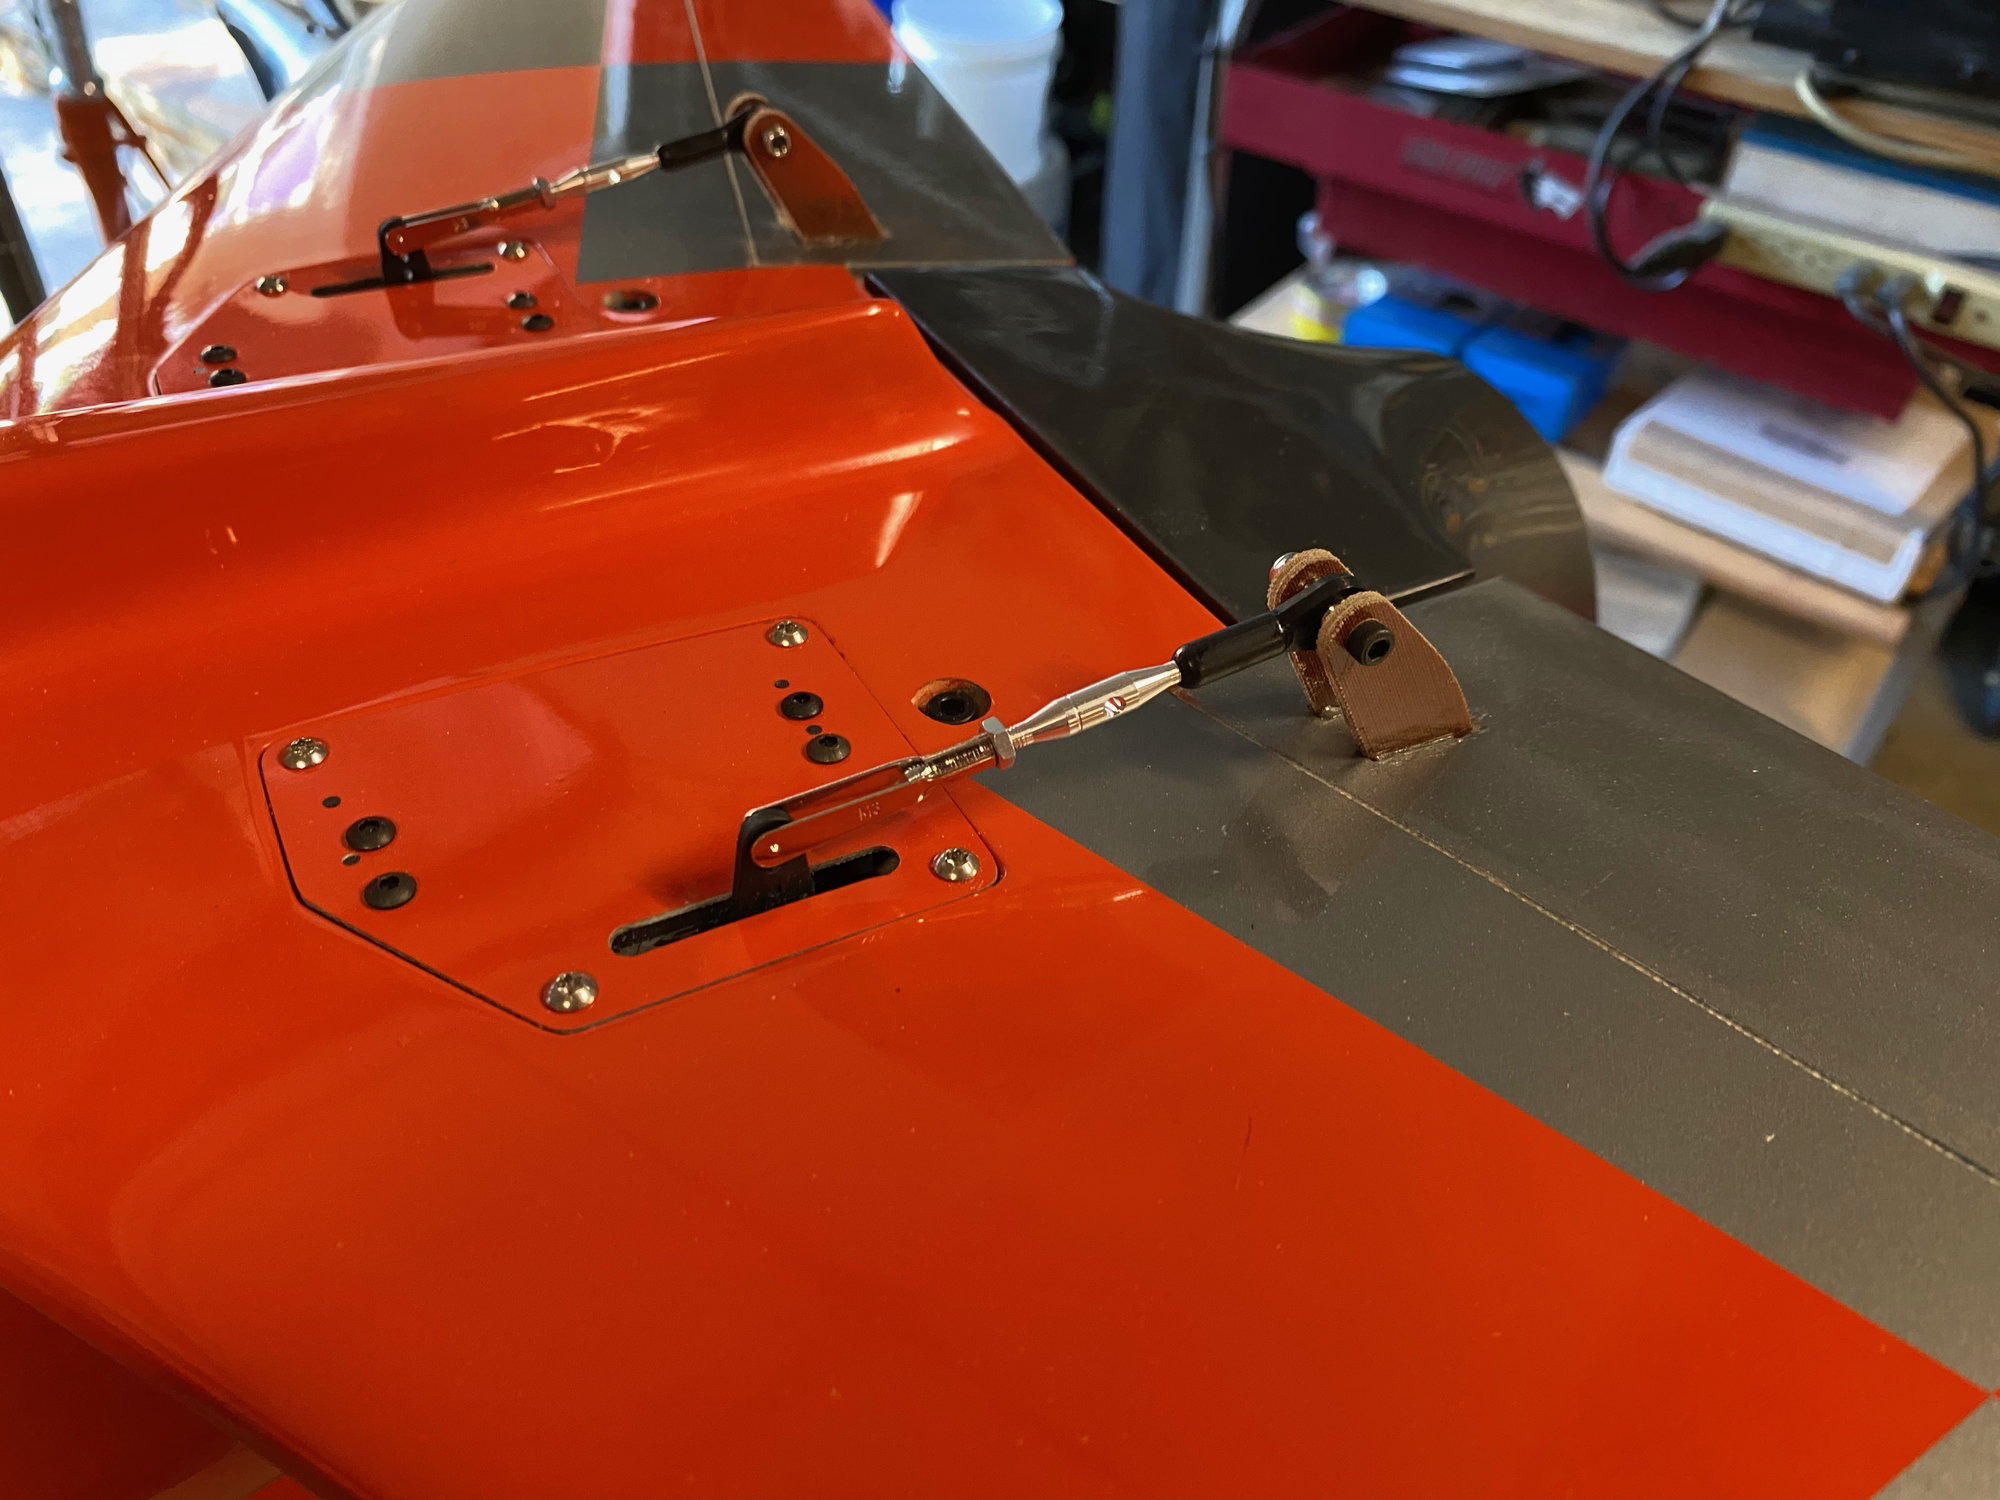
The flap linkage connection makes me think CARF has an evil streak in them. I initially thought putting the arm and linkage on the servo was the way to go. But that makes impossible to attached the balling to the flap control horn. It has to go with the push rod connected to the flap 1st, then connect it to the servo arm as you lower the cover with the two servos in place. Adjustments are not possible once the cover is anchored down. It took me three days to figure the sequence out.
How to folks attached the gear door to the main gear legs?
 06-20-2022, 12:00 AM
#328

The gear doors to the gear legs can be attached with a small piece of wood between the leg strut and the door piece. I use E6000, works like a champ, haven’t lost a door yet! Make sure the door is flush with the wing skin, I suppose it’s possible to have the slip stream come between the door and the wing skin and rip the door off in flight at high speed. I’ll post a picture to show you how I do it
06-20-2022, 12:03 AM
#329
Hey fellow UF builders that have the saddle tanks installed, this is my 1st build with saddle tanks and I was wondering how ya’ll vent the tanks overboard? The setup is fuse tank, two saddles and wing tank. The wing tank will be smoke. Thank you!!
Tom
Tom
06-20-2022, 05:11 AM
#330

My Feedback: (1)
Hello everyone. Getting back into the hobby and building an Ultra Flash EVO. I'm too lazy to build cockpit details and considering painting the canopy from inside. I have never done this and was wondering what are the do and don't for this. I ordered some RC car body paint.
Some of you have some very nice paint finish on your painted canopies. How did you do it?
Thanks
Arnaud
Some of you have some very nice paint finish on your painted canopies. How did you do it?
Thanks
Arnaud
06-20-2022, 05:53 AM
#331
My Feedback: (1)
Hi,
I paint all my canopies from the inside. Tamiya polycarbonate paint is very good, especially if you are a lazy as I am.
Here are the steps I follow:
1. Glue canopy in frame.
2. After the glue cures, wash the inside of the canopy, the paint will not stick to finger prints or mold release. I use soapy water than follow up with alcohol.
3. Some people will sand the inside of the canopy with very fine sand paper to give the paint something to bite on, I generally do not.
4. Mask everywhere you don't want paint
5. Dust the first coat on. You have warm it up with a hair dryer to get it to dry fast, just don't over do it
6. Give it another coat or two.
7. If you are using colors other than black or silver, a final coat of silver under metallics looks good, and black helps other colors be more solid.
I screwed up the canopy for my Ultra Flash. I thought I would do a black fade to silver. But it looked bad. So I tried to sand off the paint to redo it all black. That is way harder to do than I imagined. The paint really bonds with the plastic. So, now I have a most black canopy with ugly silver streaks.
I'm going to wrap it with vinyl, then it will look perfect.
I once had to buy a canopy from CARF, they charge $59 and $60+ for shipping. It's ridiculous, they don't even use Lexan or a protective sheet. Unless its damaged, I'll live with a whole lot of ugly.
Hello everyone. Getting back into the hobby and building an Ultra Flash EVO. I'm too lazy to build cockpit details and considering painting the canopy from inside. I have never done this and was wondering what are the do and don't for this. I ordered some RC car body paint.
Some of you have some very nice paint finish on your painted canopies. How did you do it?
Thanks
Arnaud
Some of you have some very nice paint finish on your painted canopies. How did you do it?
Thanks
Arnaud
The following users liked this post:
acw (06-20-2022)
06-20-2022, 07:35 AM
#332

Hi,
I paint all my canopies from the inside. Tamiya polycarbonate paint is very good, especially if you are a lazy as I am.
Here are the steps I follow:
1. Glue canopy in frame.
2. After the glue cures, wash the inside of the canopy, the paint will not stick to finger prints or mold release. I use soapy water than follow up with alcohol.
3. Some people will sand the inside of the canopy with very fine sand paper to give the paint something to bite on, I generally do not.
4. Mask everywhere you don't want paint
5. Dust the first coat on. You have warm it up with a hair dryer to get it to dry fast, just don't over do it
6. Give it another coat or two.
7. If you are using colors other than black or silver, a final coat of silver under metallics looks good, and black helps other colors be more solid.
I screwed up the canopy for my Ultra Flash. I thought I would do a black fade to silver. But it looked bad. So I tried to sand off the paint to redo it all black. That is way harder to do than I imagined. The paint really bonds with the plastic. So, now I have a most black canopy with ugly silver streaks.
I'm going to wrap it with vinyl, then it will look perfect.
I once had to buy a canopy from CARF, they charge $59 and $60+ for shipping. It's ridiculous, they don't even use Lexan or a protective sheet. Unless its damaged, I'll live with a whole lot of ugly.
I paint all my canopies from the inside. Tamiya polycarbonate paint is very good, especially if you are a lazy as I am.
Here are the steps I follow:
1. Glue canopy in frame.
2. After the glue cures, wash the inside of the canopy, the paint will not stick to finger prints or mold release. I use soapy water than follow up with alcohol.
3. Some people will sand the inside of the canopy with very fine sand paper to give the paint something to bite on, I generally do not.
4. Mask everywhere you don't want paint
5. Dust the first coat on. You have warm it up with a hair dryer to get it to dry fast, just don't over do it
6. Give it another coat or two.
7. If you are using colors other than black or silver, a final coat of silver under metallics looks good, and black helps other colors be more solid.
I screwed up the canopy for my Ultra Flash. I thought I would do a black fade to silver. But it looked bad. So I tried to sand off the paint to redo it all black. That is way harder to do than I imagined. The paint really bonds with the plastic. So, now I have a most black canopy with ugly silver streaks.
I'm going to wrap it with vinyl, then it will look perfect.
I once had to buy a canopy from CARF, they charge $59 and $60+ for shipping. It's ridiculous, they don't even use Lexan or a protective sheet. Unless its damaged, I'll live with a whole lot of ugly.
06-20-2022, 08:01 AM
#333
My Feedback: (1)
Hi,
While painting it on the exterior is an option, I prefer the vinyl wrap option, because:
1. The polycarbonate paint does not dry with a gloss finish - canopies look good because they are painted on the inside and the exterior of the plastic provides the shine.
2. The paint would be easily scratched up.
3. Vinyl can be removed and replaced. I could have different color and replace it if it got nicked.
4. No masking tape for careful lines is needed w/ vinyl.

The following users liked this post:
AEROSHELDON (06-20-2022)
 06-20-2022, 09:56 AM
#337
Thread Starter
Dave
06-20-2022, 10:02 AM
#338
My Feedback: (1)
Thank you! This is very helpful.
Hi,
I paint all my canopies from the inside. Tamiya polycarbonate paint is very good, especially if you are a lazy as I am.
Here are the steps I follow:
1. Glue canopy in frame.
2. After the glue cures, wash the inside of the canopy, the paint will not stick to finger prints or mold release. I use soapy water than follow up with alcohol.
3. Some people will sand the inside of the canopy with very fine sand paper to give the paint something to bite on, I generally do not.
4. Mask everywhere you don't want paint
5. Dust the first coat on. You have warm it up with a hair dryer to get it to dry fast, just don't over do it
6. Give it another coat or two.
7. If you are using colors other than black or silver, a final coat of silver under metallics looks good, and black helps other colors be more solid.
I screwed up the canopy for my Ultra Flash. I thought I would do a black fade to silver. But it looked bad. So I tried to sand off the paint to redo it all black. That is way harder to do than I imagined. The paint really bonds with the plastic. So, now I have a most black canopy with ugly silver streaks.
I'm going to wrap it with vinyl, then it will look perfect.
I once had to buy a canopy from CARF, they charge $59 and $60+ for shipping. It's ridiculous, they don't even use Lexan or a protective sheet. Unless its damaged, I'll live with a whole lot of ugly.
06-20-2022, 01:20 PM
#341
Thread Starter
06-20-2022, 07:36 PM
#342
My Feedback: (1)
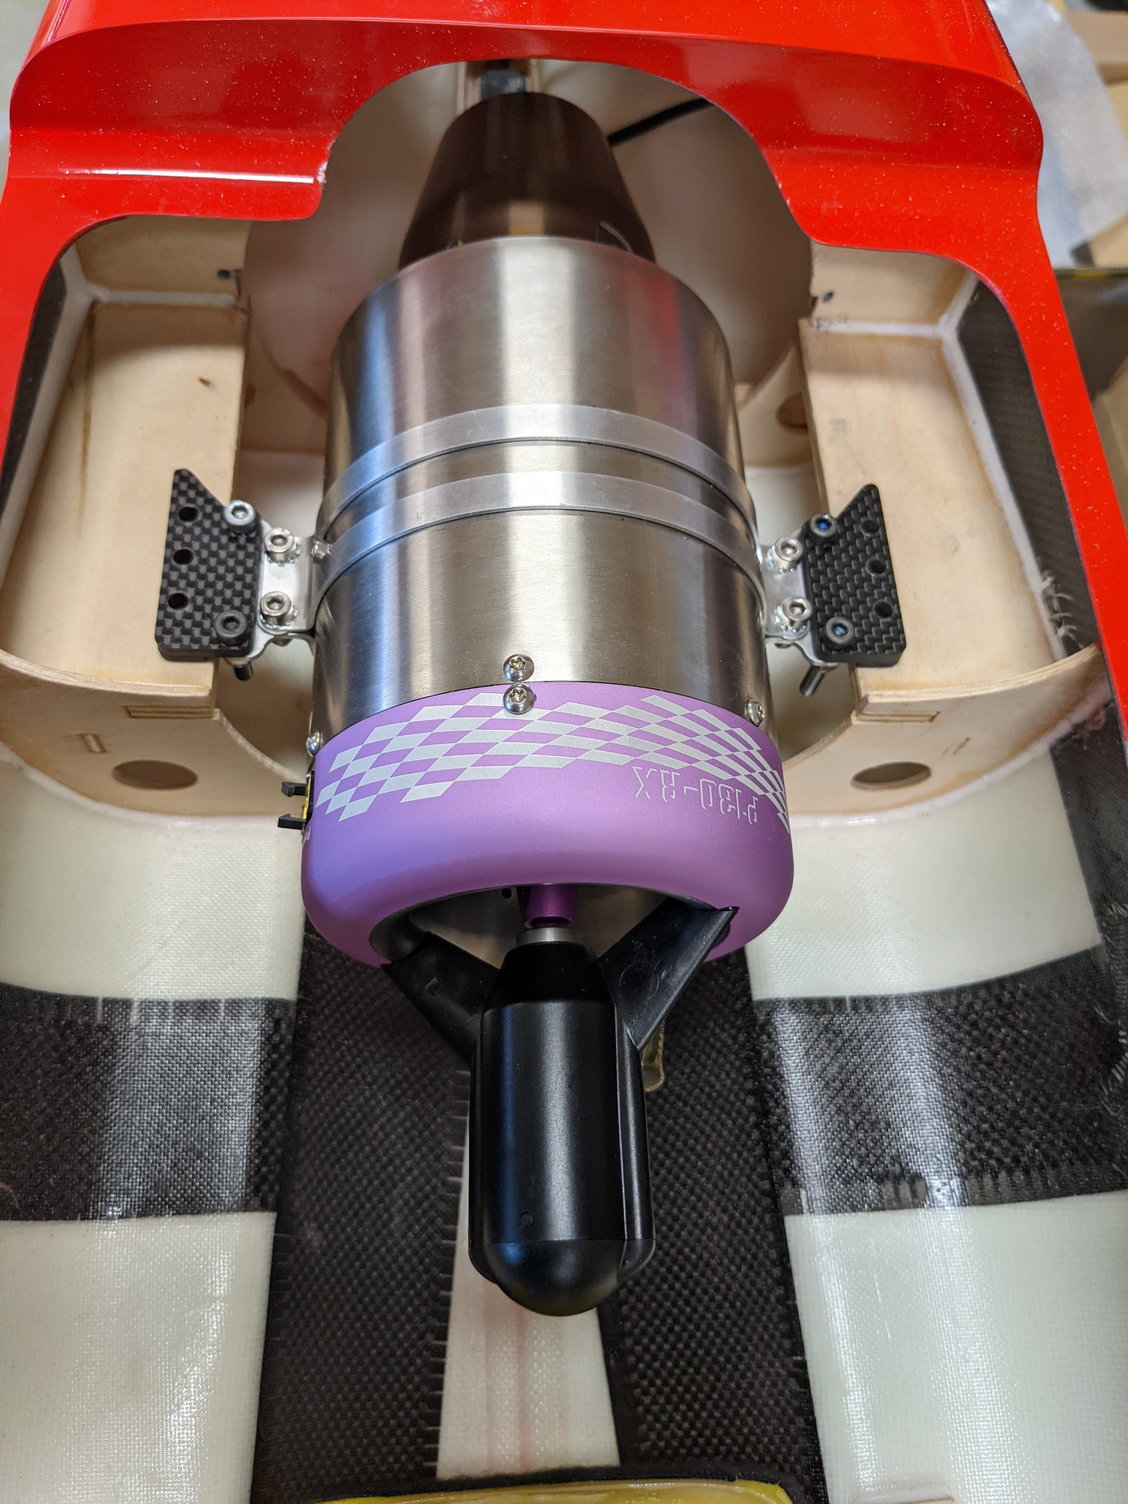
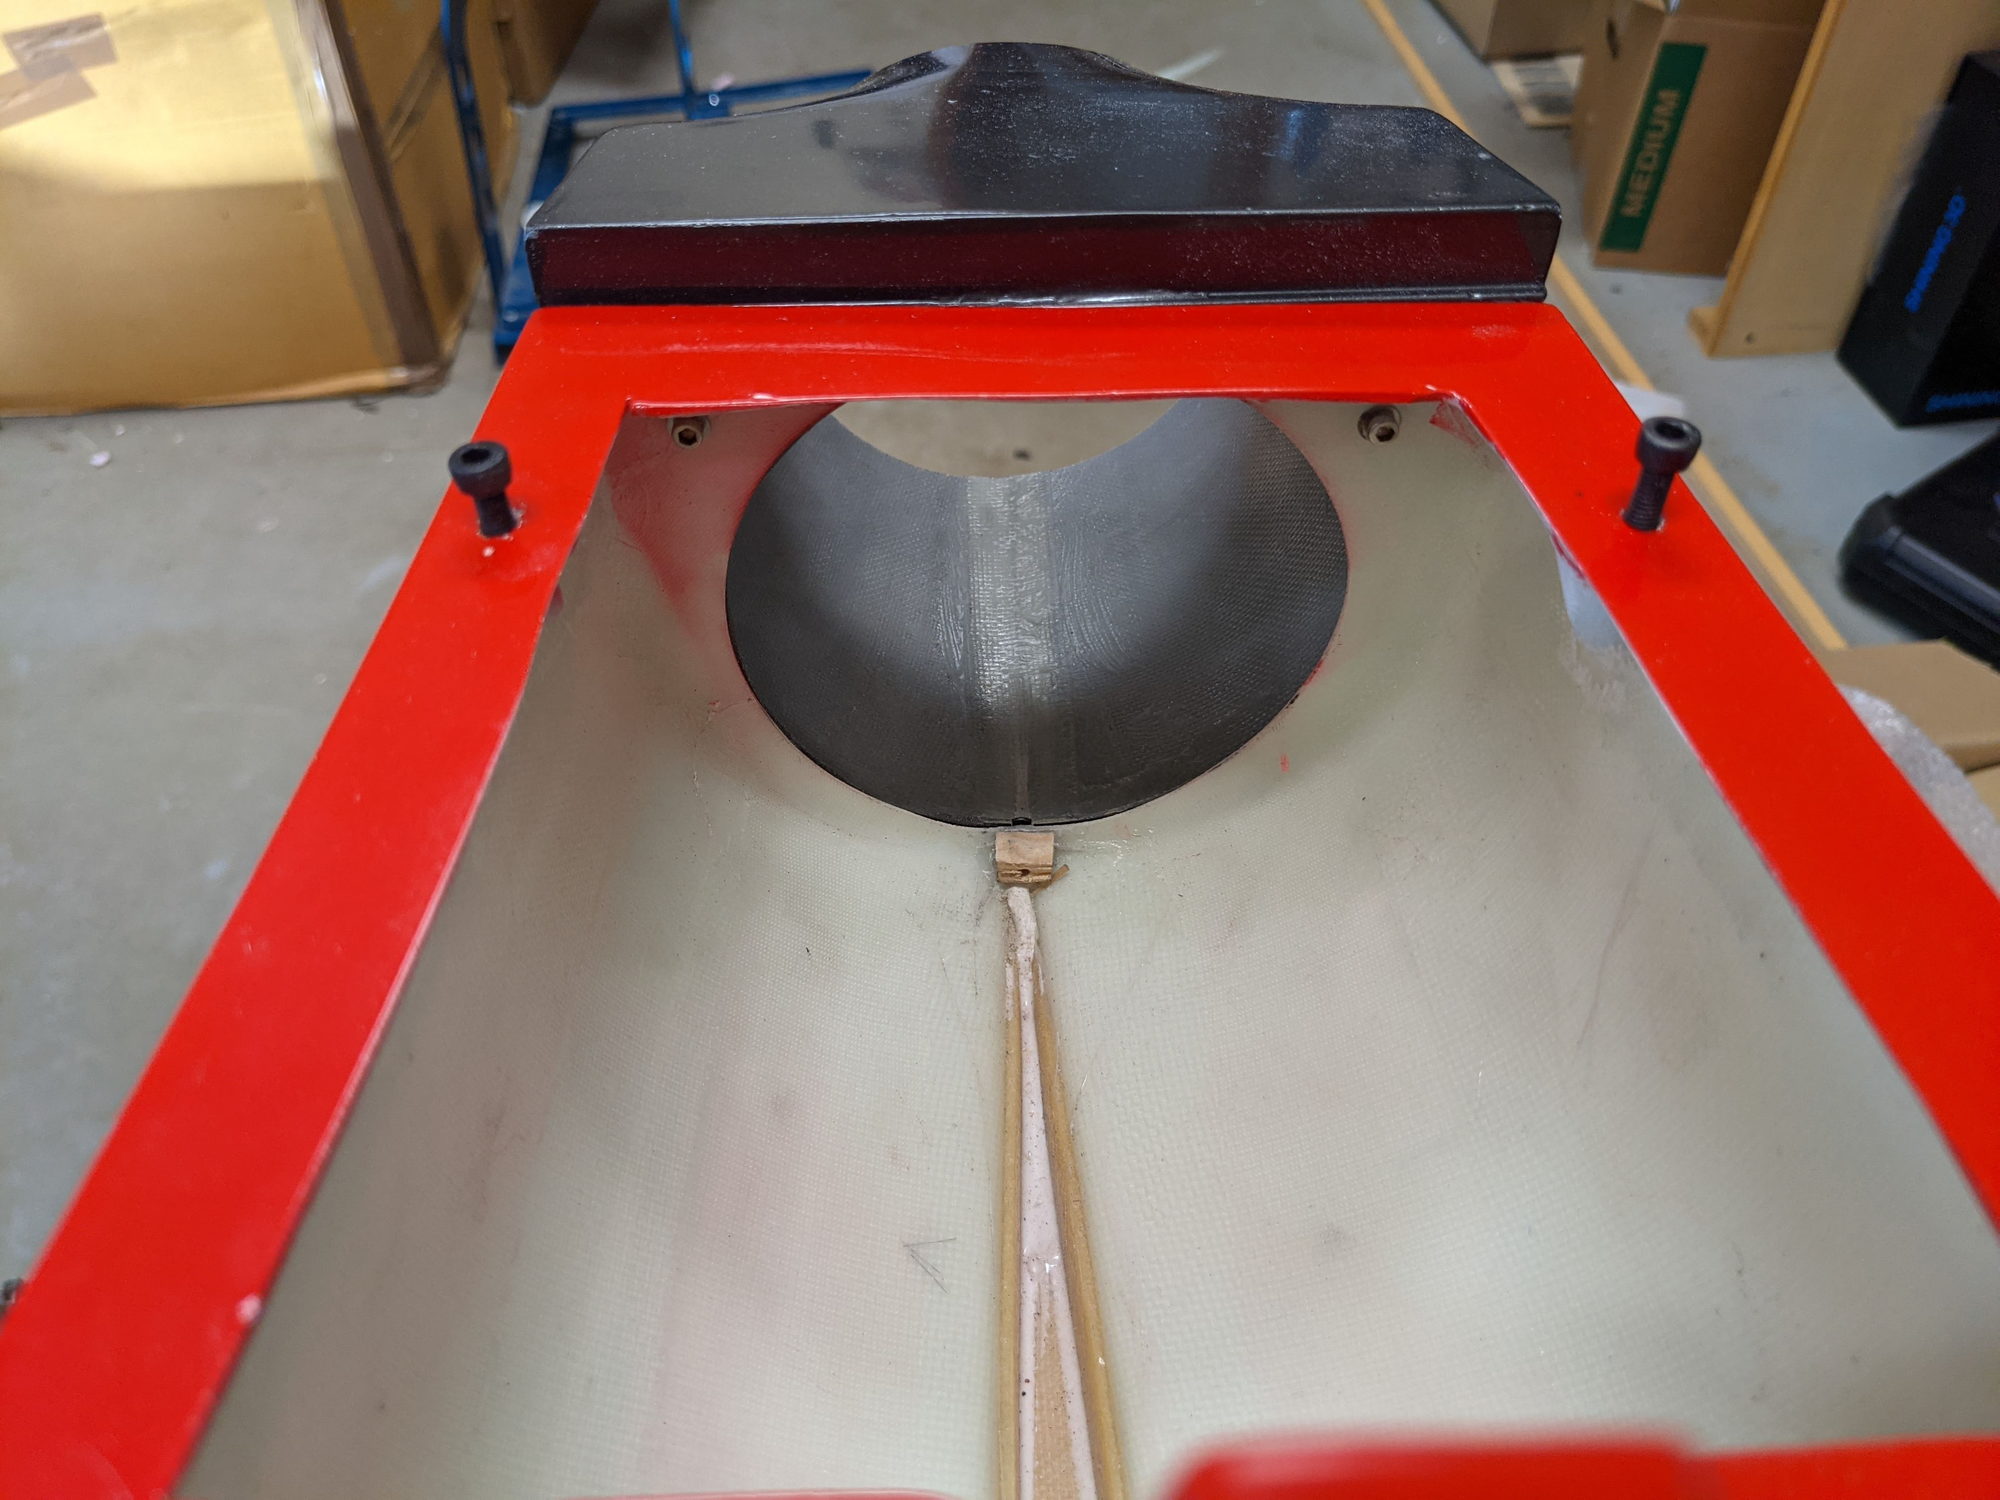
Good progress this weekend. I attached and trimmed the exhaust nozzle just like we use to with the classic flash. The Jetcat P130 fits very easily. I CNC'd some rails from some 4mm carbon fiber plate and then later added some 2mm shims from the same material to raise the turbine slightly.
To install the CMJets kevlar tank, I had to remove the piece of wood used to retain the stock tank. I replaced it with a piece of CF in front of the tank.
Can't wait to get the servos!
Arnaud
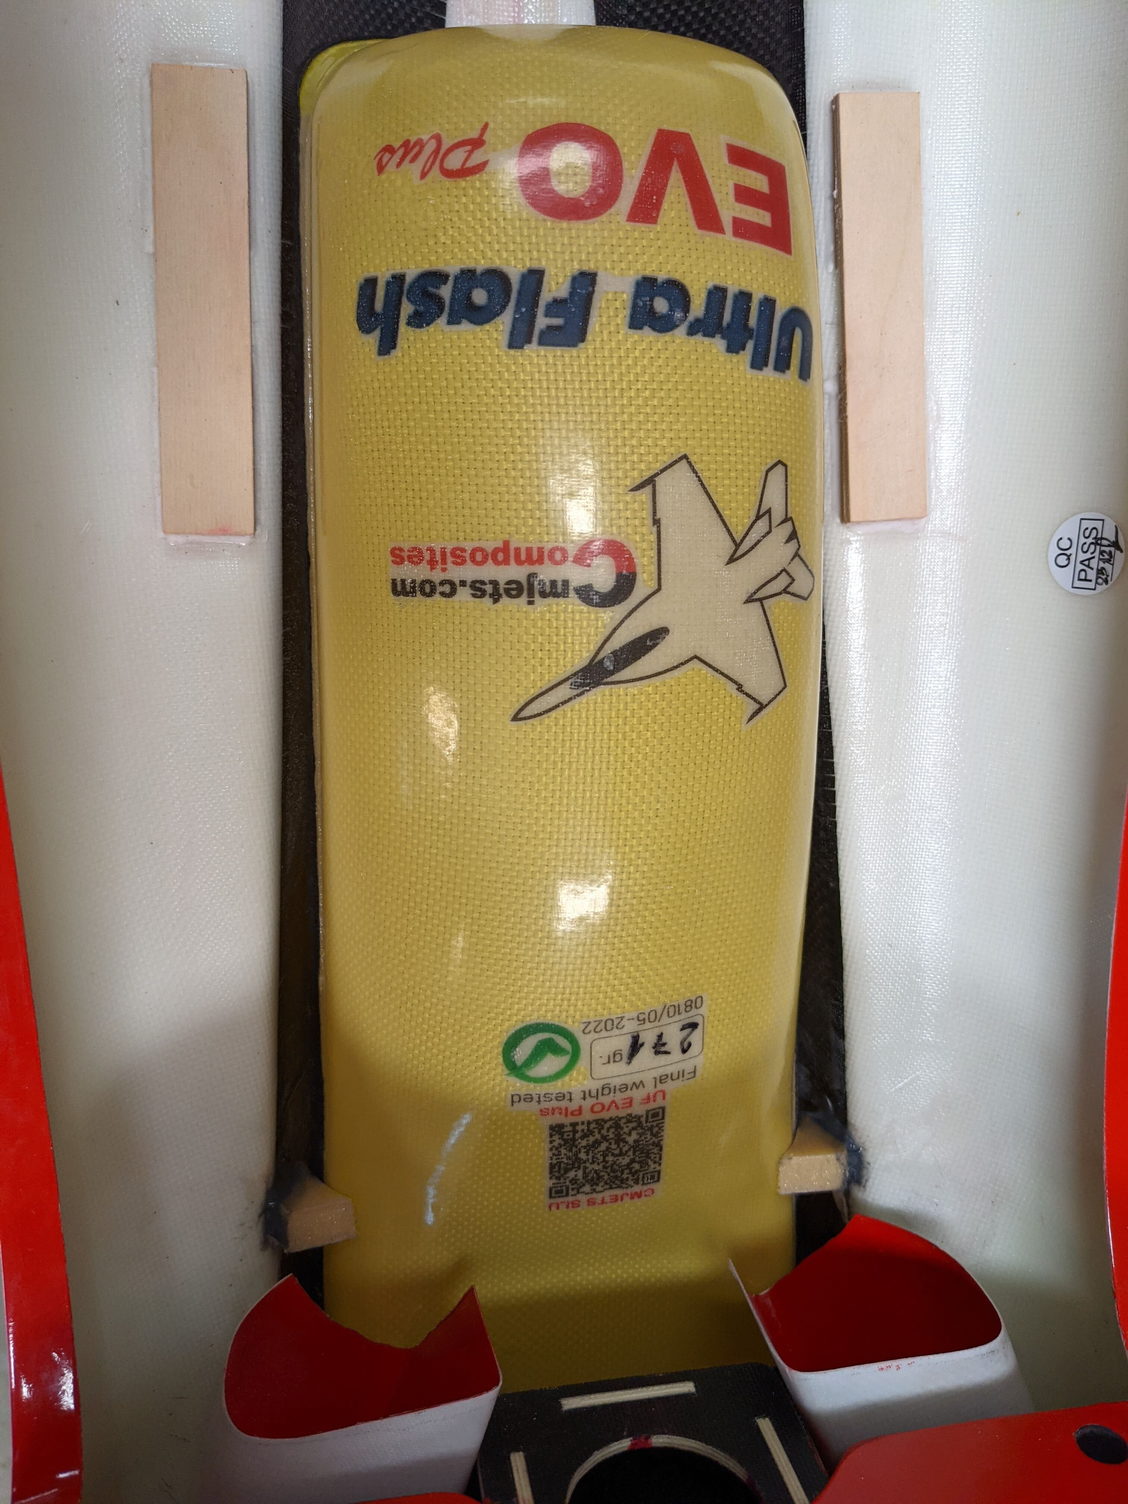

To install the CMJets kevlar tank, I had to remove the piece of wood used to retain the stock tank. I replaced it with a piece of CF in front of the tank.
Can't wait to get the servos!
Arnaud

 06-21-2022, 05:26 AM
#347
My Feedback: (1)
I tried to wipe it off immediately with a cotton swap with acetone. That picked it up but left a smeared coat. Then I tried a little debonder, that eats the paint (FYI). So, the wing needs touch up paint. CARF sells the paint but they don't list the colors that they told me it was painted as. I asked my rep to get some for me.
I need a painter. Please let me know if anyone knows a good one in the Los Angeles area.
I find no joy in the build process any more. This is an easy airplane to build, yet it is a major struggle for me. My next airplanes will be bought complete.
I need a painter. Please let me know if anyone knows a good one in the Los Angeles area.
I find no joy in the build process any more. This is an easy airplane to build, yet it is a major struggle for me. My next airplanes will be bought complete.

The following users liked this post:
acw (06-23-2022)